DIY Christmas Gift Idea: Paintings for Loved Ones

It's that time of year. You know, the time where the pressure is on to find the "perfect" Christmas gift. In the event that you're looking for a new Christmas idea how about making a painting for a loved one?
This year I tried something different and made paintings for my loved ones. I did not make paintings for everyone as I am not that talented and also because a painting, and anything that a person makes him or herself, is a more intimate gift. So if you make a talent-less painting, even if it is made with all of your love, not everyone is going to have the same level of appreciation. That, and it's also a bit like baring your soul.
Taking that into account, I think it's a neat gift idea and it can be given as a stand-alone gift or can be combined with another gift item (chocolates, jewelry, etc.).
Keep reading to see how to make your own Christmas gift painting!
Materials Needed:
-Scratch paper
-Acrylic paint
-Cup with water
-Old pillow case cover, newspaper, or some other item to cover workspace
-Writing/drawing utensil
-Pen
-Paint easel
-Canvas
-Colored pencils or crayons
-Paper towel
Step 1: Get Your Materials and Set Up Your Working Area
First things first, is to get your materials. For the art I made, I used an old pillow case cover to cover the area I would be working in. I had a basic acrylic paint set that had paint, an easel, and some paint brushes. I also had an old plastic cup with water, scratch paper, and a pen.

Materials Used:
-Pencil or Pen
-Scratch paper
-Crayons or colored pencils
Step 2: Make a Rough Draft
With the exception of those who are able to produce the art they see in their minds the first time around, most of us will benefit from doing a rough draft of the art we would like to make.
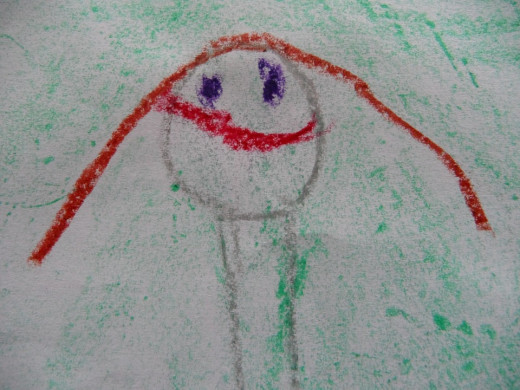
On the scratch piece of paper draw and color a rough draft of the art piece(s) that you are making for your loved one(s).
Materials Used:
-Pen (optional)
-Canvas
-Acrylic paints
-Paint brushes
-Cup with water in it (to rinse brush)
-Paper towel (to dry brush after it's rinsed)
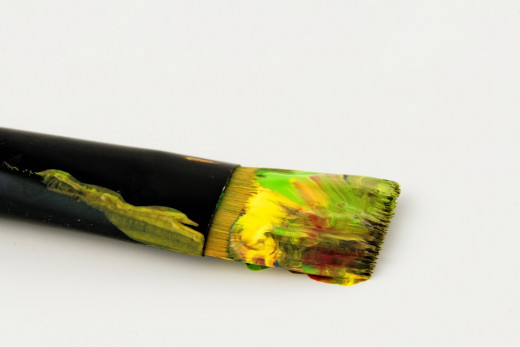
Step 3: Start Making Art!
This is the challenging and also the fun part! You can now make the art you made a rough draft of on the canvas. There are different ways to do this and you have many options. Here is where you get to make the art your own, and fill the painting with the energy, thoughts, feelings, and love that you have for the loved one that you are making the painting for.
For one painting I started with a pen on the canvas to do the drawing, and then painted inside of it. This ended up smearing some with the paint and didn't entirely achieve the look I was trying to make but it did create a different look. The other two paintings that I made were made with the paint on the canvas without any outlines or pen use.


Step 4: Let the Painting Dry
Now that you've finished the painting, it's time to let it dry. Once the painting is dry, don't forget to sign your name in the corner.
You're an artist now! And as such, your work needs to be signed.
Step 5: Wrap and Give!
Your painting is ready to go and ready to give. Wrap or pack as you like and give it to the person who it's meant for.
What do you think of this DIY gift?
I hope this is a gift idea you try! It is doable, versatile, heartfelt, thoughtful, and personal. With the exception of not having all the talent one envisions, you can't go wrong with art.
Good luck and Merry Christmas!
Did you make any art for Christmas this year? Have you made a gift painting before? Feel free to leave a comment to let me know how you and/or how the other person liked it!


")


