Festive Paper Mache Christmas Ornaments
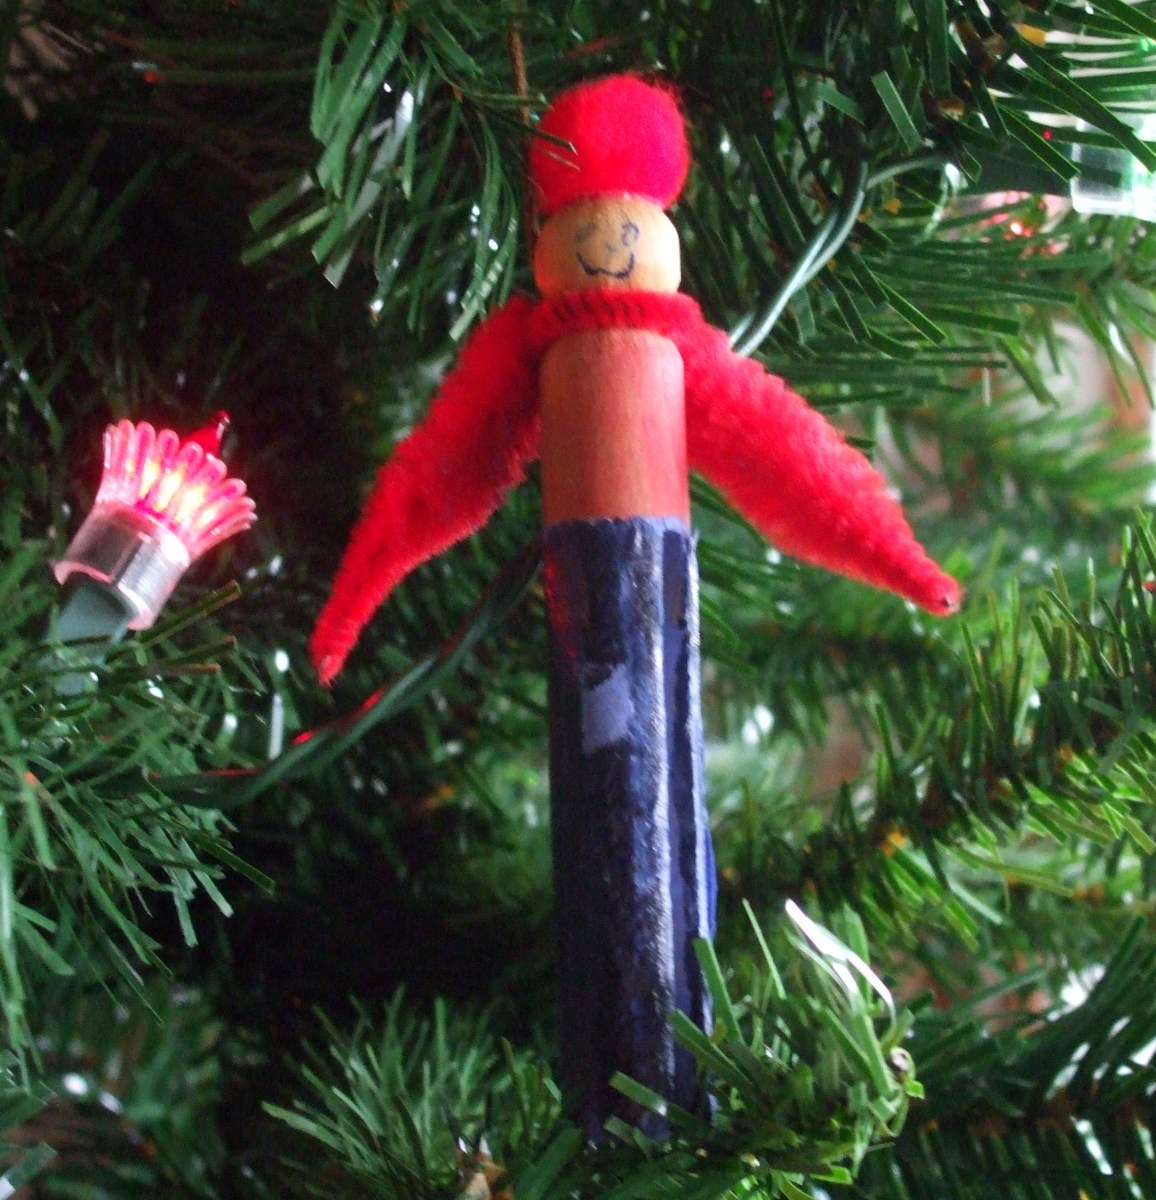
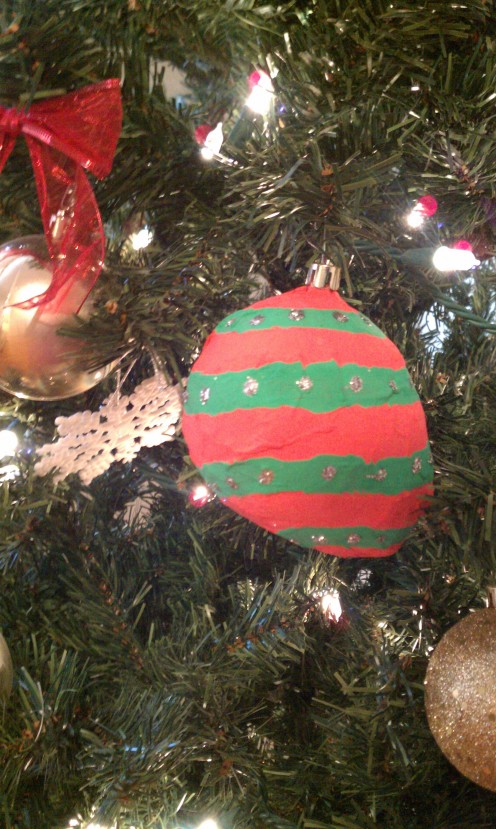
My Christmas Ornament
"Chewed Paper"
Christmas time is rolling around and with it silver bells, bright lights and paper mache??? That's right!! Paper mache is the new must have decorating tool for Christmas. There are so many wonders that can be created using this pulpy method.
Papier mache is french which means "chewed paper." It's the process of taking scrap pieces of paper that outline a particular object and bonding it with an adhesive (usually flour and water.)
Here we will learn how to make homemade paper mache christmas ornaments that can be used to decorate your christmas tree for the holidays. This project is especially fun to involve kids. The messiness is gooey and not recommended for those with obsessive neatness disorder. It will get on the table, on faces and hair and it may even get on the floor. But please don't let that drive you away from trying this one of a kind holiday treat that can be fun for the whole family.
Let's Get The Party Started
Before you can start paper mache-ing, you need to set up a few things.
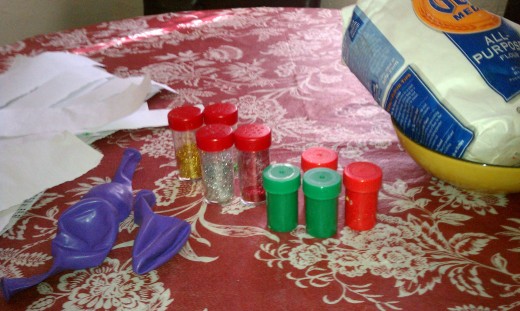
Materials Needed:
- flour
- water
- paper (newspaper, computer paper, scrap paper)
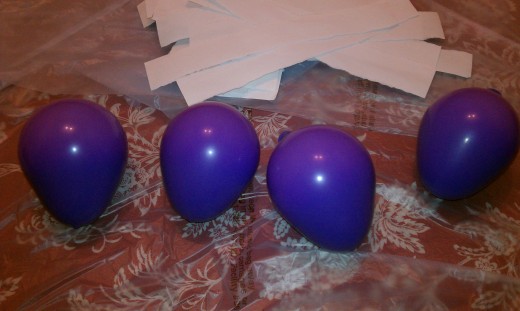
- balloons (depending on the size of ornament you want to create, they can be small balloons)
- paint/brushes
- glitter
- string
Instructions:
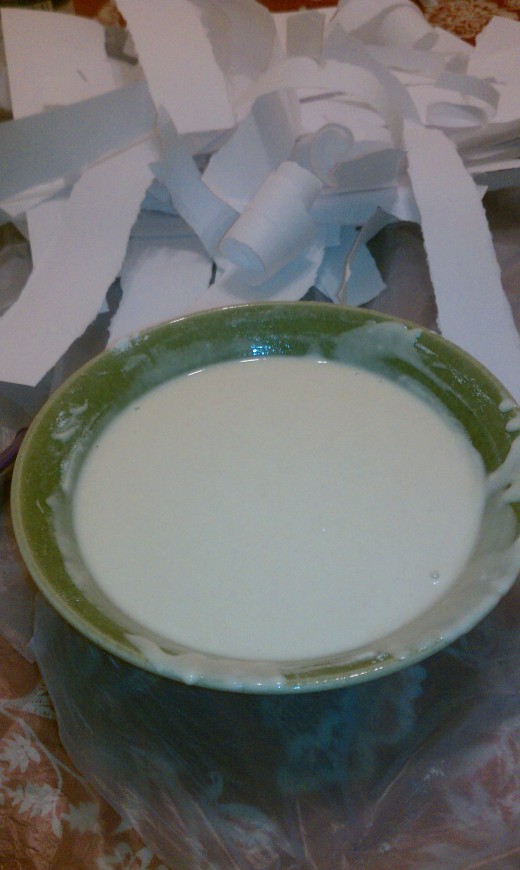
1. One of the most fun parts of this project is tearing up pieces of paper. The kids will surely enjoy the noise and the start of the mess. Tear up the paper into medium sized strips. More strips will be needed for larger works. Each balloon should not be layered more than 4 times and to make painting easier use blank computer paper as the last layer.
2. Once the paper is torn, take this time to do some damage control. Cover your workspace (table) with an old tablecloth to protect it from getting paste on it. I like to take trash bags and cut them so they lay flat and double in coverage. Once we are done, I can just pick up with one easy step.
3. The paste that bonds the paper to the object can be made in different ways. One way is by taking regular glue, like Elmers and mixing it with an equal part of water. The paste I prefer, involves regular household items like flour and water. Again, I use an equal part of each and adjust it to the desired consistency. The paste should not be runny and not too thick. It should have the consistency of heavy cream and a little thinner than regular glue. Mix the two together until its free of any lumps and is smooth. The smell is pretty strong so add a little bit of cinnamon to diffuse it. There is also a cooking method if you prefer.
4. Blow the balloons into small sizes (or larger if your prefer) and tie them so the air is secure.
5. Take the strip of paper and dip it in the glue. Squeeze out any excess glue before applying it to the balloon. Cover the balloon with the strip and smooth out any air bumps. Continue this process until the whole balloon is covered and apply another layer over the first. Make sure the children are keeping the strips even so one side is not heavier than the other side. My daughter did this, she was having too much fun with the yucky paste.
6. Once you're done and all parts are smoothed, tie the balloon with a string and hang it so it can dry. I hang them on my shower rod in the bathroom so it's undisturbed and open the window so it can dry a little quicker.
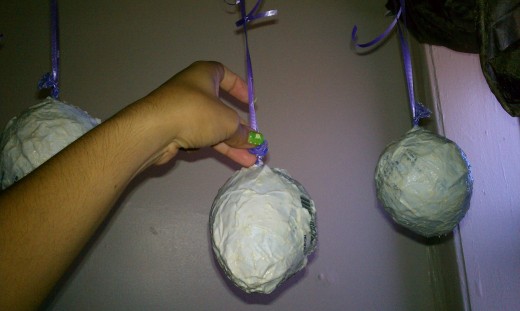
7. After 24 hours, the "ornaments" should be ready for painting and decorating. It will be firm to the touch, if it's not allow addition time for drying.
8. You can now paint the "ornaments" any festive color you would like. After painting, add some glitter to give it a shine and sparkle.
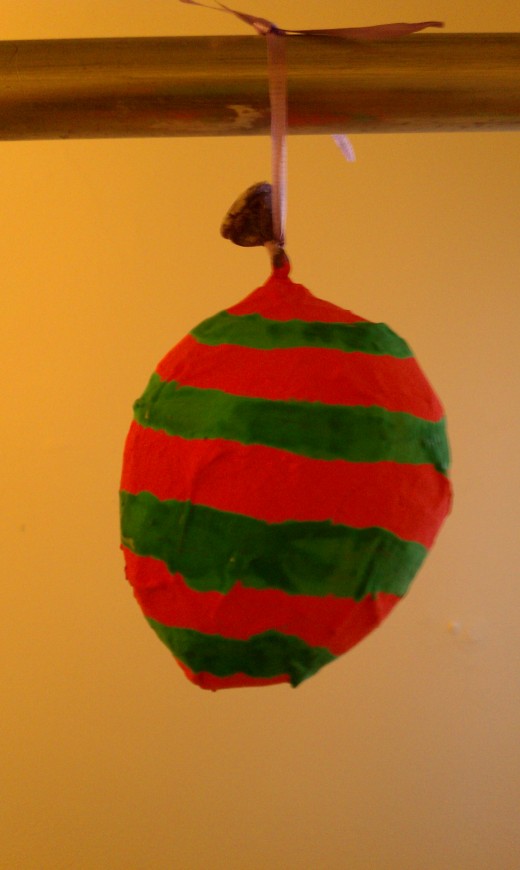
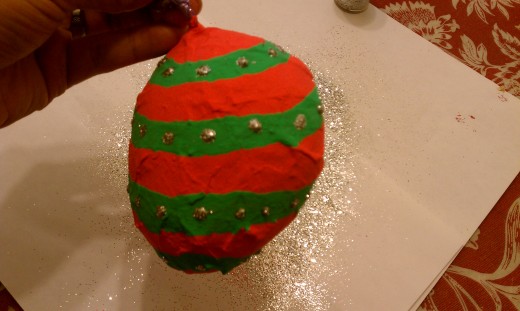
9. The last step is to pop the balloon and pull it out carefully through the little whole of the knot. You can pull it straight out. Sometimes I just let the balloon fall all the way through, that's fine too. I take an ornament hook/wire and attach it to the top of the ornament. It takes a little trial and error but patience prevails. Additionally, you can use a little bit of hot glue to secure the topper to the ornament. There you have it. A completed Christmas ornament that can be kept as a keepsake after Christmas is long gone.
My kids have done this for the first time this year. They have enjoyed it (ages 3, 4 and 6) and were very excited to say it dry the morning after. Parent supervision is needed with all steps, especially the painting because the ornament is difficult to paint on one side when the other side is still wet. The glitter process can get messy as well but it's the finishing touch and gives it that festive appeal. They love seeing their masterpieces on the tree.
Other Paper Mache Ideas
Paper mache can be used in other holidays as well. For Halloween, you can make paper mache masks and pumpkins that the kiddies would equally enjoy. Thanksgiving wouldn't be complete without a papered turkey. For Mother's Day, a paper mache vase is lovely and can be personalized to Mom's taste. The possibilities are endless.
