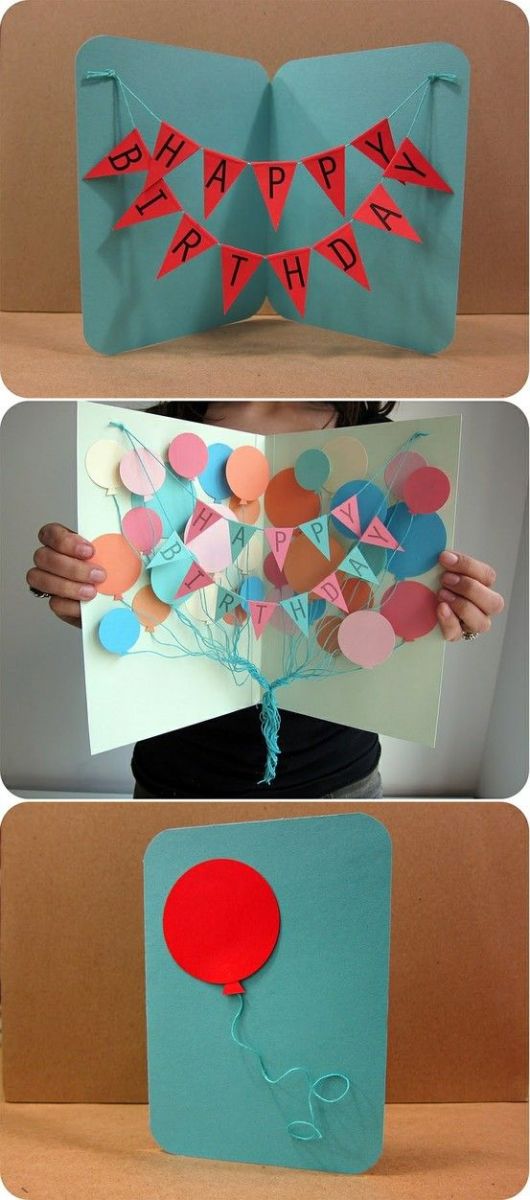
How to Make Cute Birthday Card for a Best Friend
DAY 28, HUB # 28
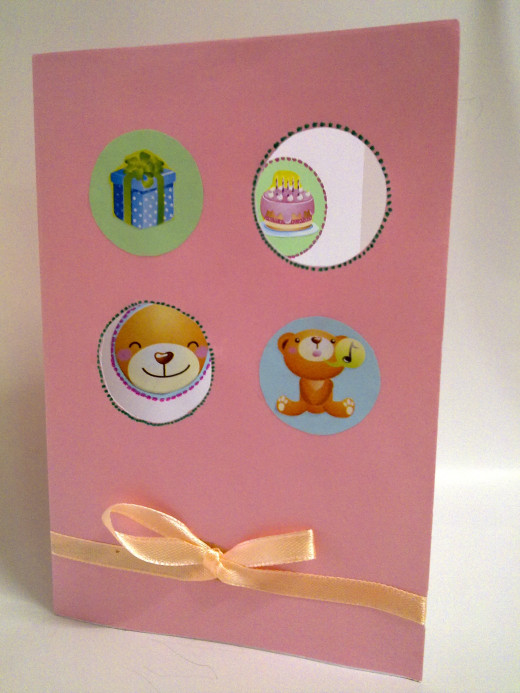
It is card making time again. Making birthday cards, Christmas cards, Valentine’s Day cards, Father’s Day card and Mother’s Day card have been one of my favorite hobby during leisure.
With all the supplies lying around the house, card making is not difficult at all. Make it at your own pace in the comfort of your home and you can reuse all the left-over materials from your kids craft lessons which are the best chance for you to reduce trash too.
How I Got The Idea to make a Cute Birthday Card
My best friend’s birthday was just two weeks away and I was having a hard time to decide which birthday card is the right card for my special friend.
You want your best friend to know that you cherish this friendship a lot and remembered to celebrate his / her birthday every year without fail. Need to get the best birthday card for your best buddy is a hard nut to crack !
Anyway, this is how I got the idea to make my personalised Cute Birthday Card for my best friend. To tell you the truth, I had purposely went downtown to one of the popular shopping mall to pick out two beautiful cards; the first card had cute cuddling bears with sweet quotes and the second card was a pop up card with candles and a couple of holes to see through the inside card.
It was pretty clear that I couldn’t made up my mind which to choose. I paused for a while and decided the best thing to do was to combine both cards into one special birthday card.
Create your very own designed Birthday card
The advantage of window shopping is you could gather many exciting ideas by combining two or three different cards to create your own unique design birthday card and save money by not purchasing anything at all!
In addition, you may add in some colorful buttons, cute ribbons or cut out pretty designs from old clothing and paste them to make your cute birthday card extra special!
Draft it Out !
As soon as I reached home, I brought out all my supplies and quickly draft out a rough idea on my notebook while trying to remember the card designs that I had seen at the bookstore.
It is advisable to draft out a couple of birthday cards with different designs and themes. Hence, you will have some choices to choose which design suits best, uses the shortest time and at least you won't freak out in case you encounter some unexpected problems during making your birthday card project
Pretty soon, I had designed a cool birthday card with just a few scraps of wrapping gift paper, ribbons and color construction papers. Simple and unique!
Regardless of which theme you decided to use in your handmade birthday card, don’t forget to include a special handwritten birthday quote that suits the feelings which you wanted to express to your special friend.

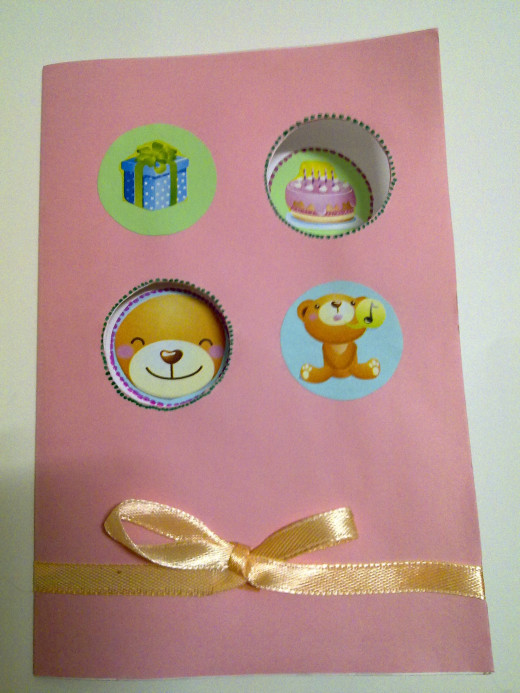
Here is the handmade birthday card that I had made recently and a perfect birthday quote that goes well with this matching card.


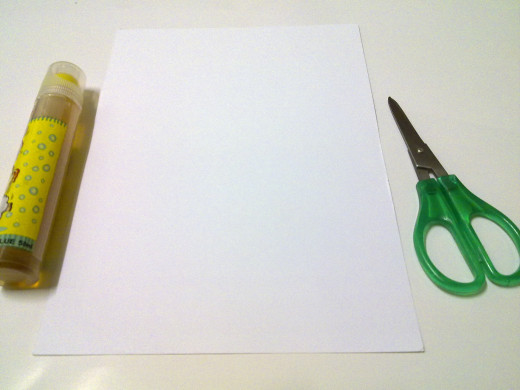
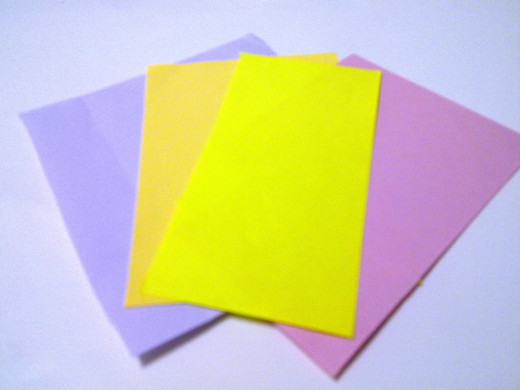
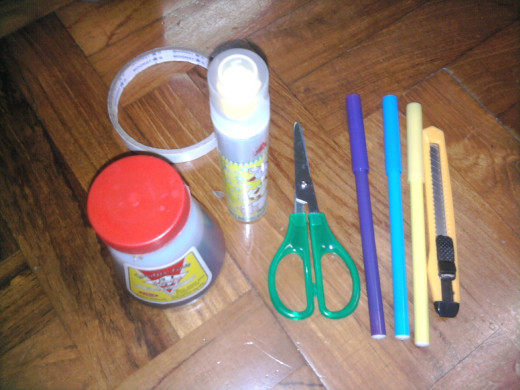
Things you need:
Colorful construction papers
White card
A pair of scissors
White glue or school glue
Pencil
Ribbons
Colorful markers
Pattern paper with cute bears
Step 1
How to make the front card
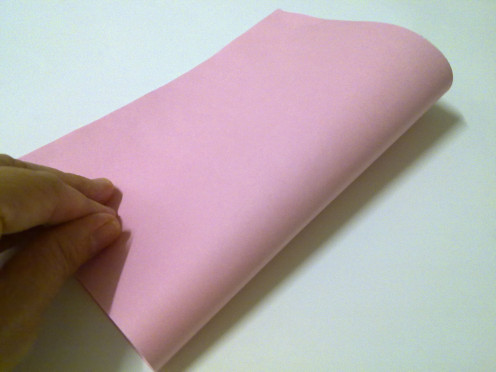
Use the ruler to measure pink paper 6.5” x 11.5” and draw out the lines.
Repeat the same step with the white card too.
Cut out along the lines of the white card and pink paper.
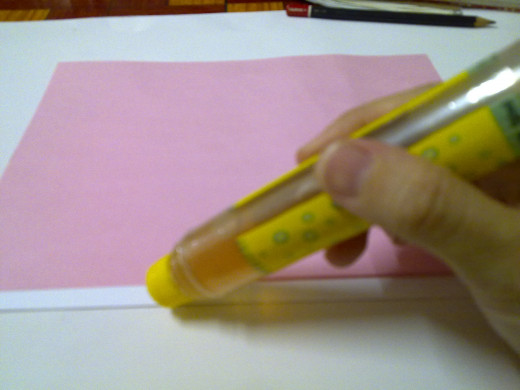
Apply glue along the sides of the pink paper and paste on top of the white card.
Fold the pink card into half.

Step 2
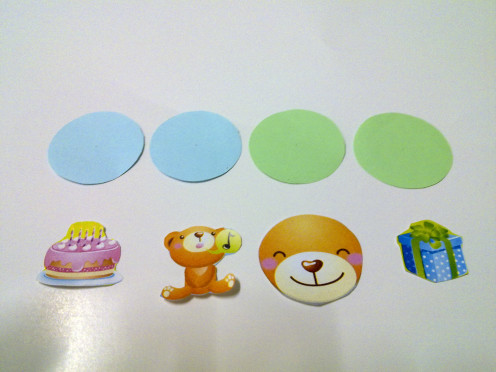
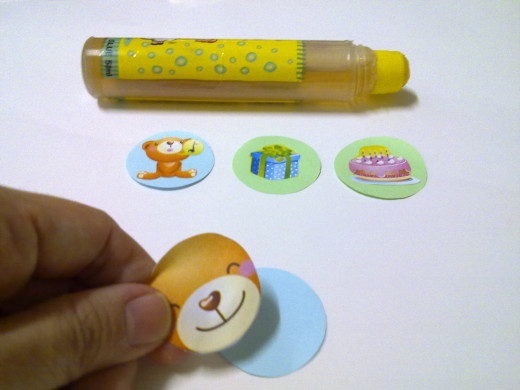
Making the circle bears:
Draw 2 circles on the blue paper and another 2 circles on the green paper.
You could use the base of the glue bottle to draw the circles.
Cut out all the 4 circles and leave aside.
Choose cute pictures of 2 bears , 1 gift and 1 birthday cake.
Cut them out.
Apply glue at the back of the 1st bear and paste it on to the blue circle.
Apply glue at the back of the 2nd bear and paste it on to another blue circle.
Apply glue at the back of the birthday cake and paste it on to the green circle.
Apply glue at the back of the gift and paste it on to another green circle.

Step 3
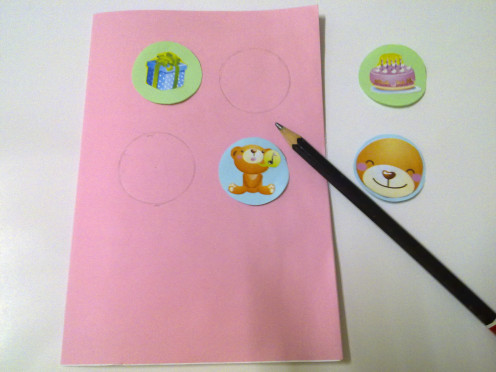
Photos Guide
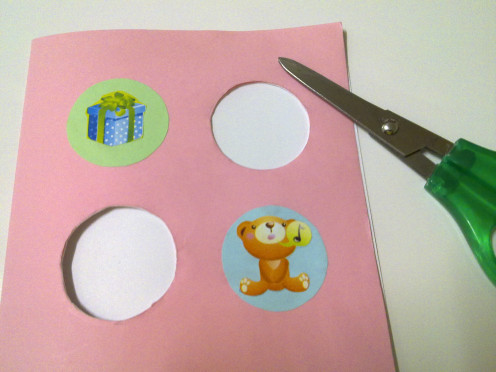
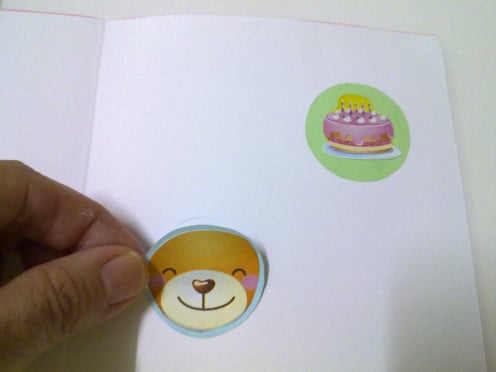
How to paste and cut the cute pictures:
Draw 2 circles in front of the card, at least leave 1 inch from the top of the card.
Draw another 2 more circles below. Leave a little spacing in between the circles.
Apply glue at the back of the gift circle and paste it on top of the first row circle on your left.
Apply glue at the back of the cute bear circle and paste it on top of the second row circle on your right.
Use the scissors to cut out the other two circles.
Use a pencil to lightly draw the circles through the pre-cut circles.
Thereto, you could see the drawn circles inside the card.
Open up the birthday card.
Apply glue at the back of the birthday cake picture and paste it on to the top circle, inside the birthday card.
Apply glue at the back of the gift picture and paste it on to the bottom circle, inside the birthday card.

Step 4
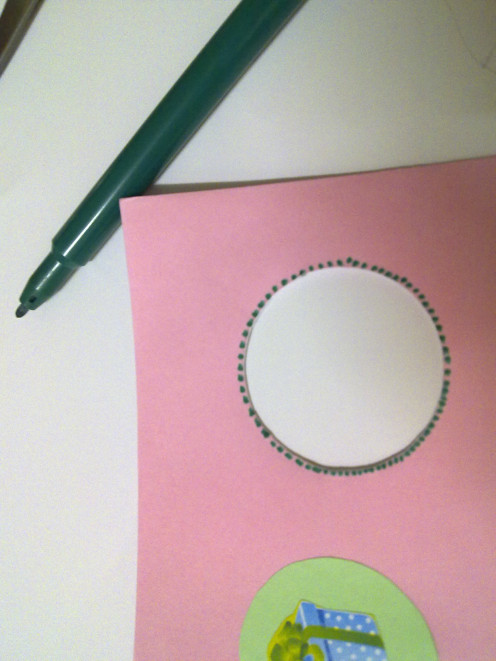
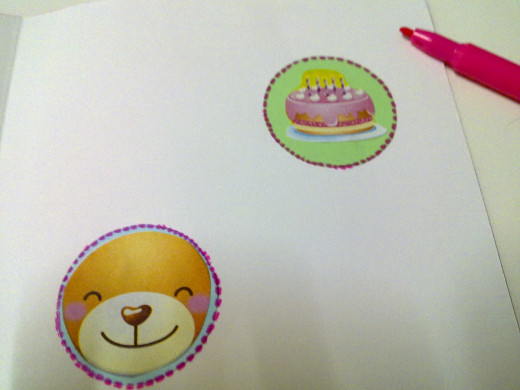
Draw the Dotted Lines
Noticed that the pre-cut holes look plain and dull, here is where these colorful markers are put into good use.
Use a red or pink marker pen to draw dotted lines around the pasted picture.
Use a green marker to draw dotted lines around the pre-cut circles on the front card.
You will see that with these dotted lines, your cute pictures appear more striking and obvious.
You can use different color markers that you like.

Step 5
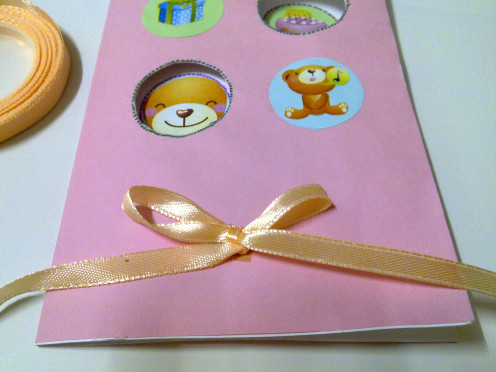
To make the ribbons – front card:
Cut a strip of ribbon, approximately 8 inch in length.
Tie a bow of ribbon and apply a small piece of double-sided tape at the back of the bow.
Paste it at the bottom of the front card.
Apply small pieces of double-sided tape at the back of the bow’s tails.
Paste them neatly, one tail on the left and the other on the right.
Trim off the excess tails.

Step 6
Photos Guide
Click thumbnail to view full-size
To paste the ribbon – inside card:
Cut another two strips of ribbon roughly 14 inch in length.
Apply small pieces of double-sided tape behind the ribbon.
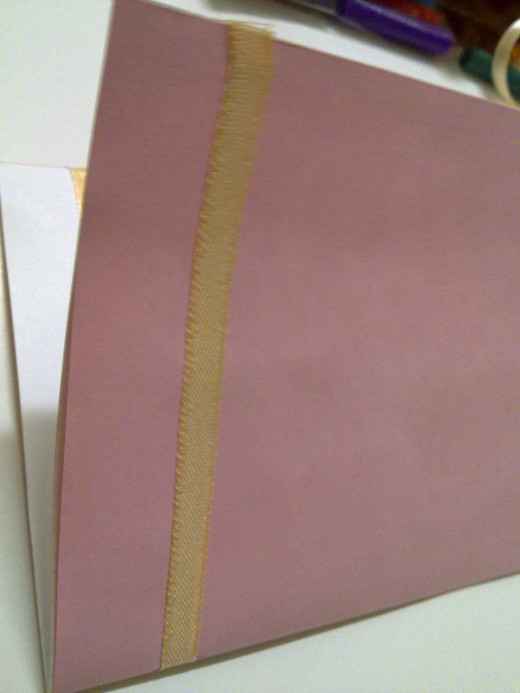
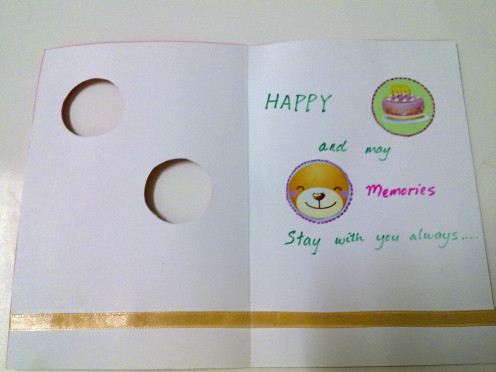
Paste the first ribbon across the inside card, the same height of the front card.
Paste the second ribbon across the back card, the same height of the front card.
The ribbon will look like the front card ribbon is flowing continuously from the front to the inside card and to the back of the card.
Oh yes! Remember to add in Birthday Quotes or Simple Verses inside your Birthday Card.
Your Cute birthday card is done!

Finally Done! The Front View of Cute Birthday Card
