How to create your own rubber stamped stationery
Rubber stamping as an art.
Almost 20 years ago, I took my first rubber-stamping class. I remember sitting in the cafeteria-style room with less than 10 other women trying to figure out why a class was needed to learn how to rubber stamp. My previous exposure to rubber stamping was at the library. They had an ink pad with a date stamp at the desk where I would check-out books. The stamp was used to mark the due date of the book.
The world that was opened to me from that one class is unforgettable. Rubber stamping has developed into an opportunity to demonstrate my crafty side of life.
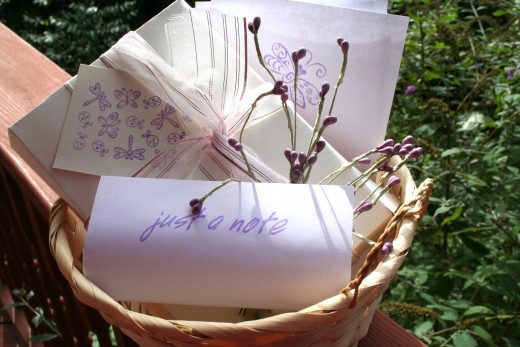
This custom gift basket ensemble makes a great gift idea for friends and family. My first basket was a thank you basket to my piano teacher many years ago. I made hers from an iris rubber stamp. Back then I only had basic markers, not the fancy copics I own today.
Step 1. Have a plan.
Often, plans do not work out as well as we expect. When creating stationery it's important to have an idea of what you want the end result to look like.
- How do you want to store the stationery when it's finished?
- Do you want to give it away or keep it as a gift?
- Will you store it in a box?
- Do you want to create a variety of pieces and put them in a decorative basket?
- How much are you planning on creating?
- What pieces are you going to create?
- What kind of box would you need if you were going to store it in a box?
- If you are going to use a basket, do you want a rectangle basket, round basket, etc.?
- What will you need for decorations?
- What design do you want on the stationery?
- Do you have all of the stamps on hand to make the stationery?
Step 2. What supplies do you have on hand?
The next step is determining what you have on hand.
There are many tools rubber stamp artists use in their creations.
First you will have to learn the techniques and styles of rubber stamping.
Then figure out if you need to purchase any supplies. This is important because I've found myself in the middle of a project a few times without the necessary supplies to complete it. Then I either have to stop in the middle of it and run to the store hoping they have it in stock, or I have to order it online which will take a few days to receive. Some places take up to two weeks to deliver.
Before jumping right in to a rubber stamping project, it's good to have basic supplies on hand. See table below for some ideas.
Rubber Stamp Supplies
|
|---|
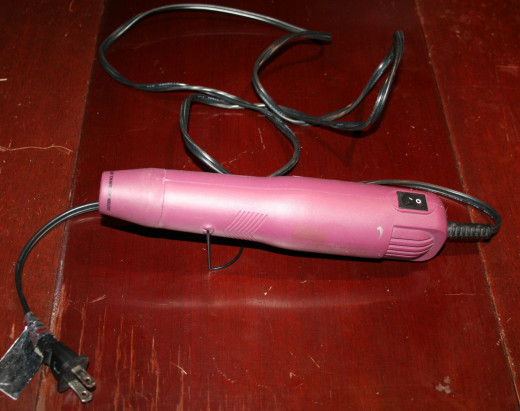
Heat Gun
|
Light Table
|
Ink Pads
|
Rubber Stamps
|
Embossing Tool
|
Embossing Powders
|
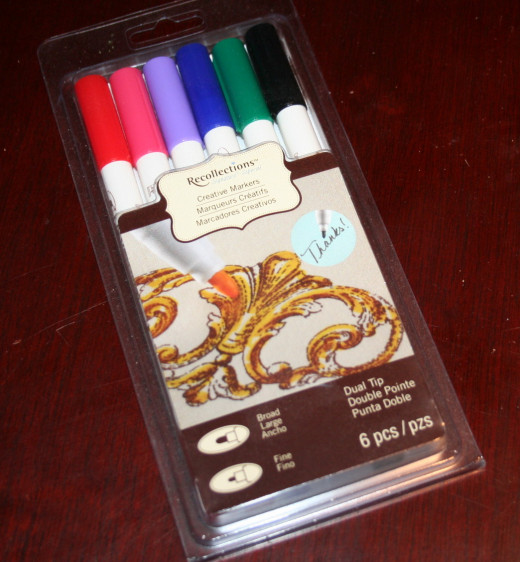
Rubber Stamp Markers
|
Copic Markers
|
Colored Pencils
|
Watercolor Pencils
|
Cardstock
|
Evnelopes
|
Stationery Paper
|
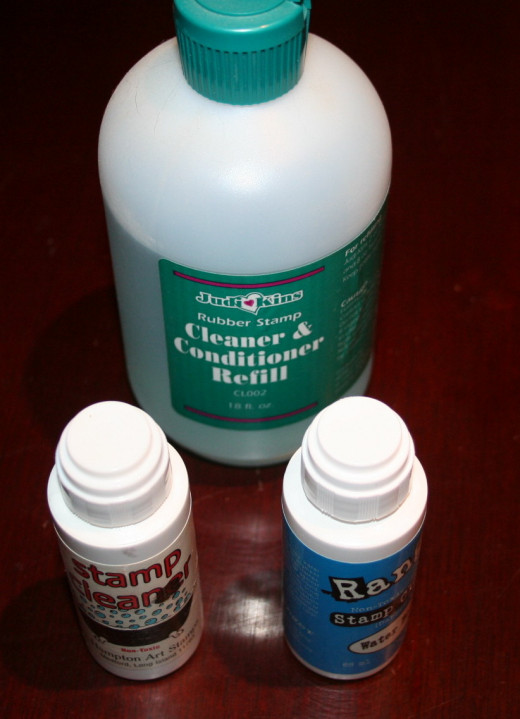
Rubber Stamp Cleaner
|
Tray for used Rubber Stamps
|
Paper Trimmer
|
Measuring Spoons
|
You may not need everything listed here.
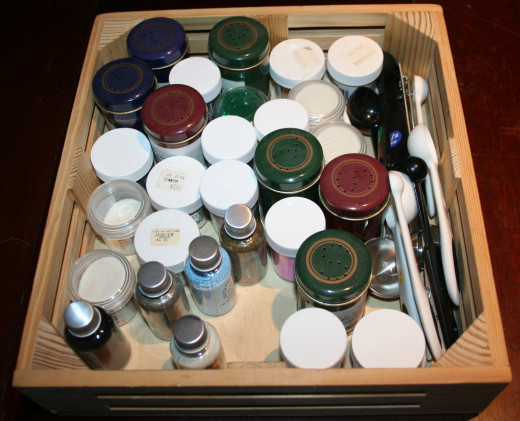
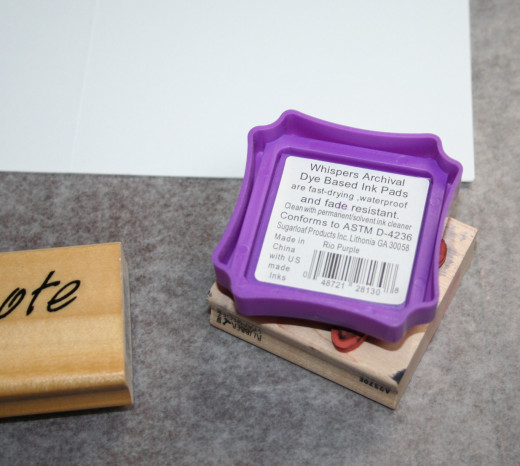
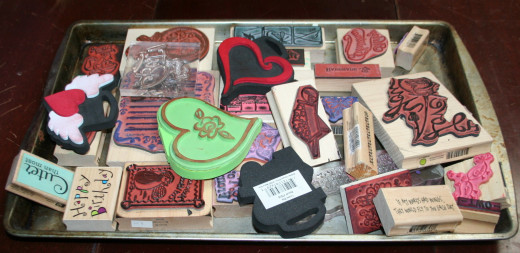
A few of my own rubber stamp supplies.
Click thumbnail to view full-size


Dry Emboss.
|
|---|
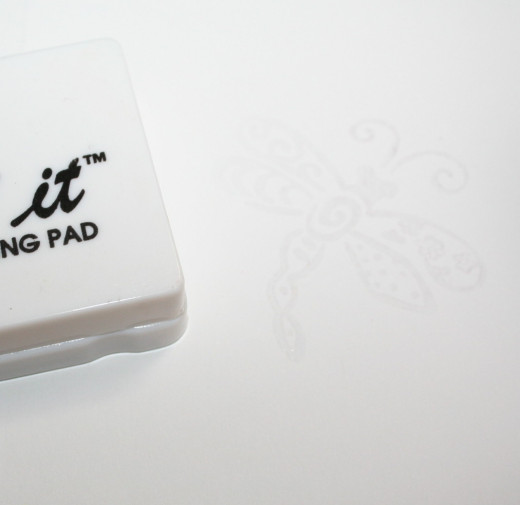
A light box, not shown here, is used to dry emboss images on to a piece of cardstock. For this demonstration, we are using embossing powders with heat.
|
Tip!
|
|---|
Store ink pads face down for longevity.
|
Step 3. Different types of inks.
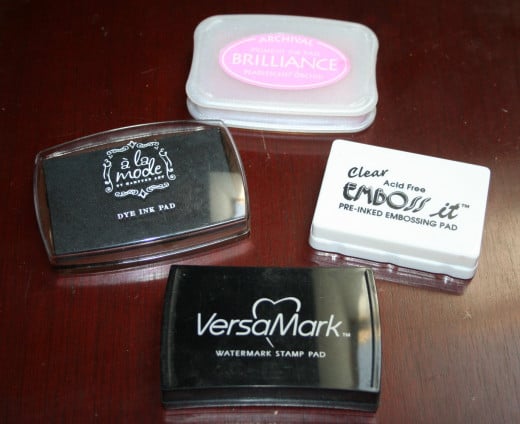
Dye ink. Dries fast, great for paper and cardstock, comes in many colors.
Pigment ink. Takes a while to dry. Can be heat dried with an embossing gun. Can be used with embossing powders. Can be used on glossy surfaces such as vellum, photos, and coated paper. Also can be applied to porous surfaces such as tissue paper and wood. Comes in many colors.
Watermark ink. This ink creates a translucent image. Can be used with embossing powders and heated with heat gun.
Embossing ink. Slow drying ink developed specifically for rubber stamping. This ink is used with embossing powders to create an embossed image with a heat gun.
All of the above inks can be applied directly to a rubber stamp in its entirety.
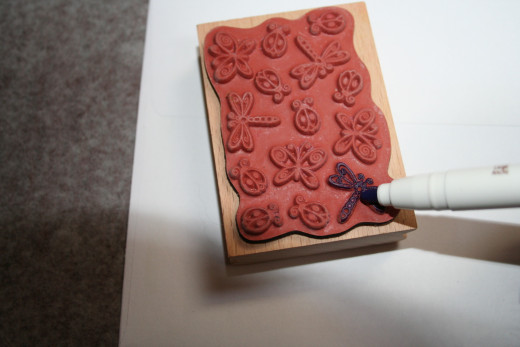
Brush Markers. Brush markers are special markers designed for rubber stamps. They are to be applied directly to the rubber stamp on the areas you choose. Unlike ink pads which are large and usually cover the entire stamp, the brush marker has a small tip for applying color to the areas on the stamp that you want to create a design with on paper.
Tip!
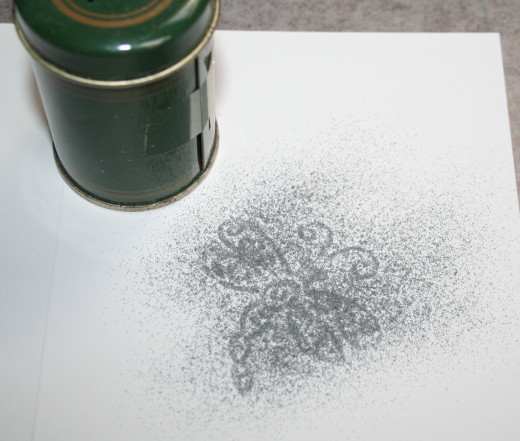
When using your embossing powders, use a piece of scrap cardstock under the embossed object. When you are done powdering, shake off the excess powder on to the scrap piece, and the remainder can now be placed back in to the powder container. This eliminates waste and saves money on supplies.
Measuring Spoons
|
|---|
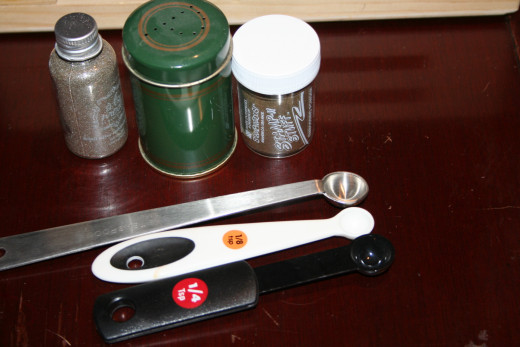
Keep 1/8 and 1/4 size spoons on hand in plastic or stainless for measuring powders.
|
Step 4. Organizing embossing powders.
When you are creating stationery with embossed rubber stamped designs, you may want to incorporate colored embossing powder.
Especially while making Christmas cards, I go through a lot of red and green embossing powders. I also use a lot of silver and gold in my designs.
Therefore, to organize embossing powders, I purchased salt and pepper shakers. They have removable tops. Just empty the embossing powders in the shakers and pour out what you need when you stamp your image.
This has become a very effective way to organize the many colors of embossing powders I used in my designs. Because when I'm done with the embossing process, there is always powder leftover that I like to save and not throw away. It's too expensive to waste.
Some of the embossing powders already come in jars with large openings. For those powders, I keep them in the original containers. For other jars with smaller openings, once I open them, I transfer the powder to the shakers for future use.
Step 5. Set up your work area.
I have an art studio with an antique table in the center of the room. This allows me to create large scale projects. I also have a desk to the side for rubber stamping.
It's good to place wax paper down in front of you no matter where you work for easy clean up.
- Make sure your work space is clean. Clear off the table or counter where you will be working. Dust the area.
- Lay down a piece of wax paper over your work surface. This will keep your work area separate from ink pads that you do not want to accidentally stain your papers with.
- Have your papers pre-cut and ready to stamp. This includes cardstock for greeting cards and paper for stationery.
- Keep your inks in one place off to the side, powders and heat gun nearby.
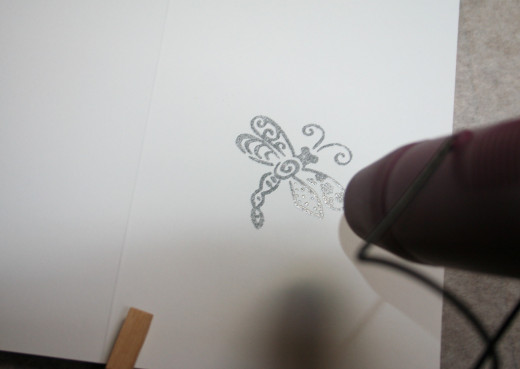
- Plug in your heat gun and turn it on once until it gets hot. Then turn it off. This way when you go to place your embossed image under the gun and turn it on, it will melt the powder with less effort than waiting for it to heat up all over again and possibly blow around some of the loose powder.
Tip!
When embossing cards with a heat gun, hold the card with a clothes pin or tweezers. Something that will not make an indent on your cardstock. The reason for this is so that you don't accidentally burn yourself with the heat gun and can emboss the image thoroughly without moving the card around.
Step 6. Rubber Stamp your Designs.
Rubber stamp your images.
Start with a clean rubber stamp.
Make sure you apply enough even pressure when pressing the stamp on to the cardstock or paper to make a clean impression. You can use a ruler or guestimate the center of your cards for placing the image.
Here is when you decide to use brush markers or ink pads. The possibilities are endless. It's a matter of preference and how you want your images to appear as they are stamped on the paper.
If you are using dye ink, you may heat the ink until it is dry. Otherwise, it is recommended to wait until the ink has air dried before applying marker or pencil color. If you don't wait, you may smear the dye ink in to the stamped image.
(Also, when the ink isn't dry and marker is applied, the ink will run in to the marker surface creating a streaked color when applied. This is not desirable. It may even ruin the image all together.)
Otherwise, use the heat gun to melt the embossing powder.
Set your design aside away from your work station, especially ink pads.


Tip!
To create a watercolor image, color on one side of a stamped image on cardstock with copic markers. Using bold, strong colors, flip the card over the card and see how the marker soaked through. Use this as a decorative card topper or create a gift tag by covering the colored side with another piece of cardstock.
See photo below under bonus!
Step 7. Color in the images.
There are many ways you can color in an image.
Copic markers, watercolor pencils, colored pencils, regular markers, etc. The possibilities are endless.
You can also decorate your designs with glitter glue and glaze.
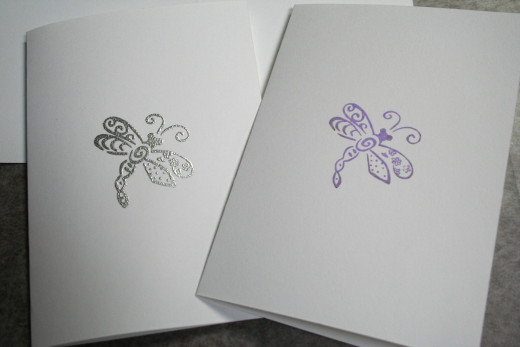
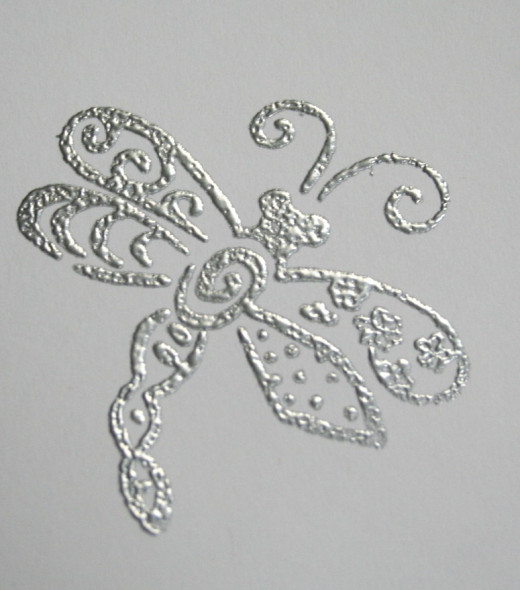
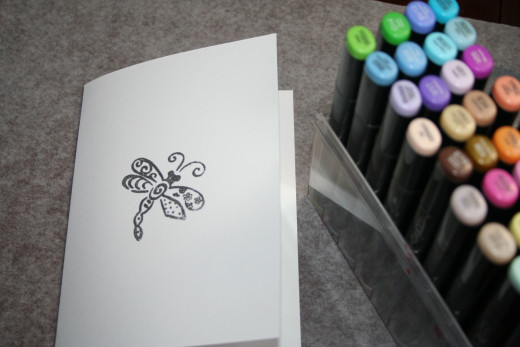
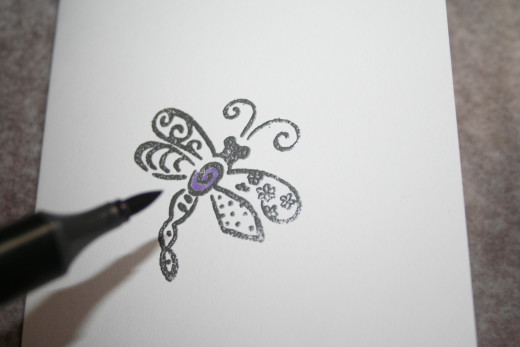
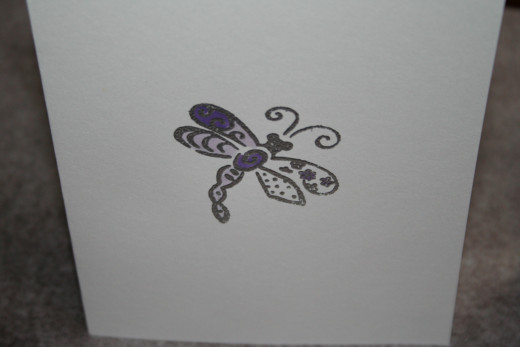
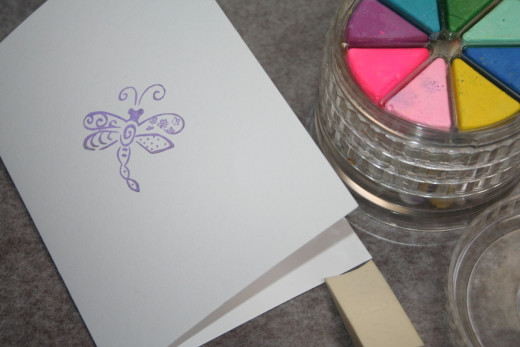
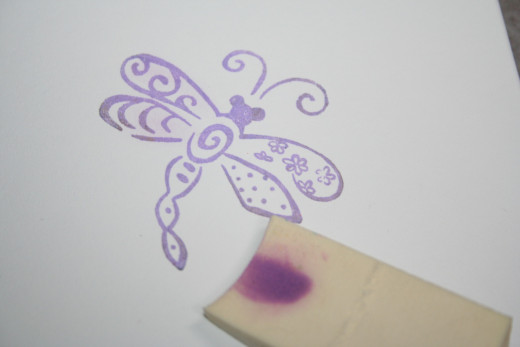
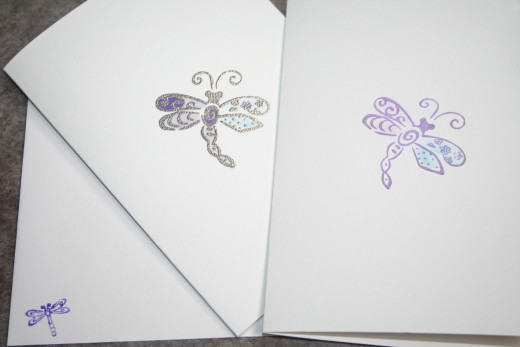
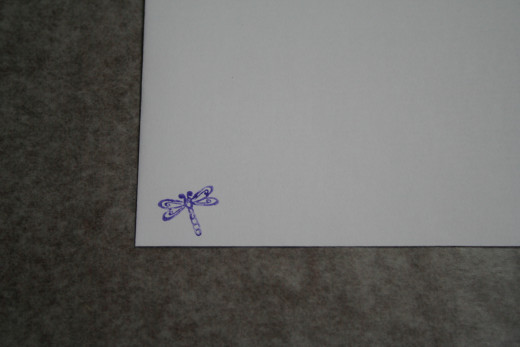
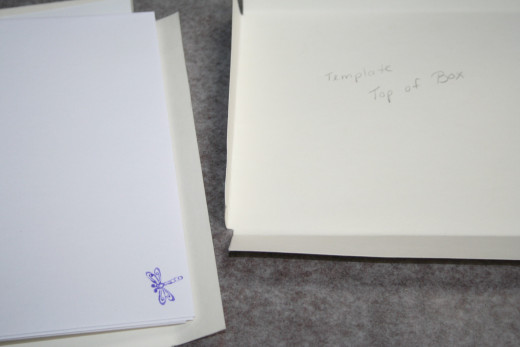
For the embossed card in this project, I used copic markers. For the second card that was rubber stamped with purple ink, I used chalk to color in the image of the dragonfly. When using chalk, you can use makeup brushes as well as cosmetic wedges to apply the chalk.


Step 8. Creating a set of stationery.
Decide how many items you want in each set.
For example, if you are creating a set of notecards, decide how many you want in the set. This also means you need to decide how you want the notecards packaged. Do you want them in a box? Do you want them loose in a basket?
Also, decide if you are going to create pieces of matching stationery with the same stamp or a smaller one.
I used to create a lot of unique, custom stationery sets for offices. For example, someone preferred a flower stamp on a set of note cards, but their first initial on paper so they could write notes to go in to the notecard.
These are just a few ideas. Your can create practically any scenario from imagination.
Tip!
To save money, I have found sets of boxed wedding card kits in plain white or ivory on clearance. Sometimes those cost less than a box of card envelopes and you get twice as many in a set.
Step 9. Don't forget envelopes.
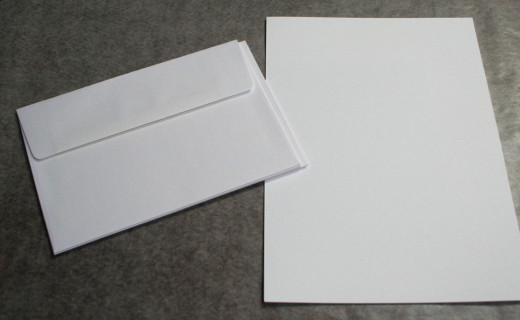
Fortunately, pre-made envelopes come in all sizes.
For note cards, you can use card size envelopes. For decorative paper, you can find a business size envelope. You can also stretch your imagination and decorate the envelope as well. Who wouldn't want a set of matching stationery complete with envelopes? If you choose to decorate your envelope, here's a suggestion for picking a matching rubber stamp.
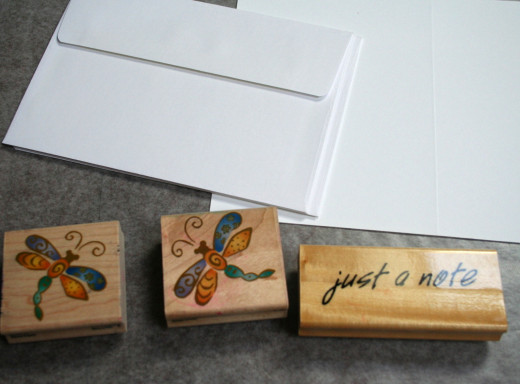
Of course you can use the same stamp you used for the greeting card.
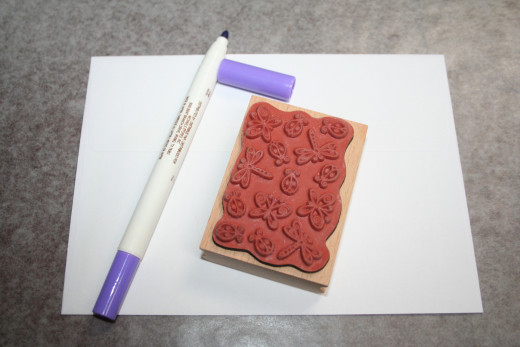
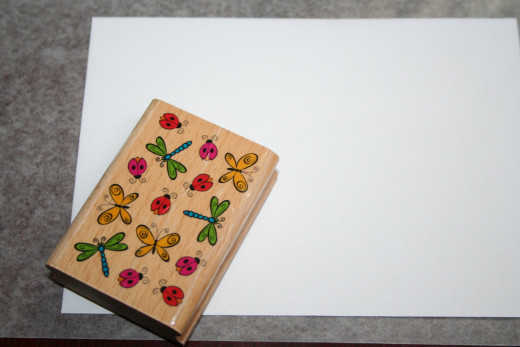
If you want to get more creative, find a different stamp in the theme in which you are working. For example, insects. For the greeting cards here today, I chose dragonflies. I happened to have another stamp with an assortment of insects and one smaller dragonfly. I used that with a brush marker, only coloring the dragonfly I wanted to stamp on the envelope, and a tiny image appeared on the envelope.
Here are some suggestions about where to purchase envelopes (in no particular order):
- Walmart
- Target
- Office Supply Stores
- eBay
- Amazon
- Other online retailers


Step 10: Arrange the gift basket.
Place the stationery in the gift basket how you see fit.
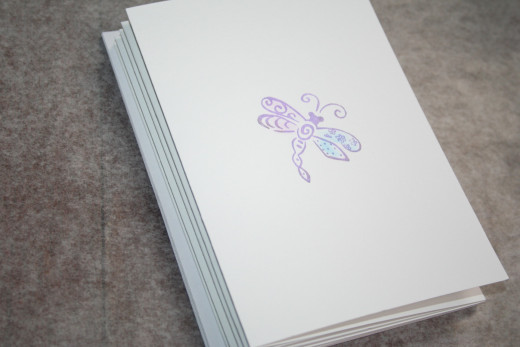
For example, the note cards may be in a box. Tie a bow (or use baker's twine) around it and place inside the basket along with loose decorative papers. Or, roll the papers like a scroll and tie with a ribbon. Then tie to the top of the box with a bow.
There are many ways to organize the stationery inside the basket.
The key is to decorate the basket to match the stationery.
If using a floral patterned rubber stamp, you can find silk flowers to match the design. Roses for rose pattern, irises for iris pattern, and so forth.
You can also use tissue paper to fill the basket, and coordinating ribbon to tie around the basket or over the basket handle.
Bonus.
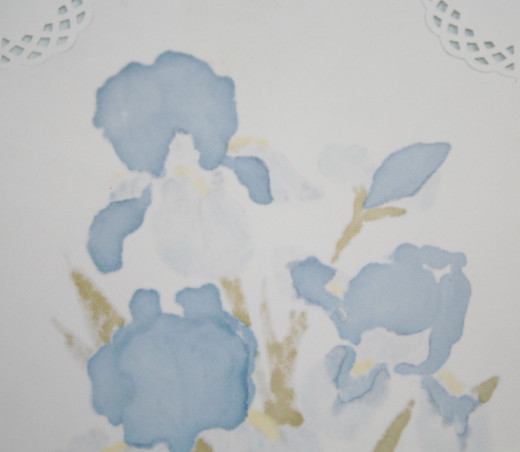
When working with copic markers, bold and bright colors will bleed through cardstock. Flipping over the colored image will result in a watercolor look.
I prepared the image of the irises below as a greeting card topper. This would also work well as a gift tag.
Conclusion.
Whether you want to create personalized stationery for yourself or to give away as a gift, rubber stamping is a relaxing and fun hobby.
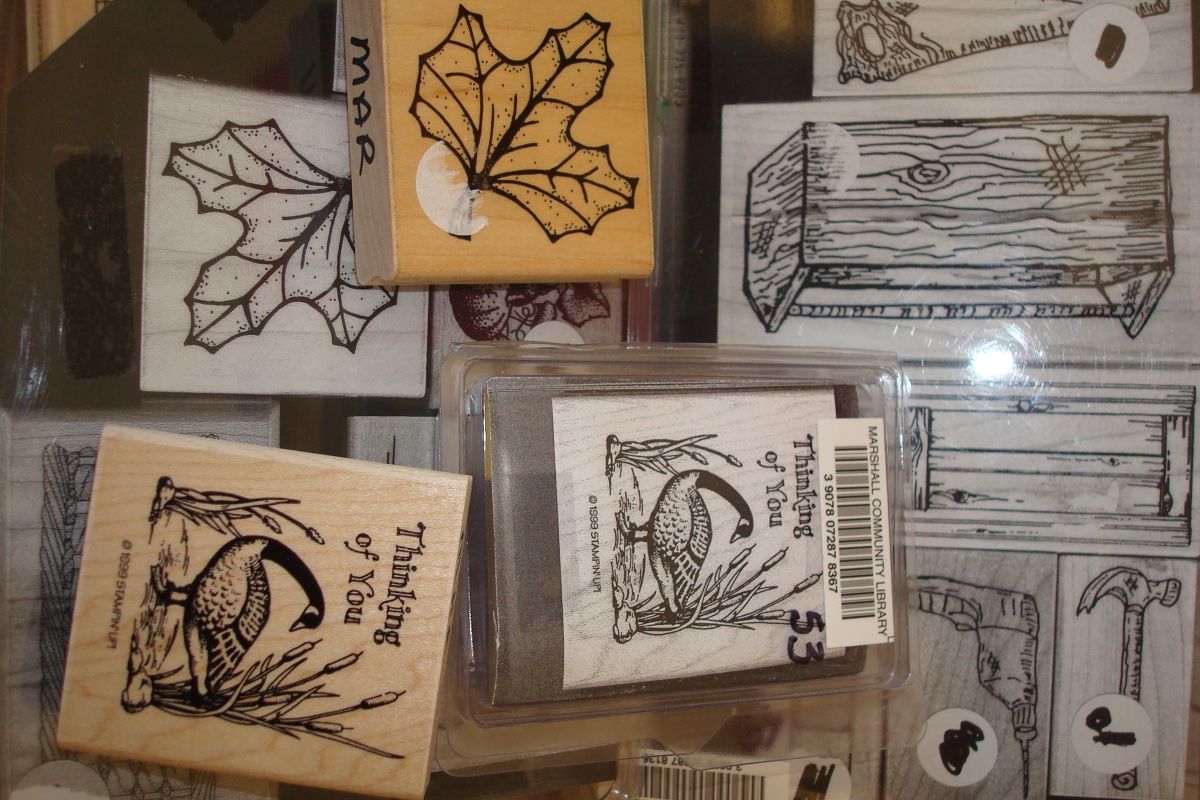
Starting out decades ago, I owned a small three-drawer cart on wheels where I carefully arranged my rubber stamps. My collection has grown quite substantially.
Visit me here
- How to organize your rubber stamps ~ for crafters
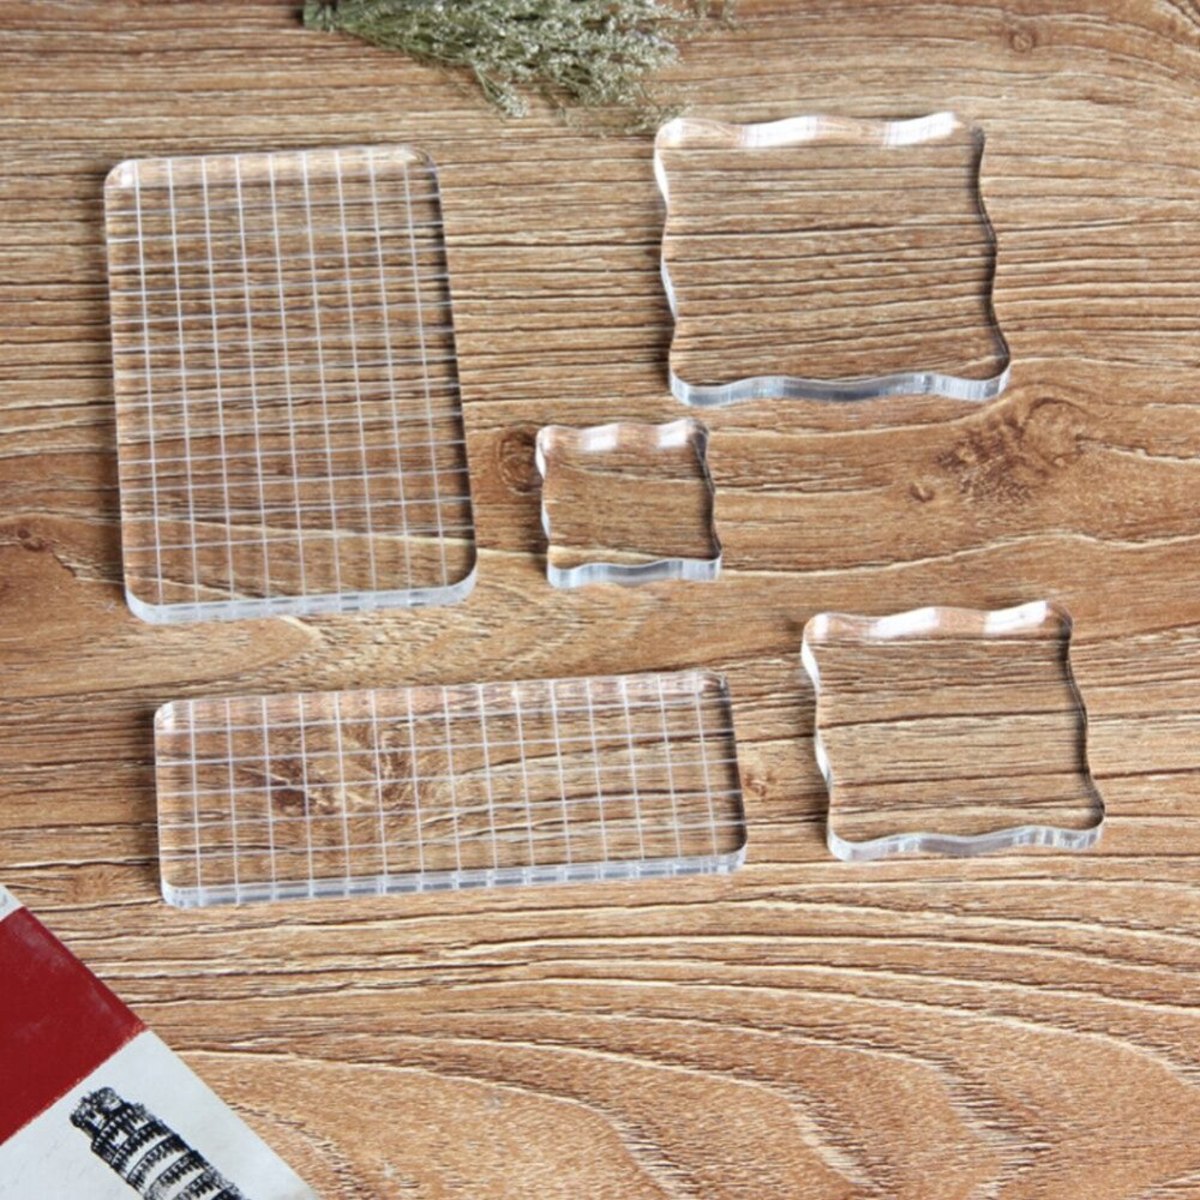
Tips for organizing your rubber stamps, wood mounted or clear stamps, for paper artists, and card makers!

