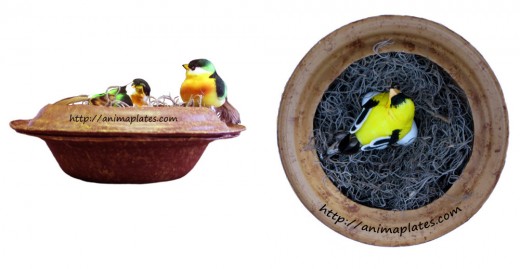
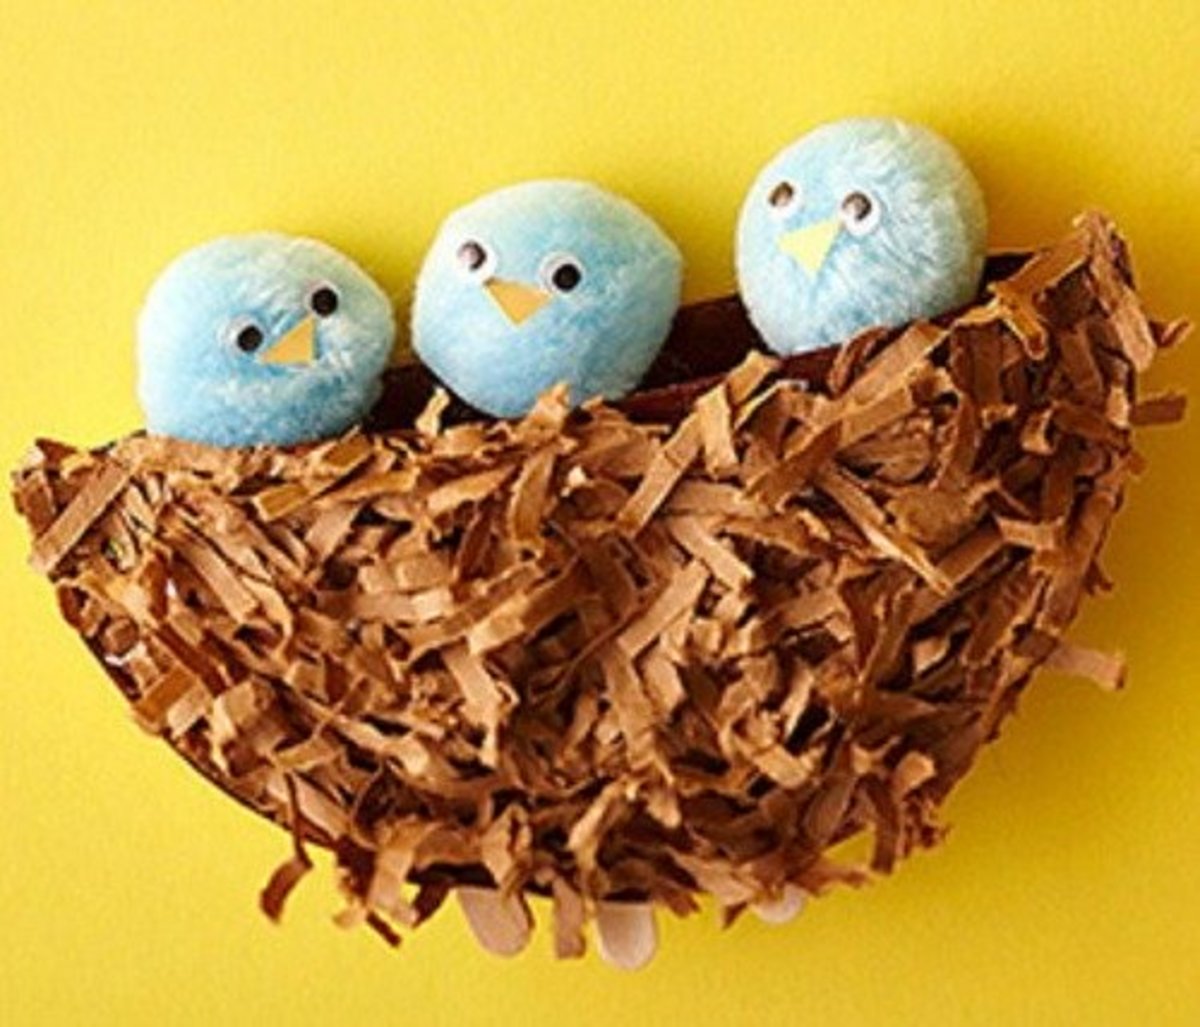
How to make a bird nest from paper plates
This little nest is easy to make. Young children will need your help to cut the hole in the plate, but they'll likely be able to do the rest of the project by themselves.
Materials
- one round paper bowl of 16 cm (6¼ in) diameter and 3.5 cm (1½ in) deep
- one small round paper plate of 17 cm (6¾ in) diameter
- thick white glue
- piece of marine sponge
- paint colours of your choice
- acrylic varnish (optional)
- raffia or dried moss or artificial straw
- small styrofoam eggs or small eggs made out of playdough or chocolate eggs
- small decorative birds
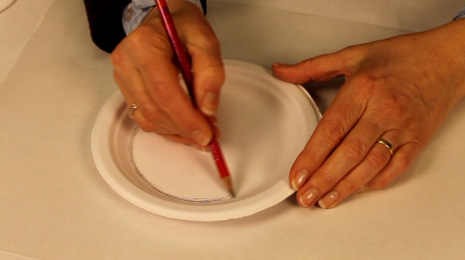
1. Draw a 11.5 cm (4 3/8 in) circle in the centre of the plate.
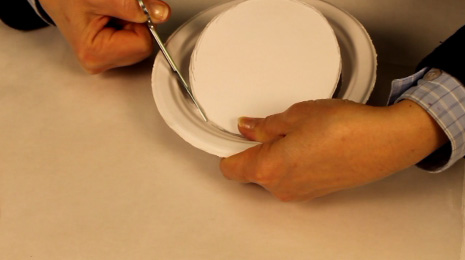
2. Cut the circle.
To make this cut, use small scissors and carefully make small cuts.
You may find it easier to first make a hole in the centre of the plate and then cut from there.
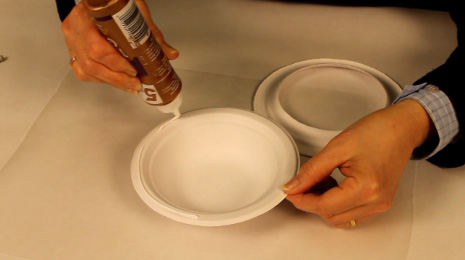
3. Put white glue around the edge of the bowl.
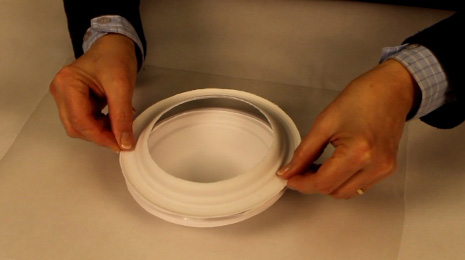
4. Glue the small plate on top of the bowl to form the nest.
Let dry.
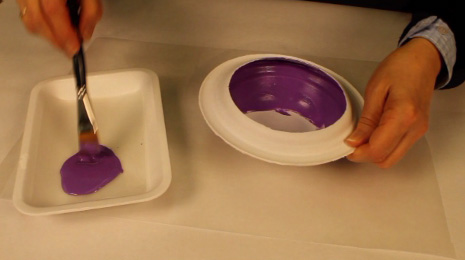
5. Paint the inside of the nest.
Let dry.
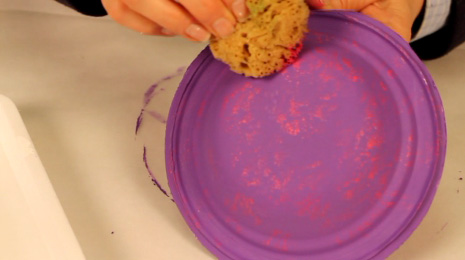
6. Paint the outside of the nest in a colour of your choice.
To give an interesting effect, choose a contrasting colour and apply it with a piece of marine sponge
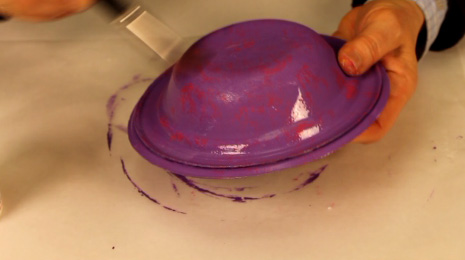
7. When the paint is dry, add a coat of acrylic varnish in order to bring out the colours.
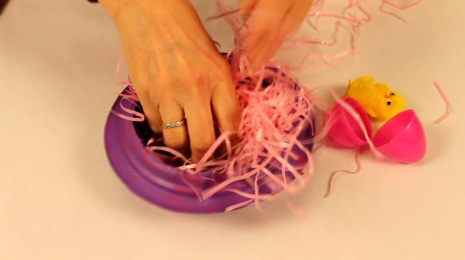
8. Fill the nest with raffia, dried moss or artificial straw.
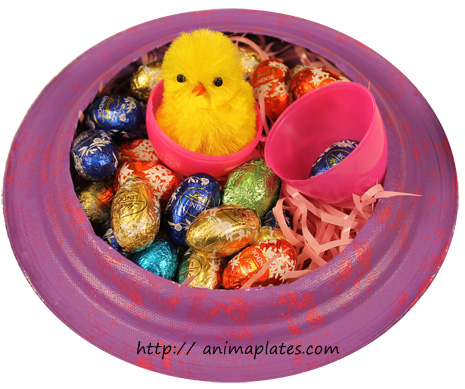
9. For Easter, you can fill the nest with chocolate eggs and a little chick.
If you prefer a more realistic looking nest, use colours that are closer to nature.
Teachers and educators can use this activity to illustrate a lesson on bird nests.
