Lego Cake for 6-Year Old: Step-by-Step Instructions

For his 6th birthday, my son wanted a lego birthday party. He was very excited to have free play with a huge pile of legos, and was almost as excited to see (and eat!) his lego birthday cake.
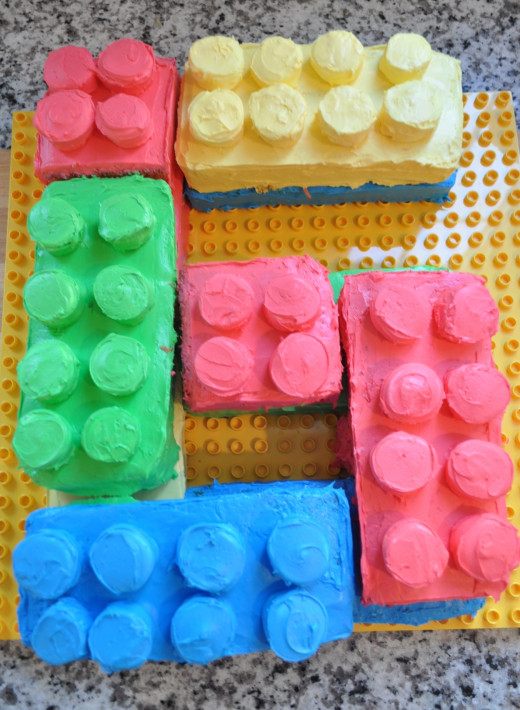
There are an abundance of lego birthday cakes out there. The basic concept is simple: bake cakes, cut them into rectangles or squares, frost them, and then add frosted marshmallows as the tops of the legos. Of course, I aimed to up the ante on my son's lego cake, so I designed a lego cake that, when complete, would also be in the shape of the number six (see picture below). [Note: The methods described here can be used for any number or shape!]
Here are my easy, step-by-step instructions for decorating this cake. For some general tips on cake decorating, see Decorating a Cake Like a Professional.
Supplies
Here’s what you’ll need to create an outer-space cake:
- 4 boxes of cake batter
- 4 tubs of vanilla frosting
- food dye (preferably gel dye)
- 1 bag of marshmallows
- Wilton Rose Nail (optional, but extremely helpful!)
- a lego building plate (optional)
The Cake
- Bake 4 separate vanilla/white cakes in 9 x 13 cake pans. Placing a piece of parchment paper at the bottom of the pancake helps the cake come out easily once it is cooled. OPTIONAL: Dye each cake a different color (e.g., yellow, green, red, blue) to match the different frosting colors.
- Freeze the cakes. Once cooled, wrap the cake in a layer of wax or parchment paper and then in a layer of tin foil. If you plan to freeze it overnight, this should suffice.If you plan to freeze it longer than 24 hours, I suggest also wrapping it in plastic wrap to keep the freshness in.
Steps for Decorating the Cake
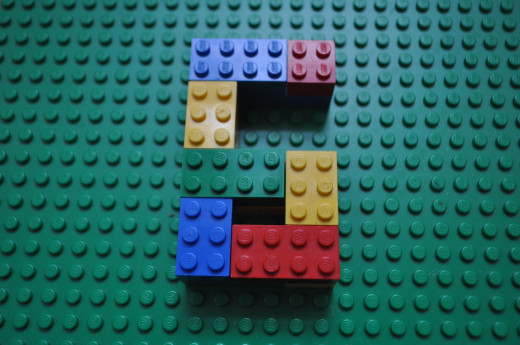
- Make a model of your cake using legos. In this case, build a number six out of legos.
- Prepare each frosting color by adding food dye to the frosting. You will need: Yellow, Green, Blue, and Red. Use one container for each color.
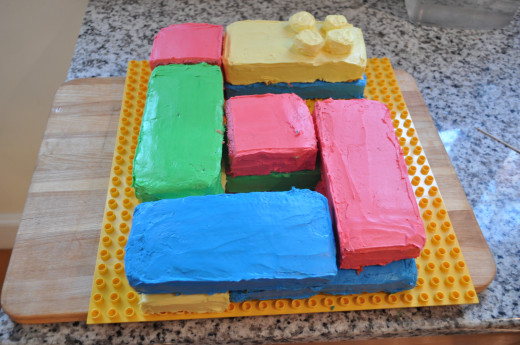
- Cut and frost your lego pieces. Cut a piece of wax paper into the dimensions that you want your lego cake pieces to be. The exact size will depend on the size of your cake board or building board and your design. Remove one cake from the freezer. Cut that cake into "lego" pieces using your wax paper as a guide. Frost each "lego" piece and set aside. Repeat with each color cake until all the "lego" pieces are frosted. Arrange the lego pieces on your cake board according to your lego model.
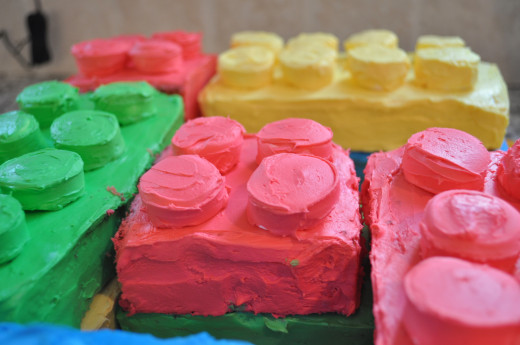
- Create and add the Lego "Studs" (the little round pieces on top).Cut each marshmallow in half using a pair of kitchen shears sprayed with cooking spray. Place the marshmallow half sticky side down on the Wilton flower nail. Apply the frosting as you spin the nail. Remove the marshmallow with your offset spatula and place on the lego cake.
Frosting a lego cake can be fun and easy. Use your imagination to create the perfect cake for your child. Different shapes and colors can add a personal touch. Enjoy your lego creation!