Halloween DIY: Turn Your Lawn Into a Graveyard With This Tombstone Project
Introduction
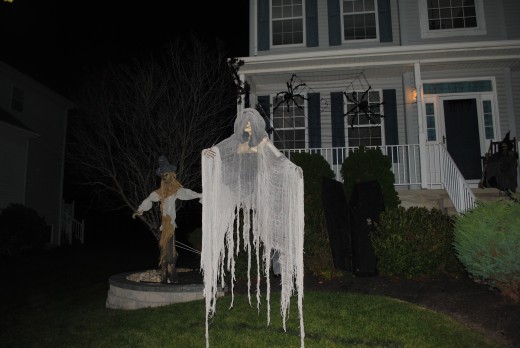
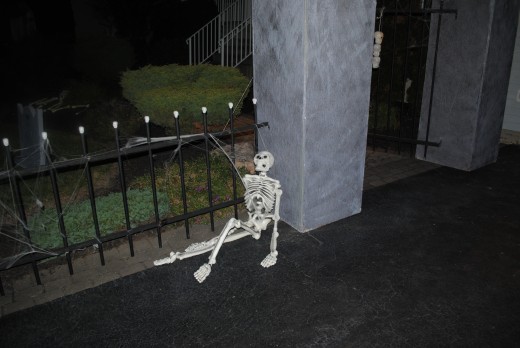
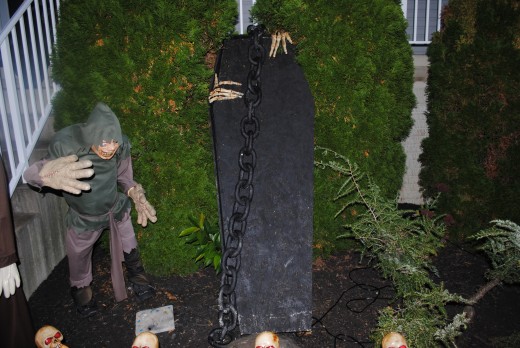
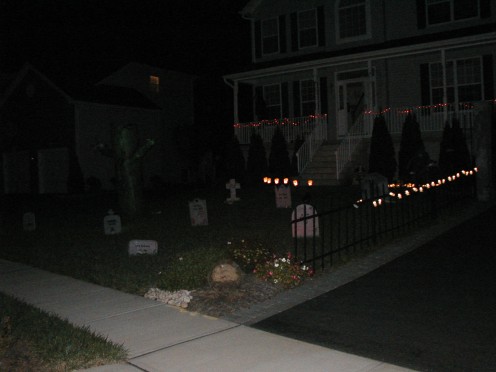
After many years of haunting Halloween I have assembled quite a collection of haunted props both big and small. Most I have made by myself using Halloween DIY methods as I find buying decorations to be quite expensive.
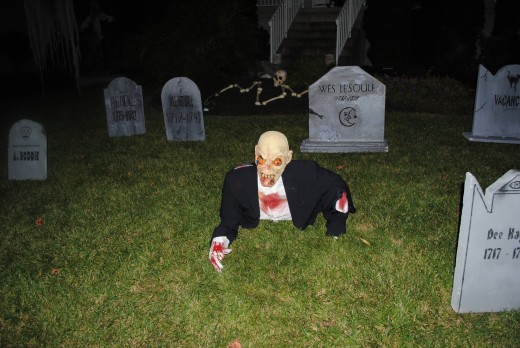
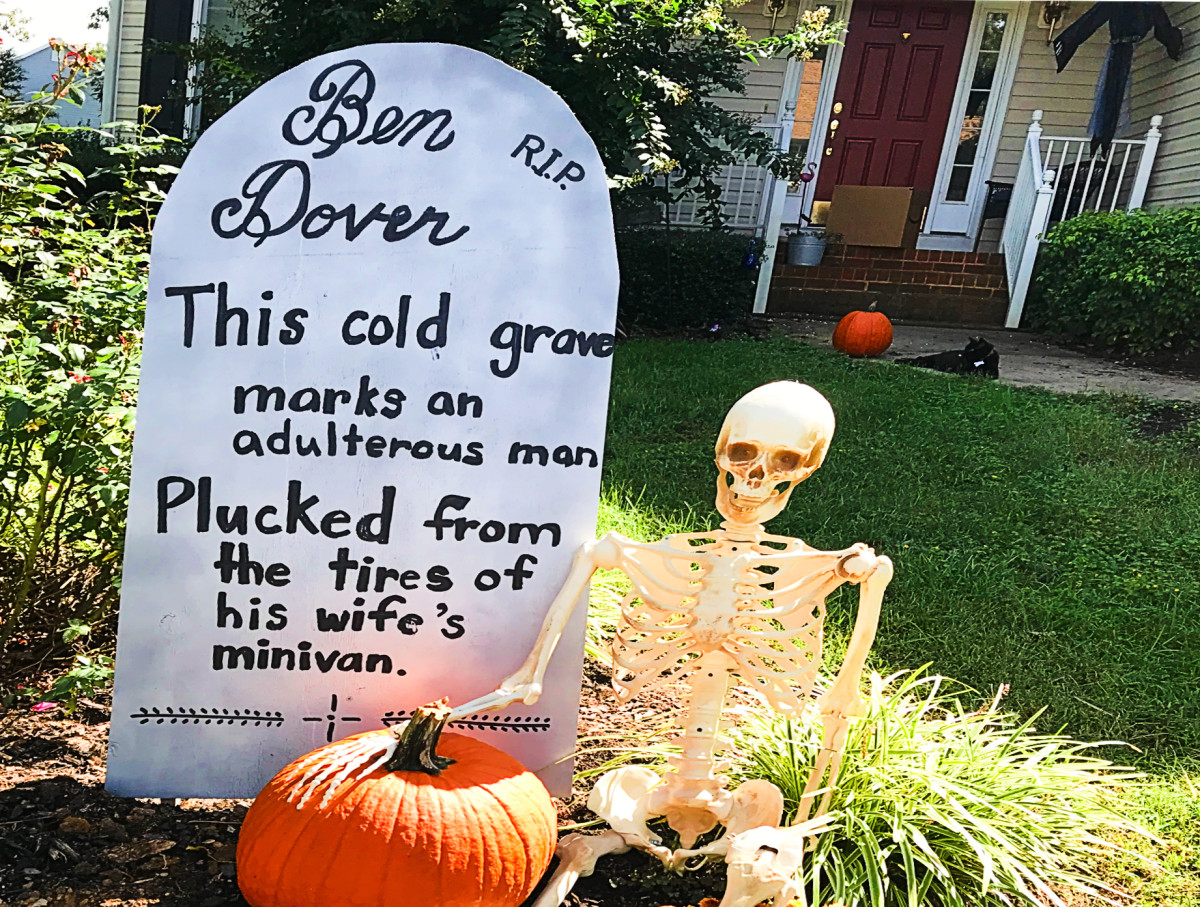
The decorations on this page are easy and cheap Halloween ideas. This tutorial will serve as a step-by-step guide on how to make Halloween tombstones. The method I use to build multiple batches at a time, creating a tombstone assembly line that will transform an ordinary lawn in to a spooky cemetery in a few short hours.
Tools Needed
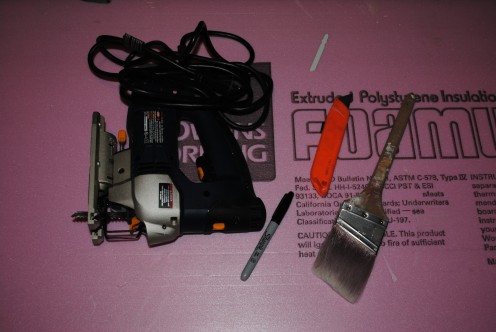
You will need the following pieces of equipment before starting your halloween cemetery:
- Jig Saw or Foam Cutter
- Exacto or Utility Knife
- Paint Brush
- Marker
Materials Needed
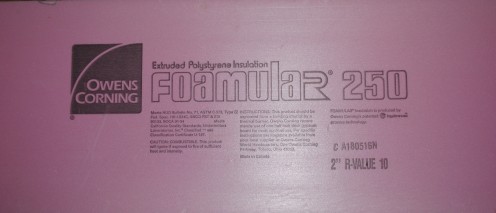
You will need the following materials to make your own tombstone:
- Foam insulation
- Black Exterior Paint
- Gray Exterior Paint (or White)
- Wood Dowels or equivalent scraps
- Sand or Wall Joint Compound (optional)
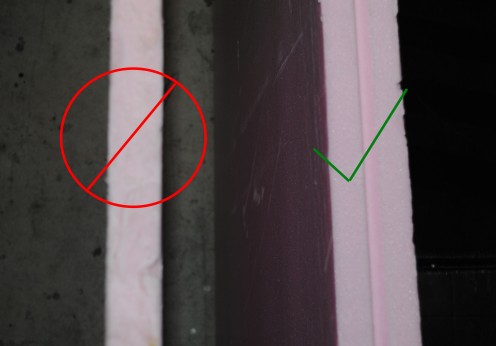
Foam Insulation (pictured on the left) comes in a variety of forms. The stuff I use is the pink 2 inch thick Foamular 250 from Owens Corning. Make sure you do not get the 1" variety or you will have problems keeping them staked down.
If you have white paint it will take a few drops of black to turn it to gray. I try to make use of the colors I have available.
Step 1
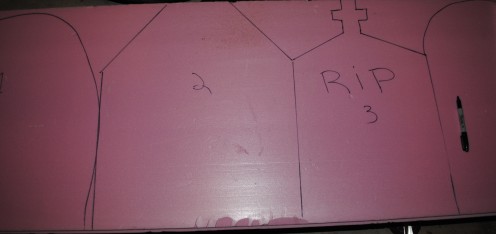
First draw the shapes of your Halloween tombstones on the foam before cutting. I like to make them fit 4 across which gives a nice size and a nice number of decoration per foam board.
Next use the Jigsaw to carefully cut out the designs you have drawn on the foam inuslation.
If you want to make a lot of these tombstones at once then repeat this process for 2-3 foam boards (yielding 8-12 headstones). It makes it much easier if you make all drawings and cuts first on each board before moving to the next step.
The shapes of the tombstones in the picture to the left are very simplistic, if you want more authentic or eloborate shapes I would suggest a trip to your local graveyard for ideas. Don't forget your camera.
Step 2
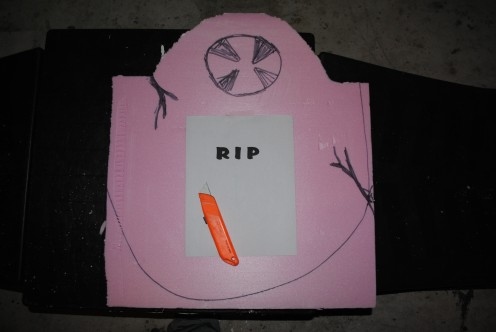
Next you will want to create the epitaph for the headstone. There are many ways to do this, my favorite is to carve out the letters with a utility knife.
If you are not good artistically (like me) then I suggest to print out your saying on the computer first. Then tape it to the foam board and use the knife to cut through the paper and into the foam. After you have the basic outline of the lettering you'll have to remove the paper and carefully carve into the foam a little deeper. Once the letters are carved out sufficiently, you will use the black paint to fill them in.
You can also carve cracks and distress parts of the foam to make for an aged look.
Another option is to use a stencil to paint the letting direct on the foam with the black paint.
For more ideas, there are plenty on my other Halloween hub, funny tombstones sayings and carving tips.
Step 3
Before moving to the next step make sure the back paint from step 2 is thoroughly dry.
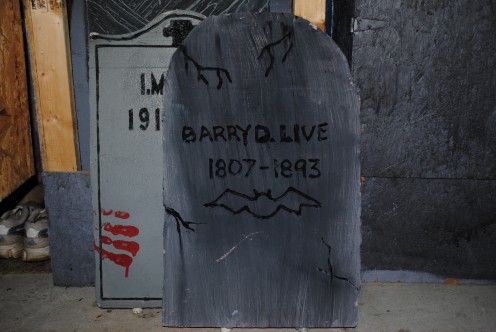
Now we want to paint our tombstone shades of gray. I say "shades" because the look more realistic and aged if you vary the color throughout.
If you want a real cool effect you can mix in sand or joint compound to the paint to give it a stone or cement like texture.
Be careful of the areas that are painted black, your brush must be very dry before lightly going over the lettering. If done correctly the gray paint will not drip into the carved areas containing black paint. If you mess up a bit you'll need to retouch the black paint after the tombstone drys.
Step 4
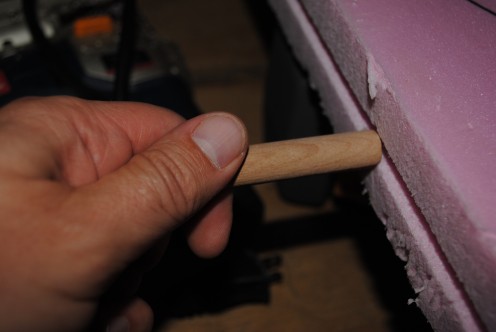
Cut the dowels about 6 inches long. Carefully push a dowel into the left and right bottom of each tombstone, 3 inches deep. Now place the tombstone on your lawn and push the remaining 3 inches of dowel into the ground. Tada! You now have a cemetery on your lawn.
Have a Hauntingly Happy & Safe Halloween!
Stay Tuned!
I will be posting more pictures of my halloween designs and haunted props as Halloween Night approaches.
Updated 10/14 - The first batch has arrived!
Update 10/19 - Added a few more photos


