How to Make an Apothecary Bottle of Unicorn Tears - Upcycle Glass Craft Demo
Do you like glass crafts? Want something so, so simple, but guaranteed to come out right?
This is the easy craft for you. I love to do craft projects and every now and then one comes out kind of cool, but usually I'm not happy about some aspect of the final product. This one made even me happy.
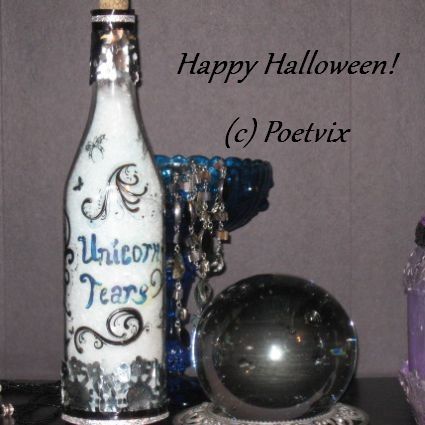
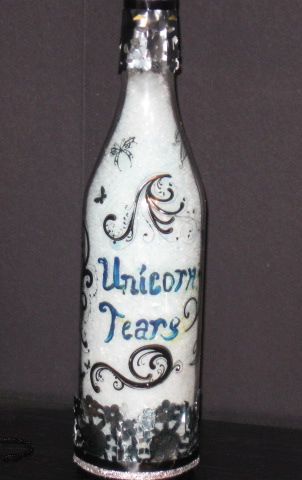
What looks like an apothecary bottle of unicorn tears is actually a recycled wine bottle filled with home made bath salts.
I thought these might make good gifts for Halloween or any holiday really. Once the bath salts are gone, the bottle can be used for anything.
This took about 20 minutes total to make. With just a bottle, a few stickers, some temporary tattoos, doily scraps, paint, ribbon and hair spray, you can do one too.
Let's see how easy this puppy is to do up.
Image credits; Poetvix.
First, the unicorn tears part.
There are several things you could use for this.
Clear beads, crystals and such would look great. Sugar beads would look really cool too.
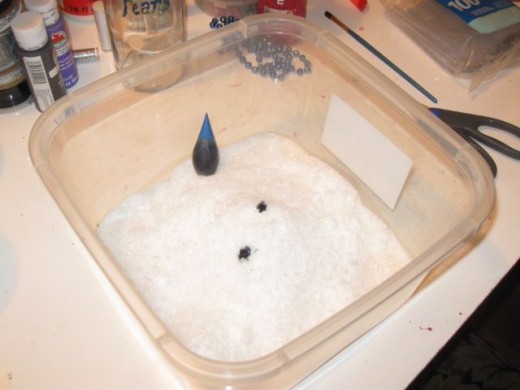
In this case, I used DIY bath salts. The color is a really light blue and I added some mango scented oil.
To make the bath salts, all you need is a large bowl, Epsom Salts, blue food coloring and scented oil, if you want some smelly. It's optional as is the coloring.
Just pour the salt into a large bowl. Add 1 to 3 drops of blue food coloring. Don't go overboard, though I know it's really tempting. If you do, the bather will come out of the tub a lovely blue shade of smurfberry. Add a few drops of your favorite scented oil and mix it up. I just used my hand.
Now, let's whip up the bottle. - Easy, easy, easy. It's cheap to make too, always a plus.
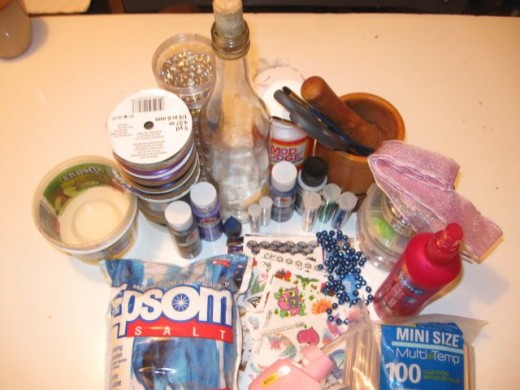
Grab all the stuff you're going to use. I never know for sure when I start out to do these things which is why what you see in the picture is more than I used. The best laid plans and all.
All you need is one bottle with a cork, a few drops of paint, some scrolling design stickers, some temporary tattoos, the cut off edges of one silver doily, black ribbon, silver ribbon, a glue gun, scissors, water, a paint brush, a black magic marker and hair spray.
Do you need a bottle for this project? - How about a really big one?

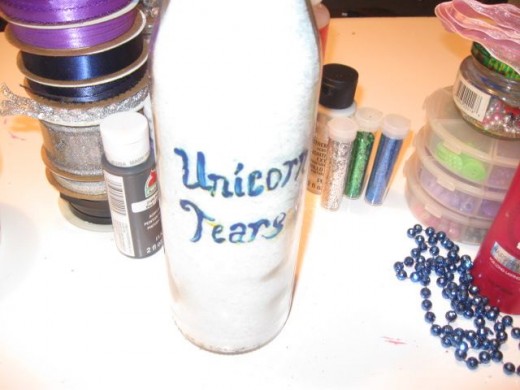
First up on the bottle is the label.
Stickers, stencils or free hand, there's a few easy ways to do this.
If you want to paint it yourself, but are worried about how it will look, use a highlighter to write it first.
If you don't like it, it wipes right off.
When you get it like you want it, just paint over it with a small tip paint brush.
Alternatively, you could print a label and glue it on, use sticker letters or a stencil.
Next up, grab the stickers. - Peel and stick. How easy is that?
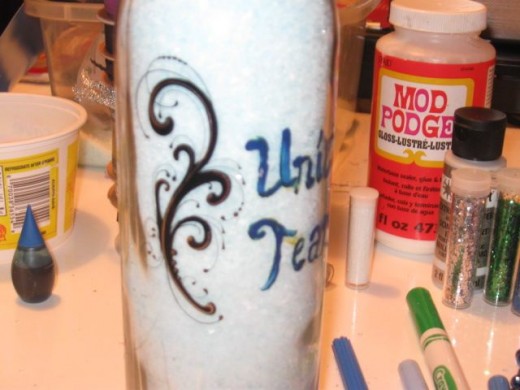
I used a little over half of one sheet of these scroll work type stickers. After getting them down and all the air bubbles smoothed out, I shot each with a few zaps of hair spray.
Packages containing multiple sizes and shapes are awesome.

When you get the stickers done, grab the temporary tattoos. - I am so loving how these go on glass.
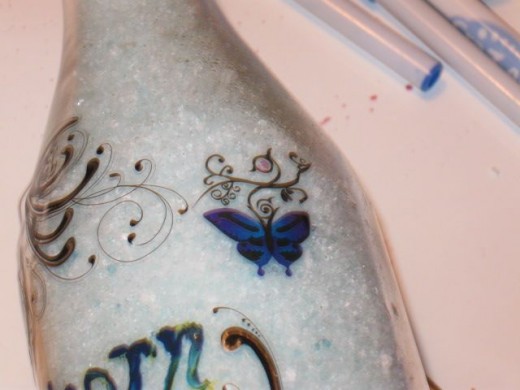
It's easier to get temporary tattoos to stick to glass than it is to skin. And, the price can't be beat with a stick. I love how these things come with multiple sheets of tats in a pack for less than a buck on sale. Color me crafty cheap.
They are so easy to apply to glass. Cut out the ones you want. I went mostly with plain black here to keep them matching the stickers. Pull the plastic off the front. Put the cut image face down on the glass. Using a small paint brush, apply water until the sheet is soaked. When you can see the image through the backing, its ready to pull up.
Gently peel the backing off. Give it a few quick shots of hairspray to keep it from slipping or smudging. Repeat for as many images as you want.
You can mix and match these to your hearts content.
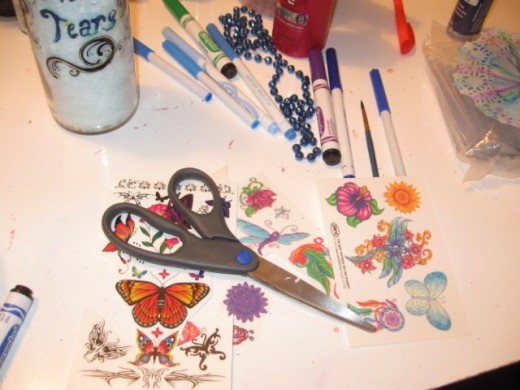
To do the top and base of the bottle, get the scissors, marker and a silver doily. - It's the paper kind, so you can grab a pack with eight for about a buck or
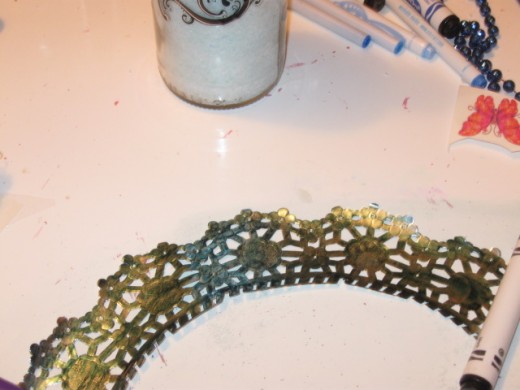
It's too shiny as it is, I thought. To fix that, give it a quick color with a black magic marker and buff it out with your finger. Spray it with hair spray. Cut off the edges. Use white glue, Mod Podge or a hot glue gun like I did to attach them to the top and bottom of the bottle.
Once you get it like you want it, you can spray it as I did or you could paint it out with Mod Podge.
Ribbon finishes it off.
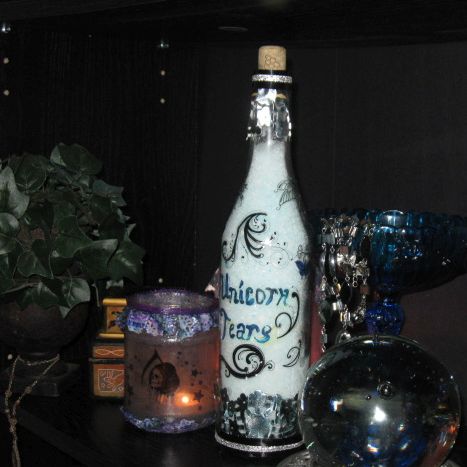
To finish off the top and bottom of the bottle, I used ribbon but you could use strands of beads, fabric, cording or lace.
This is just two strips of black gift wrap ribbon and one strand of silver cloth ribbon hot glued to the top and again to the bottom.
Give the whole bottle a good spray with acrylic outside and you've got one brand new, custom made apothecary bottle of unicorn tears, a.k.a. bath salts via upcycle cheap crafting. If you don't have acrylic, just use several coats of hairspray all over. Have fun making something funky fresh for just over free.
What kind of themes can you think up?
I'm thinking I want to do another one, but this time maybe fairy dust.
The decorating and gifting options are endless.
Have some crafty fun while saving a glass bottle from a shattered existence in the landfill.
There's no limit to what you can create with just a little imagination.
For a really simple project that will look great for big and little scary lovers alike, anyone can pull this off.
From unicorn tears to dragon's blood, fairy dust to eye of newt, apothecary bottles go so well with Halloween. In larger glass containers, egg shaped foil wrapped chocolates could become dragon eggs, small glass Christmas balls could be wishes, whatever you can think up.
Whatever you come up with, go for it and have an awesome time making something totally unique, just like you.

