5 Raised Garden Beds You Can Build Today
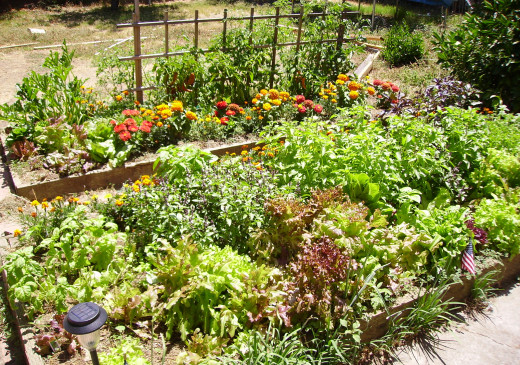
The weather is warming up, the rains are starting... can you smell that? It's almost spring. Soon the flowers will be coming up, bringing vibrant color to what was previously a barren area.
Wait... you don't have your garden ready!? Well, let's get you going then! I've got some ideas that you can use to get going.

Sandbags
Many hardware stores carry sand for traction or the kids' sand boxes. Often, you can find them relatively cheap. At the hardware store you can also find a pack of sandbags to fill with the sand, if you don't want to use the bags they come in because of the printing covering the bag.
Another option is to skip the sand entirely and just fill the sand bags with any old dirt you've got. You could even find many people trying to get rid of dirt of services like craigslist, if you don't have any dirt to use without tearing up the back yard.
This process is quite simple, lay the sandbags down layer by layer until you've got a rectangle of your chosen size, about a foot tall. Fill the rectangle with your topsoil, and plant your chosen plants.
Lumber
There are two routes we can take with lumber to build a raised; I'll cover the easier first.
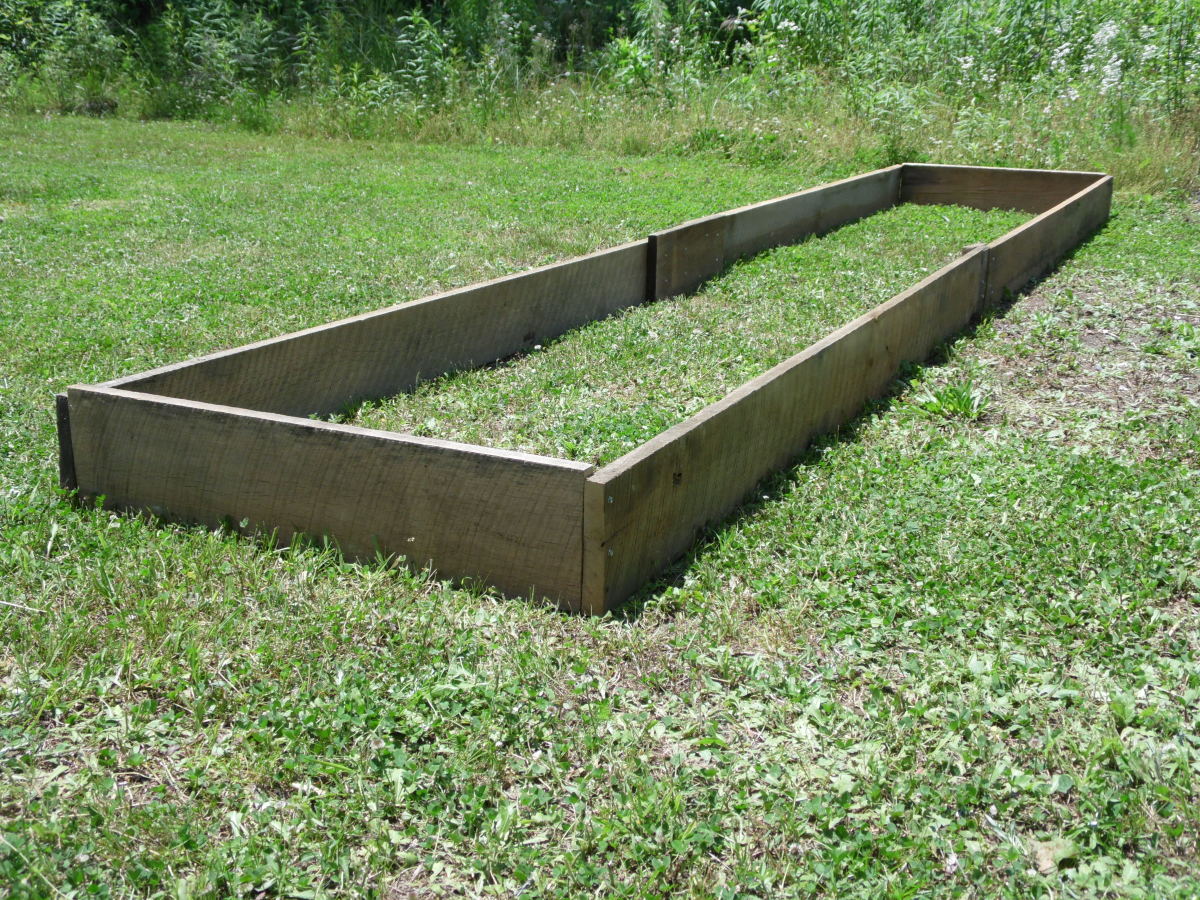
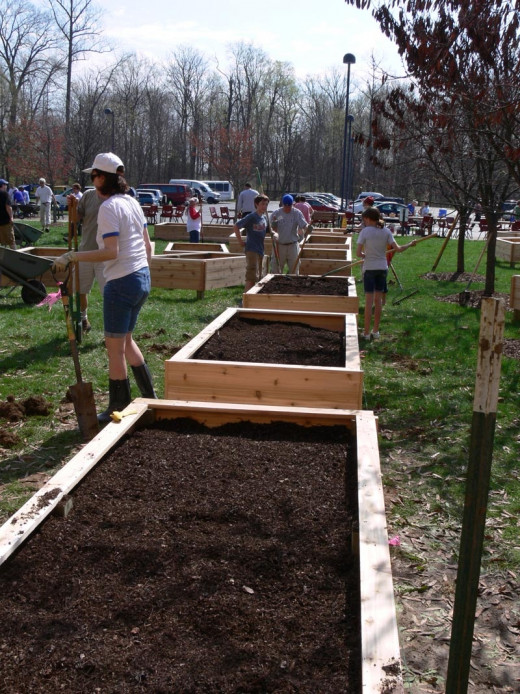
The easiest and cheaper way is to use some good wood screws. The only hard part is making sure you are putting the screw in at a 90 angle to prevent the screw poking out or splitting the wood. Simply cut your 2 inch by 12 inch board to the length you want, place the ends together at a 90 degree angle and screw them together. You should use 3 to 4 screws on each joint, about 3 inches apart for the best hold. Repeat the process until you've got a rectangle.
The downside to the above method is that the screws may give out over time, as the wood deteriorates. The weight of the soil could possibly cause it to fail.
So, we've got another option. This option is a little more labor intensive and will cost you another 15 dollars or so at the hardware store.
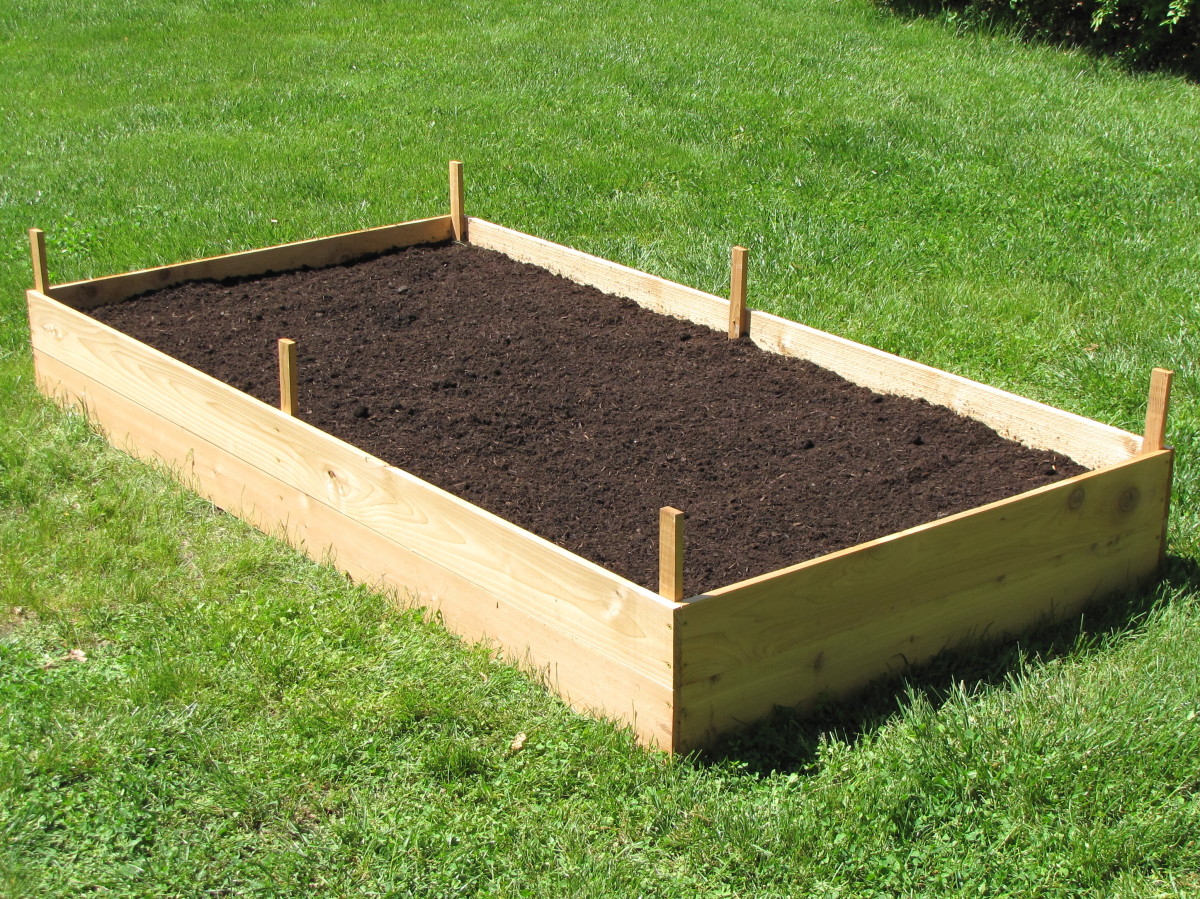
While getting your lumber, grab 12 or so 2 foot long pieces of rebar. Rebar, short for reinforcing bar, is commonly used for cement laying projects, but has many more uses. What we're going to do here, is cut our lumber to the lengths we want, then lay them out standing up as we want to place them on the ground. After we've got the rectangle mapped out, we pound our rebar into the ground on the outside edges of the lumber. Leave about 10 inches above ground to support our lumber. Once we have a rectangle of rebar, we can lay our lumber up against the rebar, on the inside, and fill the rectangle with our soil.
Logs
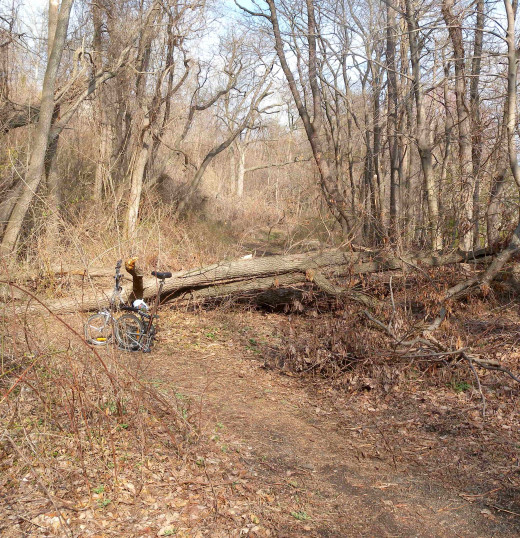
Have an old tree in the backyard that needs to get torn down? Or maybe that storm last weekend knocked a tree over in your driveway. We've got a solution!
All we need to do is a little quick math, and spend some time with the old chainsaw. What we're going to do is cut that tree down to more manageable chunks. Instead of just burning the wood, or otherwise throwing it out, we're going to build our raised bed. Depending on how long the tree is, we can figure out how big we want out bed and how big we need the sections to be. Let's cut 2 8 foot sections and 2 4 foot sections, and make our bed 4 feet by 8 feet.
Drag those logs to the place you want to build your bed and lay them in the appropriate rectangle. Fill it with your soil and boom, you've got a beautiful new raised bed.
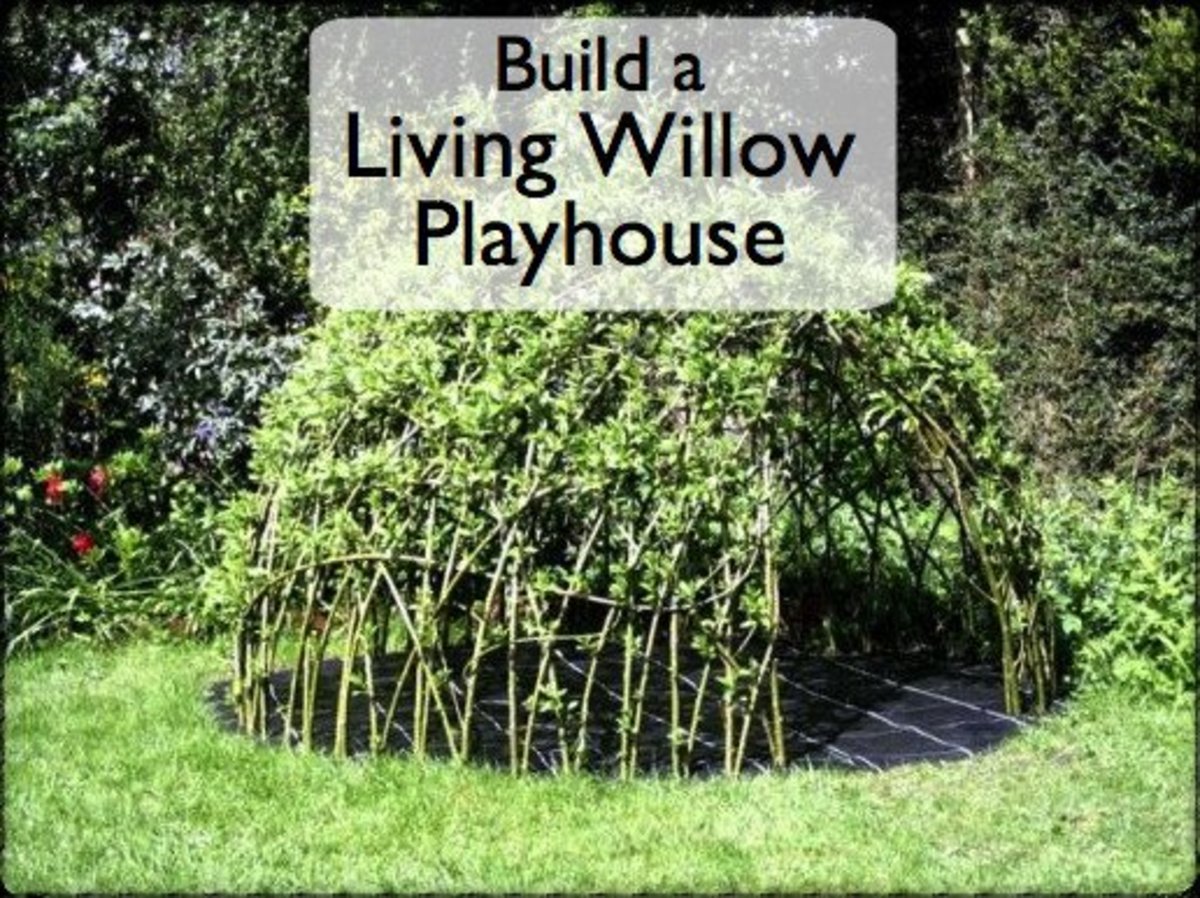
Weaved
Remember those rebar from the lumber section? Here's another cool use. Personally I like this version the most, and it’s a pretty one, too!
First we simply pound the rebar into the ground just like we did for the lumber. Leave 12 inches above ground this time instead. This may be a bit harder this time though, as we have to be careful to measure our rectangle and work a little harder to make it straight and not crooked, for aesthetic purposes.
Once our rebar rectangle is laid out, we can begin finding the rest of our materials. What we seek at this time are long tree branches or young trees, about a half inch or so in diameter.
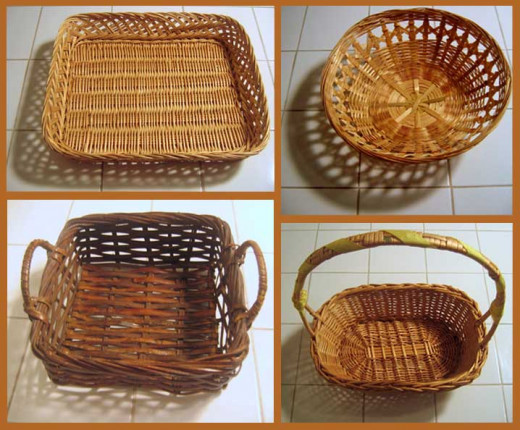
Weave the branches through the rebar creating the walls for your raised bed. The end result will look like a giant basket holding your garden!
Masonry
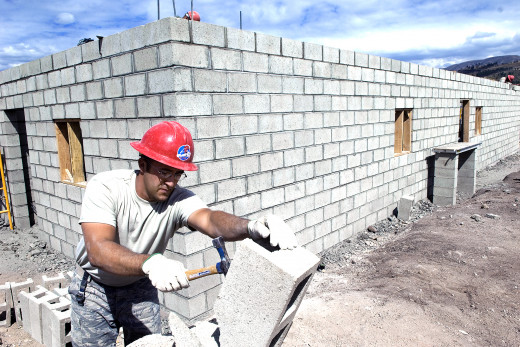
Masonry is a great way to build the raised bed. The size bed you choose, and the type of blocks you decide to use, will be what decides how many blocks you need.
This option is very straight forward, and will be surprisingly fast. Let's get started.
First we find our work area and measure out where we want to put our bed, just like any of the other options. Once we have it measured out we will know exactly what the perimeter is.
Now, let's head to the hardware store and get some blocks. You can get some 16 inch by 8 inch by 8 inch cinder blocks at Home Depot for about a dollar and fifty cents each. Figure out how many you will need for your perimeter. Then you will want to buy about 4 extra blocks.
Place your blocks, layer by layer, in the rectangle you want. Fill it with your soil, and you're on your way to eating a fresh garden tomato!
So, which is best?
Well, I suppose the answer is whichever works best for you. Which of these options works for you financially as well as fits your list of available resources? Which will fit your overall theme in the yard? The Weave and the Masonry can be made to look quite beautiful while the Sandbag for instance is going to be a lot more rustic.
Leave a comment and let me know what you think of each!

