How to Give Your Fireplace a Facelift
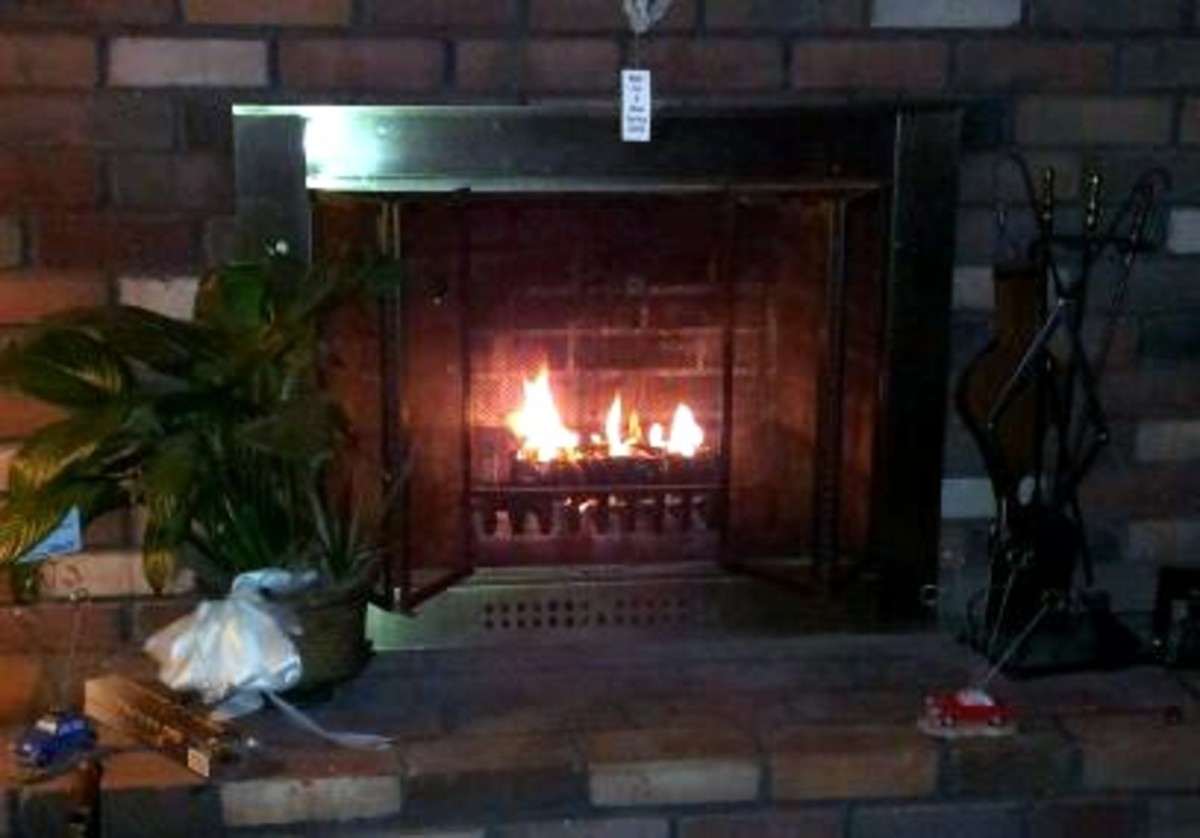
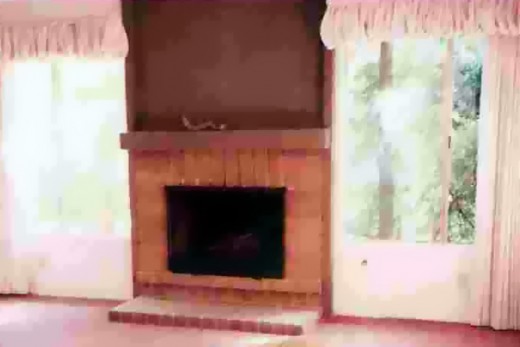
Fireplace Before
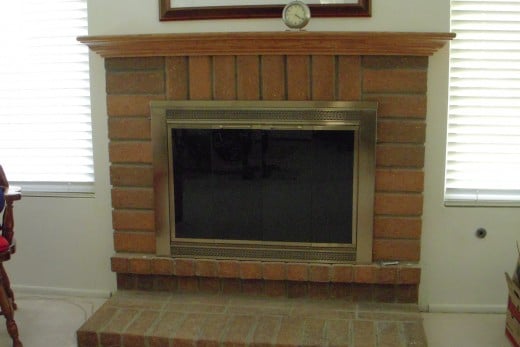
Fireplace After Facelift
How to Remodel a Fireplace
We moved into our fixer-upper home about 15 years ago, intent on doing all the repairs and renovation ourselves. After eight or nine years of nearly constant work, we decided to pick and choose which projects to do ourselves, and which to contract out to professionals. One do-it-yourself project we tackled was our fireplace update.
Our fireplace was made of concrete brick, popular in the 1970s when the home was built. It was in relatively good condition, but ugly. Above the fireplace was a sort of plywood facing, with a solid 4"x4" "mantel" that lay on top of the brick. Previous owners had painted it brown, though we weren't sure why. It didn't exactly go with the princess pink walls or magenta doors, not to mention the fuchsia pink carpets.
We decided to give our fireplace a much-needed facelift. To keep costs down, we chose only to replace the mantel with a mantel cap and to add a fireplace door (cover) to hide the ugly screen.
We
began our fireplace renovation with demolition. Using a hammer and a
big crowbar, the plywood was ripped off the drywall along with the
mantel. Then, we assessed the condition and function of the fireplace.
As it turned out, we were extremely lucky. The fireplace was gas-burning, in good condition, and had never been used as such by the previous owners, who burned wood. We hired a chimney sweep to come out and clean, which I highly recommend. Think Bert from "Mary Poppins"; our guy looked just like that, and whistled while he worked.
The chimney sweep was not just a snappy dresser, he was also a well-qualified inspector, holding several types of certificates and a state contractor's license. He found no cracks or problems with our fireplace but recommended a spark-arrester, required by our county but never installed by the previous owners. He also tested the gas line and found it to be sound.
After we were certain that our fireplace was functionally intact, we inspected the brick hearth and facing, finding nothing loose or broken. We then felt ready to take measurements.
Terminology
Facing - refers to the outside material, the decorative part, of your fireplaces, such as brick or tile.
Firebox or "fireplace opening" - where the fire burns.
Mantel - the shelf that sits above the fireplace
Fireplace Doors or Cover - Decorative glass or other covering that goes over the fireplace opening.
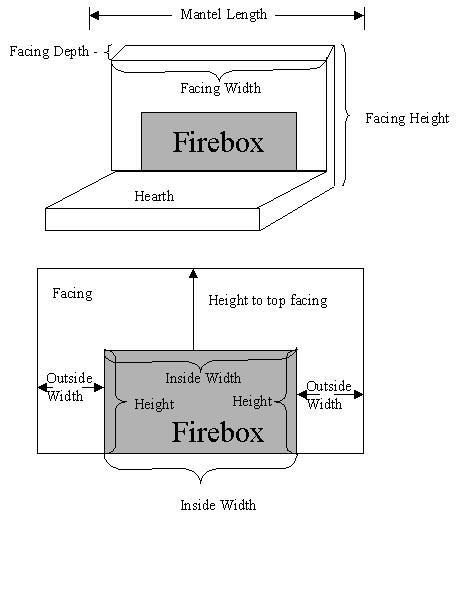
How to Measure a Fireplace
Keeping in mind that we wanted only a mantel "cap" (not a fireplace surround with legs and a riser,) and a fireplace door, we made the following measurements:
Measurements for the Fireplace Doors:
- Firebox inside height and width - Inside height and width of the firebox, checking all sides. Ours wasn't perfectly square.
- Outside width - width from the front outside edge of the facing to the side of the firebox. Measure both left and right sides.
- Height to top facing - height from top of firebox to the front top edge of the facing.
Measurements for the mantel cap:
- Facing depth
- The thickness of the brick facing, from the wall to the brick front
edge, or how much the brick sticks out from the wall. Check both left
and right sides and in the middle, and take the largest measurement.
Remember to measure at the top, where the mantel will sit.
- Facing width -The width of the fireplace front, from left to right. Measure at the top of the facing, where the mantel will sit.
- Facing heightt - From the top of the fireplace facing to the floor.
- Mantel length - This is how long you want the mantel to be, at its longest length. Keep in mind any obstructions, like windows.
Fireplace Measurements
Select Your Fireplace Door and Mantel
Fireplace Door
We selected a custom-sized overlap-fit fireplace door for a masonry fireplace. This offered us the simplest installation for our fireplace type and build. We chose a copper-toned satin finished metal frame with smoke color bi-fold glass doors. A sliding screen came with our selection. We gave our measurements to the salesperson and paid; the doors would be drop-shipped to our home in about two months.
Mantel Cap
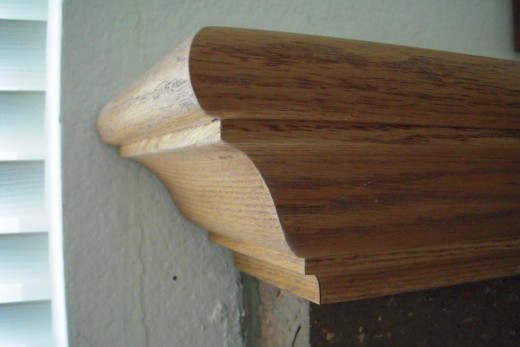
For the mantel, we had to keep in mind an additional overhang, a measurement that varied depending on the style of mantel cap we could choose from. Since we had window obstructions on both sides of the fireplace, we had to be sure that the overall length of the mantel (including the overlap) would still fit. Fortunately, there were many styles we could choose from, and the overlap ended up not being a big issue. We went with a very simple light-colored cherry wood mantel shelf. Again, the mantel would be drop-shipped directly to the house.
While we waited for our fireplace door and mantel to arrive, we took the time to patch and paint the drywall above the fireplace, which had been covered by the brown plywood. This took considerable time, because the drywall was covered with remnants of glue and hadn't ever been finished. We used some spray-on texture to give it a finish that was very close to the rest of the drywall in the house, and figured we'd hang a very large picture over the space in future, to cover up any imperfections.
Fireplace Mantel Installation
Installing the fireplace mantel cap was fairly straightforward, although there were a couple of issues to beware of. We installed a mounting board on the drywall, where the mantel would go. Finding studs was very difficult, due to the proximity of the windows and of course, the chimney space behind the drywall. The mantel was actually hollow, with small "keyholes" where mounting hardware attached the mantel to the mounting board. The mantel would rest directly on top of the brick and on the mounting board so measurements had to be precise.
Next, we applied heavy-duty Liquid Nails construction glue to the top of the bricks, where the mantel would rest. This meant we had one chance to properly set the mantel in place, both level along the brick and flush against the wall, with the mounting hardware properly in their respective keyholes.
We were off by about 1/4", but the cap ended up resting flat, flush and level. To the eye, the cap looked like it was exactly where it was supposed to be, and even though the mantel isn't perfectly centered between the windows, no one can really tell.
Resources
How to install fireplace doors by This Old House - Lots of pictures and easy-to-follow installation instructions.
Installing Masonry Fireplace Doors - YouTube video on how to install fireplace doors
Fireplace Door Installation
Installing the fireplace door was a little trickier than we imagined, though still quite manageable. We removed the doors and the screen from the frame first. Insulation material tucked into the frame, so that it would end up between the frame and the brick fireplace facing. Our fireplace doors attached via four brackets, two on each side, that screwed into the firebox. We used a masonry bit to drill the screws.
Tips and Final Thoughts
We were more than happy with our do-it-yourself fireplace facelift, in fact, our only regret was that we didn't do it sooner.
If you decide to update your own fireplace, here are some tips that might help
- Inspect the fireplace first - It's well-worth paying a professional to inspect your chimney and fireplace. And, if you live in a fire zone, pay a chimney sweep to clean your chimney once per year, and put a spark arrestor on top.
- Measure carefully - Nothing is ever perfectly square, and brick in particular is never predictably the same. Measure in several places, and always choose the widest or largest measurement.
- Check for obstructions - We would have liked to have gone with a complete mantel and fireplace surround, but we had windows in the way. Keep in mind all obstructions when planning your mantel, even furniture placement.
- Take pictures of the fireplace - Bring them with you when you choose your mantel and fireplace doors. Think about the color of the brick or facing material; be sure the mantel and fireplace doors you select will coordinate appropriately.
- Buy the right tools for the job - It's much more convenient to use a cordless drill.
- Have a buddy help - The mantel, especially, works better with two people.

This content is accurate and true to the best of the author’s knowledge and is not meant to substitute for formal and individualized advice from a qualified professional.

