How I Build Home Projects: A Little More Wood, Work, and Attitude - Building Shelves in the Shed Part 2
The Guy with No Guy Gene
Related Hubs:
Building My Own Shelves With A Little Wood, Work, and Attitude
The Guy with no "Guy Gene" is back, and at it again! If you've read the first part of this story, you'll know I'm missing the gene most guys are born with. Tools are out to get me. Measurements and right angles never quite hit the mark. When I work on a project, bones are broken and blood is spilled.
I said "Okay"
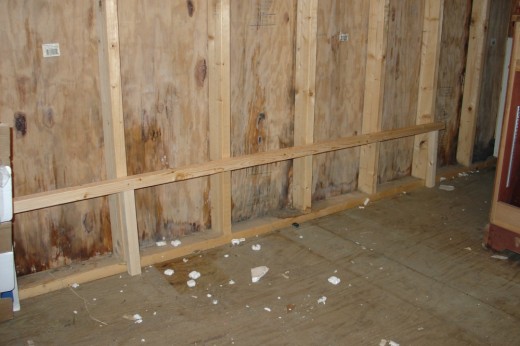
So what's going on? Why am I pushing my luck so much? Well, heck if I know... it just kind of came over me. Saturday was a big yard sale, and Sunday we were resting up. At my age, a body needs a lot of resting up. Monique mentioned maybe we could figure out what we'd need to finish that shelving project. I said okay. That one word had a huge impact on my upcoming week. I went to Home Depot. Bought some stuff. The strangest part is that I didn't mind. No fear, no worries. I mean, I might even have been looking forward to it. A little bit. Not too much.
A Quick Side Note- I Made a Video!
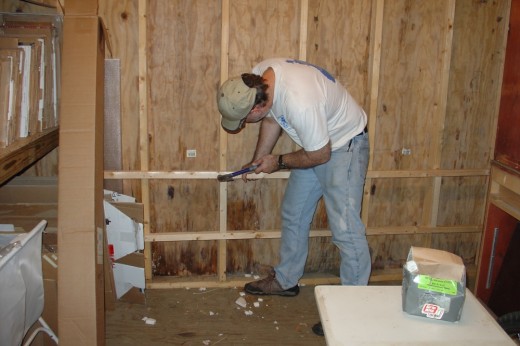
When I got home, I got started. Right away. Monique's all "You don't have to start right now", but I was in the groove. I even planned ahead for this hub. Not only photos, but video. If you're one of the people who've known me since back in the '90s, you know I used to produce video. I had a business, it went south. I didn't cope very well. Last week is the first time in over 10 years I voluntarily picked up my camcorder. It was a pretty big deal to me. This is far from my best video work, but I'm coming back from a long way, so be kind. I'll be better. There's a lot to relearn.
Clear out the Junk
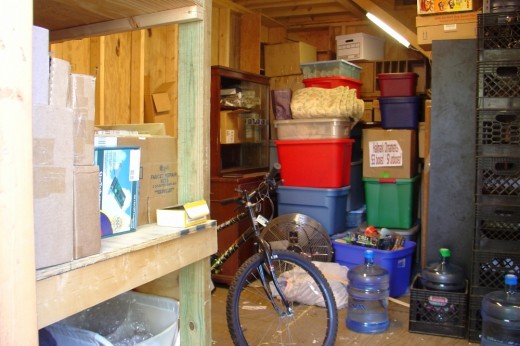
Back to the proper topic: From the previous hub, you've seen my 2-story shed. It dwarfs the house. You've seen the first bank of shelves, on the left side. The next bank is pretty similar, with a wide gap between the two sets. Enough room to walk between. We measured out the aisle by shoulder width.
First step, there's a lot of junk in the way that has to go. I mean a lot. By the time I got to the far back wall, I'd found furniture that nobody remembered having. Keep in mind, the whole point is to organize. Monique and I sell on eBay, and have boxes and boxes of inventory we can't reach. These shelves are supposed to solve that problem. I emptied the room in stages. As I needed the space, more went. It was seriously a work in progress.
I'm Making This Up As I Go
As a matter of fact, I built the shelves in stages. Remember Indiana Jones saying "I'm making this up as I go?" Well, he's a hero of mine, and that became my mantra. For a real carpenter type, maybe you can plan the entire project and make it work. For me, it had to be done a piece at a time, then decide what the rest will be like.
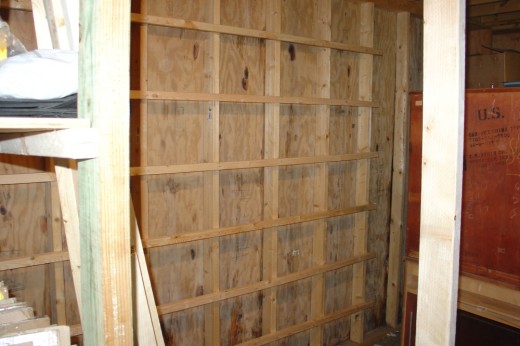
With room enough to work, my next step was to decide how high each shelf would be. Grabbing some of the boxes and cartons that would go on them, I figured an inch or two higher should be plenty. Cutting a couple of 2x2's to that length, they were my measure for mounting the supports on the wall.
King Klutz to Instant Expert
At this point, I had to step back and admire it. The supports were all parallel. Every one of them. That doesn't usually happen. Wow, they looked great. Next, up went the 2x4's for the outer corners. The shed is 105 inches from floor to ceiling, so when I was shopping, I bought 105" 2x4's. Talk about convenient... no cutting, just hammer them in place, knock a few nails, and done!
Now for my little measuring sticks again. 2x2's going up, again in perfect parallel. Man, how come nobody ever told me that trick before? From king klutz, to instant expert, just needed a couple of sticks...
You can build by accident... like me... or follow a plan:
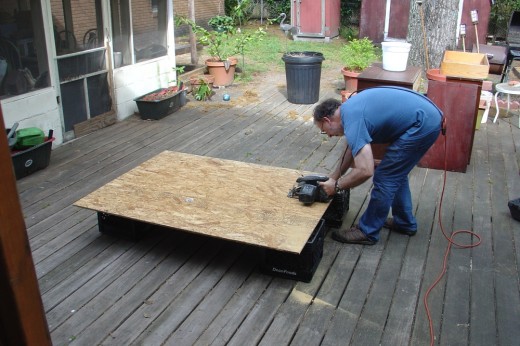
A Good Fit
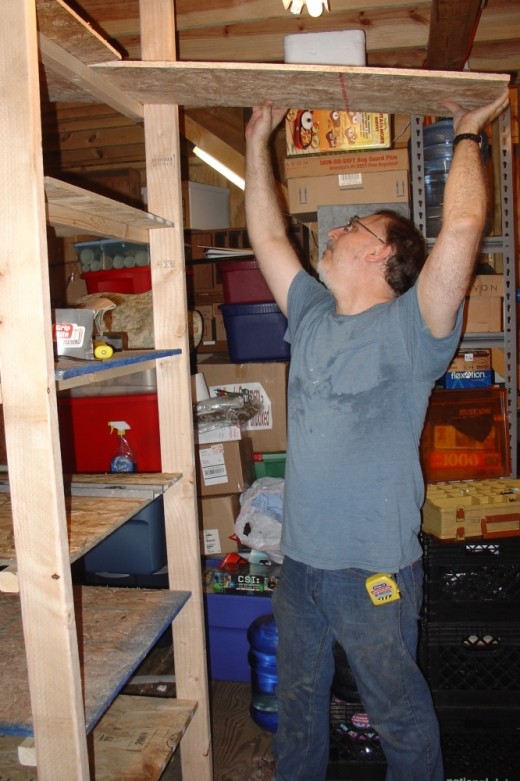
Time to cut the shelves. I measured them to be firmly braced in between the 2x4's. These things are gonna be strong. No shifting, no sliding. Okay, maybe a little wobble the long way. But I can fix that later. No sense building that part until I see if it needs some support, right? Now for my next trick... all the shelves fit. Every one. Up and down the entire segment. I've got to be channeling Bob Vila. This whole project has been weird. Like I'm burning up all my good karma at once. I haven't even been hurt yet. Bruises don't count.
That whole piece is ready. All the shelves in place. They bounce a bit, but that doesn't mean anything. That bounce means they'll absorb shock. That's a good thing. Do a little more cleanup, get clear back to the far wall, and ready for the next set of shelves.
This is a Job For... Monique!
I had to call in the boss at this point. Our first idea had been to make several rows of shelves, each one 12 inches wide. Then it made sense to double the width (it wound up being 34"), and reduce the need for so many aisles. After building that last one, it's not space efficient to make more like that.
Remember, I'm a computer nerd, not a carpenter. This whole project had been on a wing and a prayer already. So we looked at it, visualized our space for a while, and decided. The final shelves would follow the wall in an "L". Wide on the main wall, narrow under the stairs.
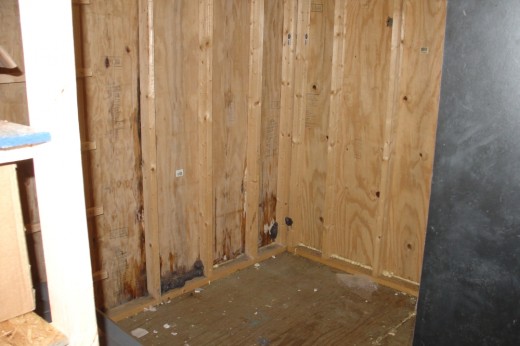

A Perfect Fit... By Accident
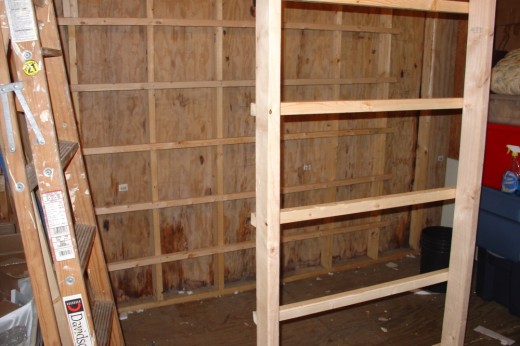
Remember the measuring sticks? Yep. They were my main unit of height. By this time, I didn't even remember what the height was, just one stick--or two. Got the corner up, and the 2x2's built. Kind of like a cage, to lay the shelves on. This part coming up was really cool. I knew I had some leftover pieces from cutting the first shelves. I had hoped they would fit pretty well, maybe not need much more sawing. When I slid them into the back corner, Monique accused me of planning for it. That hurt my feelings. It was a pure accident. Mostly. But they were perfect. No sawing, no fight. Just perfect.
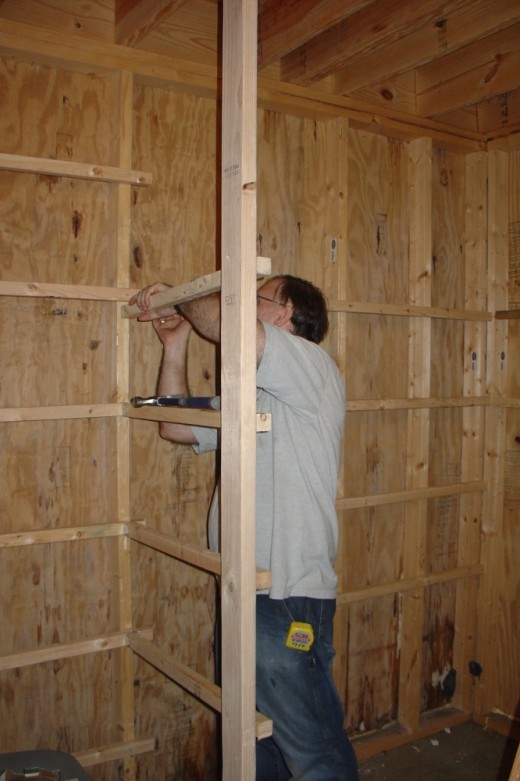
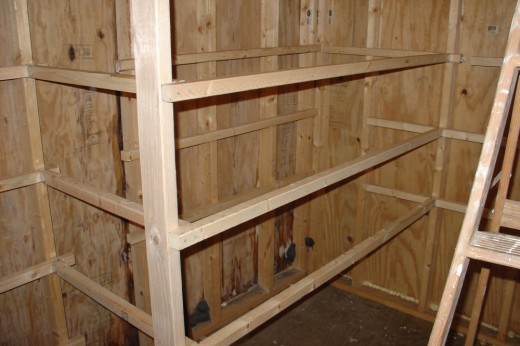
When Your Only Tool is a Hammer... All Your Problems Look Like a Nail
That determined how long the back shelves would be. It also determined what size I needed to make the rest of the pieces. I was riding on a wave of confidence by now. I can do this stuff. Wile E. Coyote, Super-Genius. That's me. So, maybe there were little hiccups along the way. Nothing a few nails or metal bracers couldn't hold up.
Oh, and there was that corner support 2x2 under the stairs. It kind of blocked a bin from coming in or out. By this time, it was near the end of the week, and Monique was helping. She nailed some little metal brackets to support each shelf, nailed the 2x2 at the top to the stairs, and sawed the bottom off. Who needs support from the floor. Haven't you ever heard of the hanging gardens? This is the hanging shelf. Built from the top down.
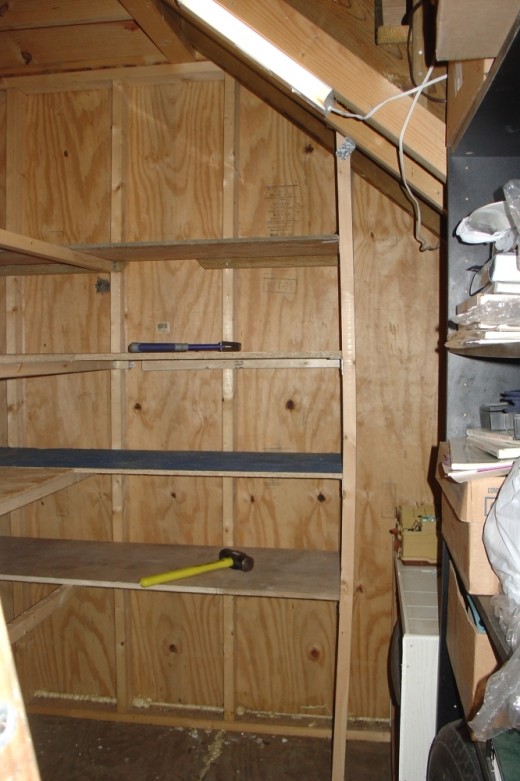
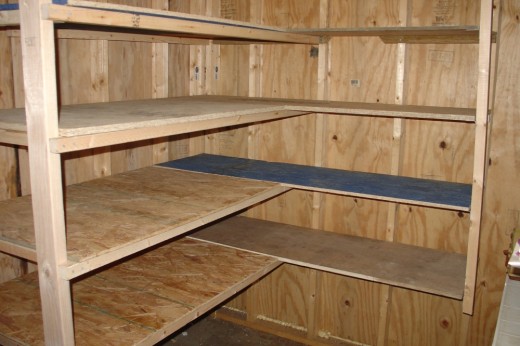
Like the Labors of Hercules?
It's late Friday night when we finish. On Saturday, start filling the shelves. Soon, you can see the freestanding shelves are bowing. I have to admit, they need some support. Using an 8-foot 2x2, I nail L-brackets all the way up, putting each where the shelf should rest. Then I angle it in, and jam it under all the shelves at once. Make another, stuff it under the shelves on the other side. Great support, firmly in place, yet easily removed if it's ever in the way. Chalk one up for the computer nerd.
Building these shelves was an amazing experience. They practically built themselves. I've never had a project go that well. Didn't even break a bone. It's like Hercules, completing one of his 12 labors. Heck, for my next task, maybe I'll go rebuild the Augean stables. Though it might take more than one day.
In the Words of My Father
All silliness aside, this project did go abnormally well. Especially considering I don't know what I'm doing, and didn't plan ahead. Most of the wood was already here, or free. Total dollar cost was about $80, and we had 3 2x4's left over.
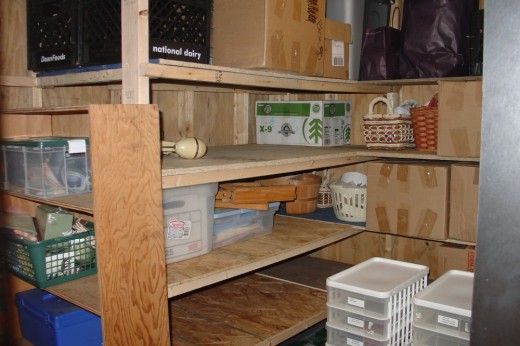
As far as being efficient, we put all our inventory back in the shed, and had lots of shelf room still left over. Everything is easily accessible. And I did it myself. My Dad paid me the ultimate compliment - He's a master carpenter, and he walked in, looked around, said "It looks like a warehouse in here."
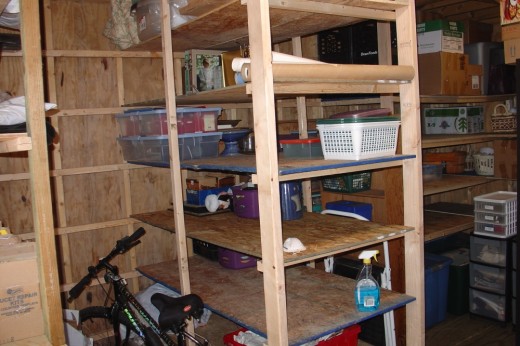

With Apologies
Oh, and to that unknown carpenter... the one who needs work to feed his family? Sorry, man.
Building My Own Shelves with a little Wood, Work, and Attitude (Part 1)


