Adventures in Composting: Make Your Own Composter & Compost - No Worms Necessary!
- FindAComposter.com - find a composting facility or commercial composter
A free, searchable database of composting facilities throughout North America. - Basic Information | Composting | US EPA
Provides general information about composting and on what materials are suitable for composting
I have recently been reading multiple articles online about the best way to make my own compost at home. Often times, the wife and I routinely throw away items that can be easily recycled to make rich soil. First a bit of background on why I'm doing this. If you have ready any of my other articles, I'm not a militant recycler, but I'm just trying to do my part. I realize that if I throw away many of the organics like I have been, they are going into a dump and will eventually break down there. It's also such a waste of resources! I doubt anyone will be doing any farming on an old dump site any time soon, and I have been toying around with the idea of making a raised bed garden for quite some time. The only thing stopping me is the cost of the soil in order to fill it. I don't know anyone with a farm, and I life in Florida where we don't really have soil so much as we have sand. Lots and lots of sand.
So here I am, looking for a cheaper way to fill an entire garden bed with soil. With a baby on the way I'm not quite ready to take the plunge and have a whole gardening responsibility yet, but maybe in late August, if I can, I would like to grow some of my own veggies before the winter completely ruins the idea for me. I have read many articles about making an open air compost pile, how it can take months for things to break down, and how you need to put up pest netting in some cases to keep the varmints away but I'm not interested in anything like that. I also saw some fancy compost tumblers at Sam's club that are supposed to take the work out of composting; just throw your scraps in the barrel, spin it a few times, and in no time flat you'll have nice rich soil to use. Great idea in theory, but I don't have the $150 for one of those modern marvels, so I figured there must be a better way.
Locating My Supplies
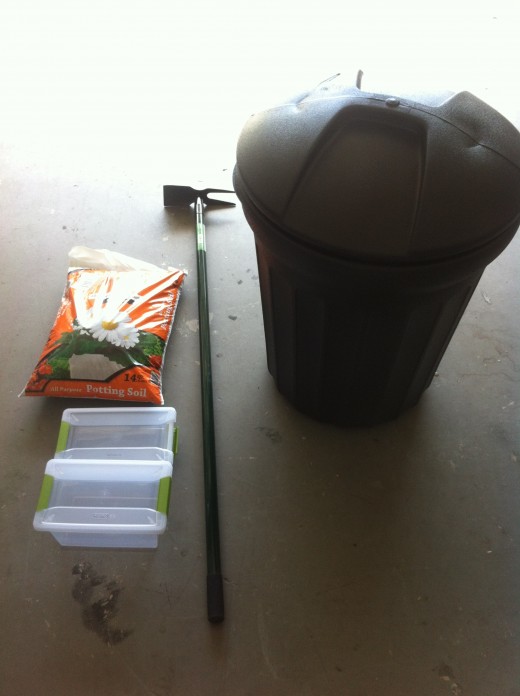
I finally broke down and bought my setup today at the Dollar General store. My kit consists of a cheap regular ole' garbage can, a bag of starting soil, a cultivator rake thing, and two plastic storage bins. I could have gotten away much cheaper had I not been impulsive. I could have found a cultivator or rake at a thrift shop or yard sale, and found some smaller plastic bins around the house but I figured it would be easier then going on a massive scavenger hunt. I chose to purchase a new garbage can because the other bin that I was considering using had been one I used in my garage for quite awhile, and who knows what chemicals or other things might have been in it at one point in time or another. The cultivator was a bit of a luxury item, but I know I will be needing to stir my compost or turn it over daily to get the best results.
The bag of starter soil is just that, something to get me started. And yes, I'll admit I cheated a bit here. I don't plan on having any useable grass clippings any time soon to start off a pile, and there are really no brown leaves I could use either, so I broke down and spent $4 for a bag. Without some sort of soil to start off with, or at least a base of grass clippings, my compost bill will be nothing but a pile of kitchen rubbish rotting in a barrel. Not such a great idea in our Florida heat. So why did I get two plastic bins? One is for my kitchen and the other is for my parent's kitchen. I'm drafting them into my compost mission. I figure that the more kitchen scraps I can get, the more soil I can make. I haven't asked them yet, but I'm sure they will lend a hand.
The Construction Process
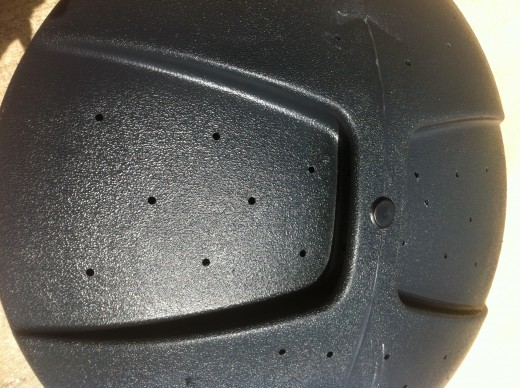
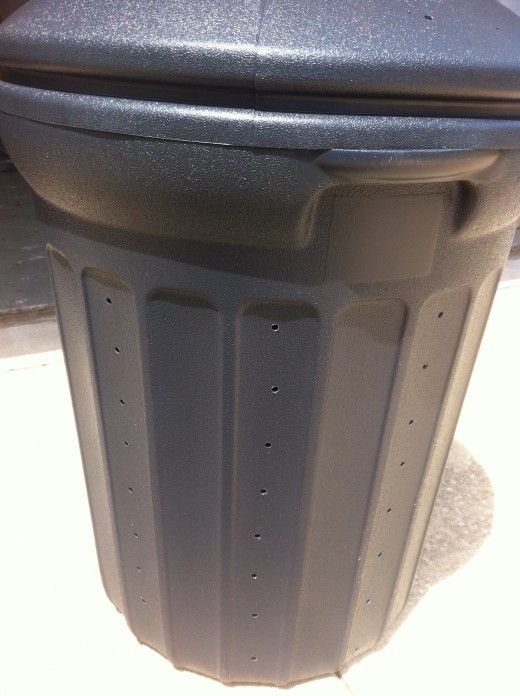
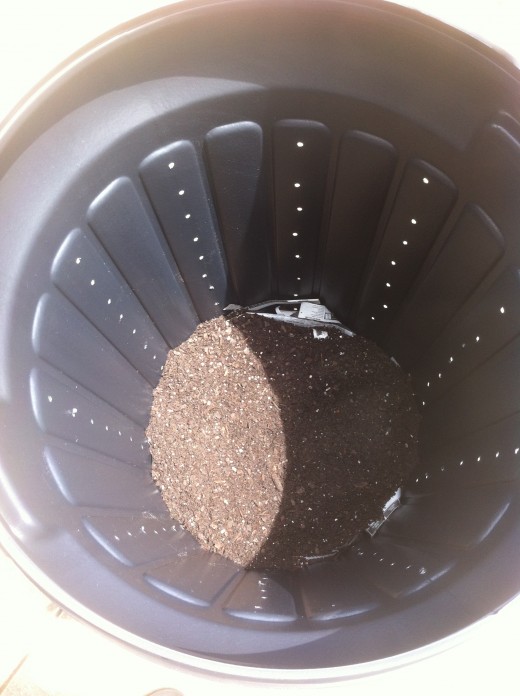
So how did I start this project? It wasn't too bad actually. After unloading the car I went straight to my cordless drill. I grabbed the first drill bit I could find and began drilling holes in my new purchase. From what I have gathered, there compost pile must have decent drainage, and air flow, so I figured drilling holes in it would be a good start. The holes aren't really big enough for soil to escape from, but just big enough to provide some vents and drainage. I was sure to put holes in the lid as well as the bottom of the can. Worst case scenario, I'm only out a few bucks if I messed up the can. From there I tool a few pages of newspaper, and shredded them into strips. Once I placed them on the bottom of the can I added roughly half the bag of soil. The newspaper will break down almost like dried leaves do. I'll probably have to experiment with the newspaper to scrap ratio to make sure it all breaks down, but I figured it would be a good start. It should also keep the pre purchased dirt from escaping through the few drain holes on the bottom. Since the garbage can is black, it should also heat up my compost, which is crucial for the decomposing process.
Ready For Use!
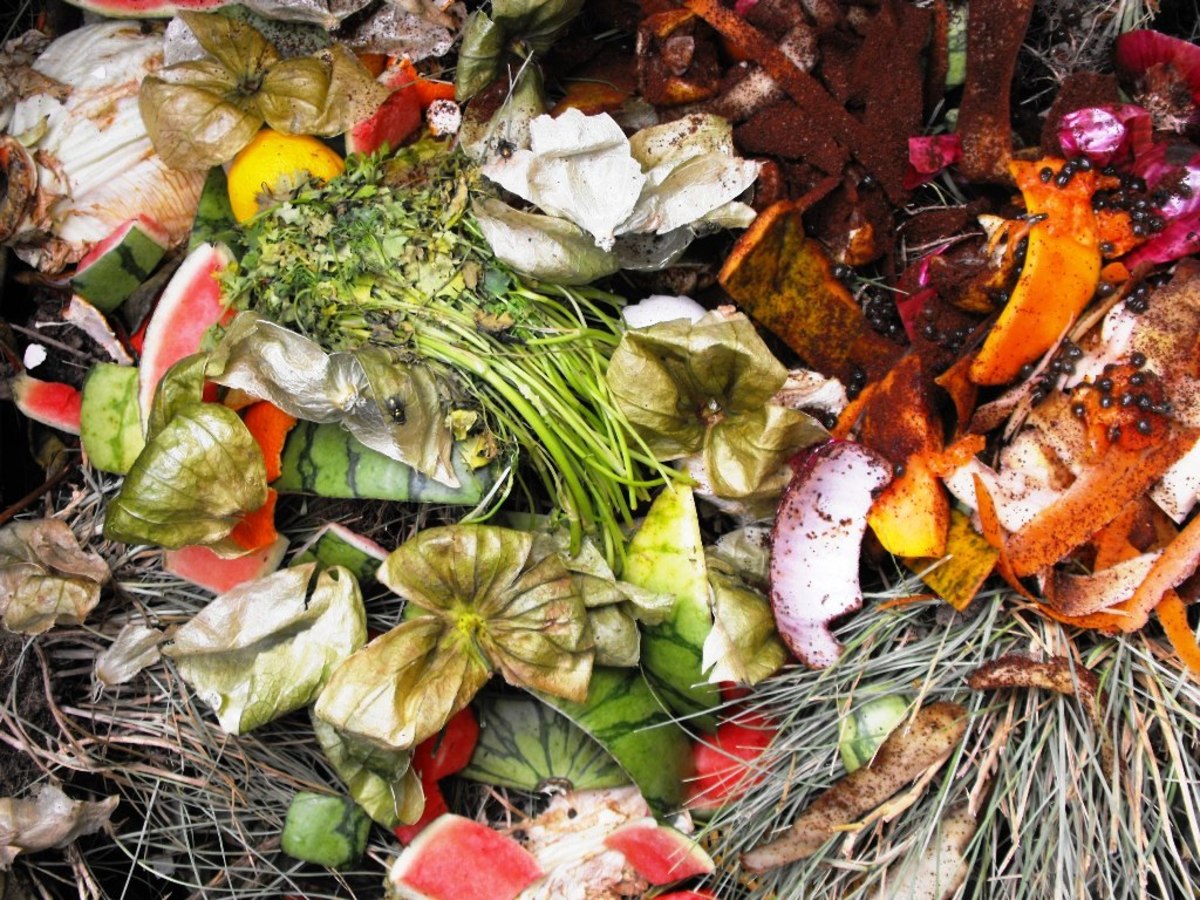
So now I'm ready to start emptying my refrigerator of all the veggies to start breaking them down! Well when they have met their untimely expiration that is. So now what can I compost? Per the Environmental Protection Agency, here is what CAN be composted:
- Animal manure
- Cardboard rolls
- Clean paper
- Coffee grounds and filters
- Cotton rags
- Dryer and vacuum cleaner lint
- Eggshells
- Fireplace ashes
- Fruits and vegetables
- Grass clippings
- Hair and fur
- Hay and straw
- Houseplants
- Leaves
- Nut shells
- Sawdust
- Shredded newspaper
- Tea bags
- Wood chips
- Wool rags
- Yard trimmings
And here is that you simply CANNOT compost:
- Black walnut tree leaves or twigs
- Coal or charcoal ash
- Dairy products (e.g., butter, milk, sour cream, yogurt) and eggs
- Diseased or insect-ridden plants
- Fats, grease, lard, or oils
- Meat or fish bones and scraps
- Pet wastes (e.g., dog or cat feces, soiled cat litter)
- Yard trimmings treated with chemical pesticides
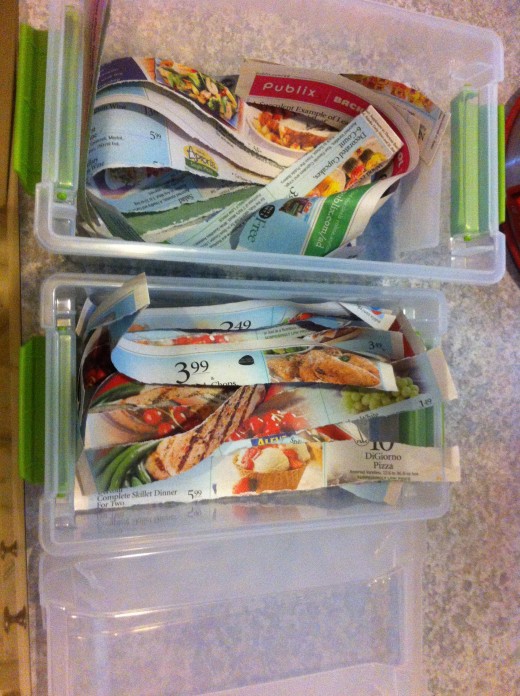
So here is what I'm planning: As you can see, I have my kitchen compost bins that have a nice tight lid ready to go, and one ready to be delivered to my parent's house. I have lines both the bins again with a few strips to newspaper, so it should be pretty easy to just scoop out and hopefully nothing will get stuck to the bottom. Now when the smaller bins get full, I'll add them to the large bin outside and cover with the remaining soil. Next I'll add a little water, and as time permits, I'll keep stirring the compost to make sure I have a nice mix and everything is breaking down nicely. I'll keep you posted as I go, but hopefully I can start my home growing season soon! I can't wait to get some fresh home grown veggies on my plate!


