Easy Steps to Antiquing or Destressing Furniture
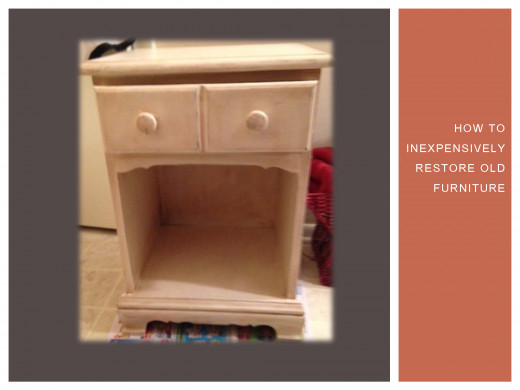
If you're like me, there's probably a couple of reasons why you have chosen to restore an old piece of furniture. For me, it's cost effective, but I have also noticed that some old pieces are sturdier and more well-made than newer pieces. Therefore, I recently decided to distress and antique my bedroom furniture starting with my nightstand. I'll share my experiment with you here in four easy steps.
Items Needed
Sand paper or blocks
|
Paint
|
Paint Brushes
|
Stain
|
Rags/Tack Cloth/Newspapers
|
Step 1
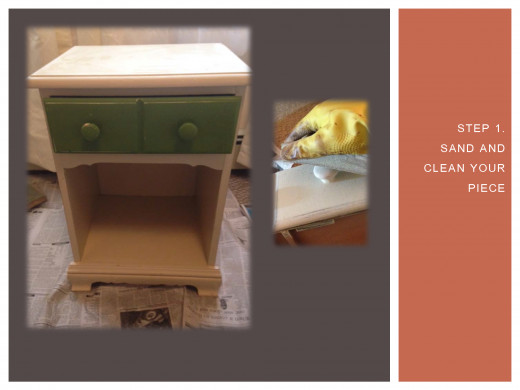
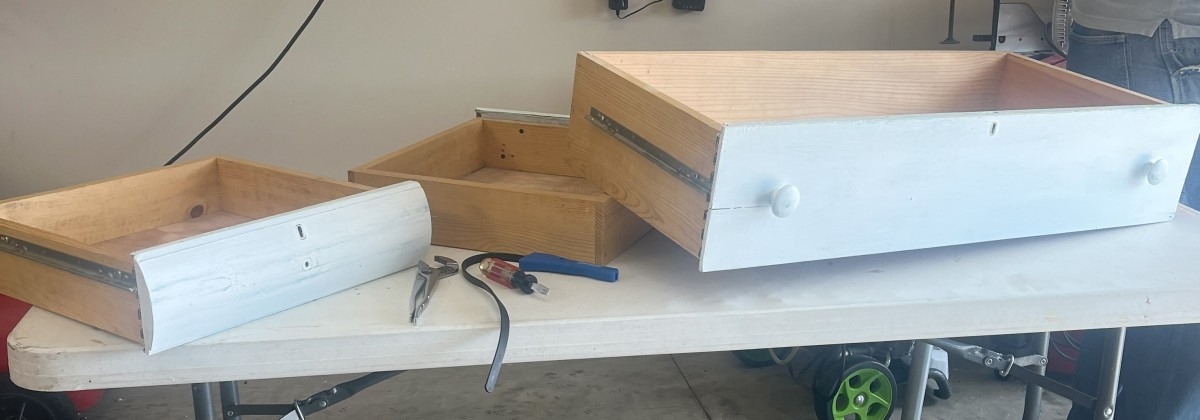
The first step to the distressing process is to sand and clean the piece well. Lightly sand the object with fine sanding paper or blocks making sure you pay attention to any previous dried paint dribbles or chipped areas. After sanding, wipe the piece down with a tack cloth or damp rag.
Step 2
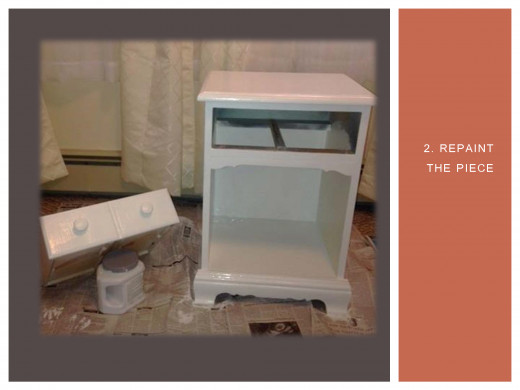
Repaint your piece with the color of your choice. I recommend two coats especially if you are trying to paint over a darker shade. It does not have to be a light color like the one I have chosen (eggshell white). You can experiment with darker colors as well. I've provided a link for you here to a Google search on painted distressed furniture that may help get your creative juices flowing.
Step 3
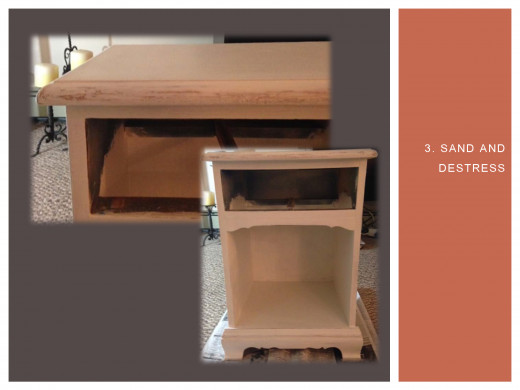
After your piece is well-dried, you'll need to sand and distress it. This is the fun part and almost feels like you're undoing all the hard work you just did painting the piece. But here's your chance to personalize the piece. I recommend focusing on edges, knobs and crevices. This is where yours distressing will look most natural. How much you distress the object is up to you. I chose just a little distressing, but some finishers like to go a little more dramatic with the use of screwdrivers, chains and other objects to mar the piece and make it look more vintage. Afterwards, wipe your piece with a tack or damp cloth to remove debris.
Step 4
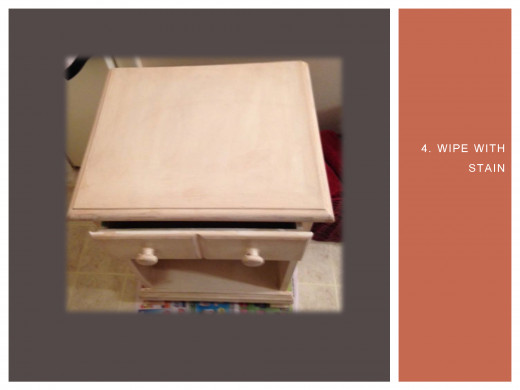
Finally, wipe your piece with stain. I chose a light oak, but as with color, the outcome is yours to play with. I would recommend using a liquid stain as I found paste to dry fast and I was unable to rub to desired results. Experimenting with your color and stain on a piece of spare wood will enable you to achieve your desired results without having to redo the entire piece (I'm speaking from experience here. ) After you've stained and rubbed your piece to your perfection, let it dry well before using.
The Results
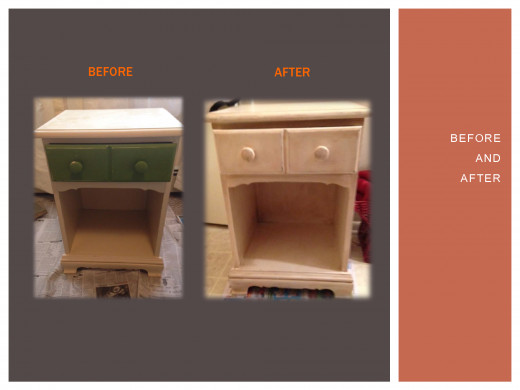
There you have it! Your results may be much more dramatic than mine since I didn't really change the base color of the piece much. But still, I feel this old, gaudy nightstand with it's chipped green drawer and water stained top has now become shabby chic for a fraction of the cost of a new piece and all it required was some inexpensive ingredients, a little elbow grease and a whole lot of creative thinking.
Definitions
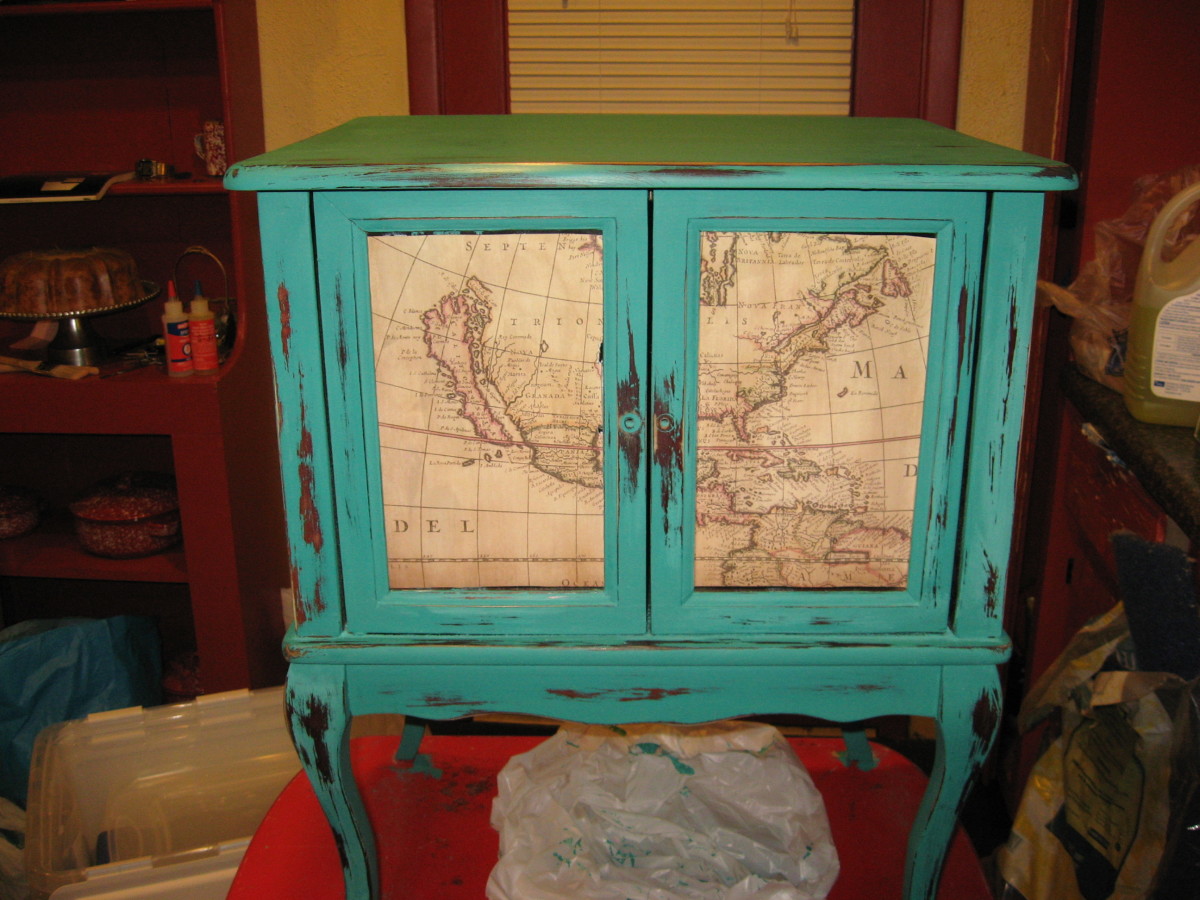
Distressing (or weathered look) in the decorative arts is the activity of making a piece of furniture or object appear aged and older, giving it a "weathered look," and there are many methods to produce an appearance of age and wear. Distressing is viewed as a refinishing technique although it is the opposite of finishing in a traditional sense. In distressing, the object's finish is intentionally destroyed or manipulated to look less than perfect, such as with sandpaper or paint stripper. For example, the artisan often removes some but not all of the paint, leaving proof of several layers of paint speckled over wood grain underneath. This becomes the "finished" piece.
Restoration can be as simple as light cleaning to remove disfiguring dirt or grime, such as on the surface of a painting, or it may include near complete rebuilding or replacement... Often done in preparation for sale, or by a collector upon acquiring a new piece, the main goal of restoration is to "restore" the original appearance or functionality of a piece.
Shabby chic (pronounced: "sheek") is a form of interior design where furniture and furnishings are either chosen for their appearance of age and signs of wear and tear or where new items are distressed to achieve the appearance of an antique.
SOURCE: Wikipedia
Stay tuned for upcoming video on the process
"The Matching Dresser Project" - coming this summer 2015

