Beach Cottage Bedroom (walls and trim) Part 2
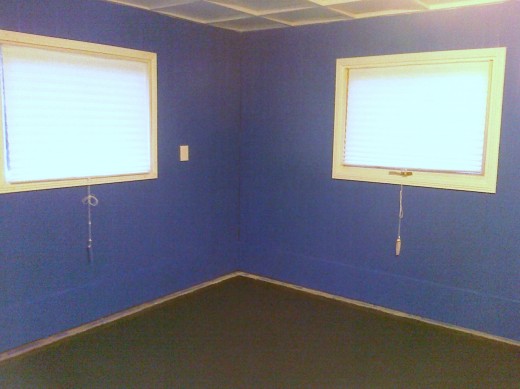
Walls painted.... BLUE?!?!
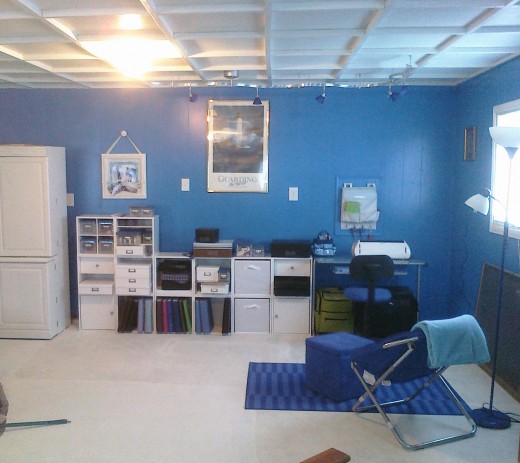
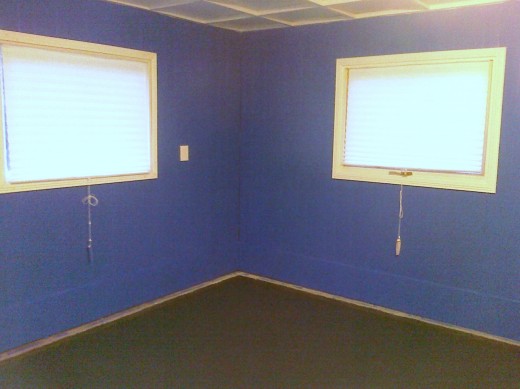
At first many thought I was crazy- the wall color I had chosen was a bright BLUE... and although it was bright it was also very dark. With all the white trim and the stark white ceiling I was confident I could pull it off. SO to the home improvement store I went for my paint.
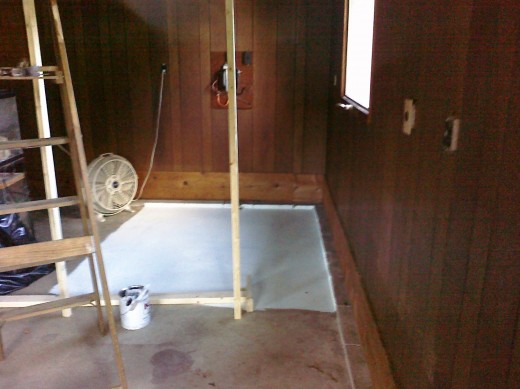
I was covering an old yucky brown paneling that was very porous so I purchase a really good primer to put on first. Boy am I glad I took the time to do this, because the walls soaked the primer up like it was water. Two coats of the blue and the room was starting to take shape
Molding DOES make a difference
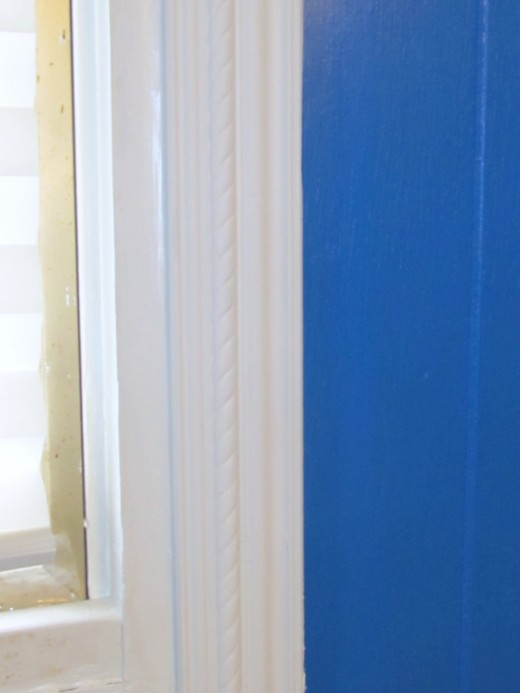
Since I was really trying to stay with a nautical theme- rope molding was a must. The crown molding was purchased at a local home improvement center and made for a nice touch around the windows. Painted white it helped to offset the bright blue of the wall color. Since I had not decided on a window treatment yet, I also purchased temporary shades that we cut to size to give privacy. With the windows being the original windows that were installed in the garage, they are an unusually large size (4 foot across)
Little touches make a BIG impact
If you do not have a large budget for your space- don't dispair! There are a bunch of little things that can make a huge difference and not cost a fortune.
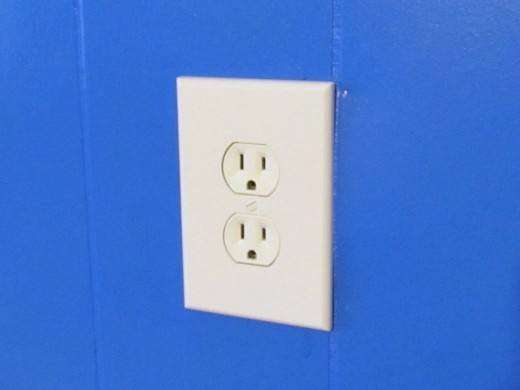
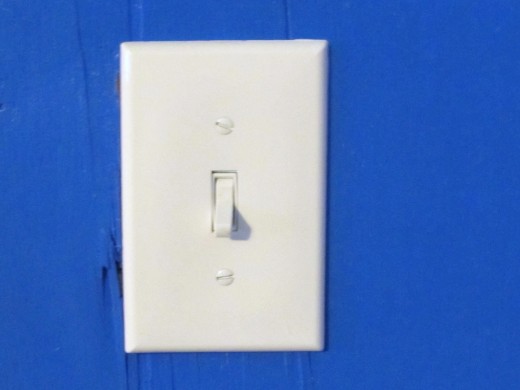
As we were redoing a garage, one of the things I knew that needed to go were the mismatched outlets. There was beige and brown and the occasional really old white one, they were also all located at an odd height. (about work bench height) so they were definitely noticeable. A few dollars spent on new outlets and plates as well as the new light switches went a very long way in making the room seem less like a workshop and more like a bedroom.
Since we were going to be doing this project in stages and flooring was going to be a large expense, we painted the concrete with Kilz to prevent water issues. A carpet remnant was purchased to go under the bed and with a few throw rugs (and by wearing socks) there was very little issue with a northwest PA winter. The white paint on the concrete gave it a more finished look that I was able to deal with until the flooring could be installed.
Planning the closet
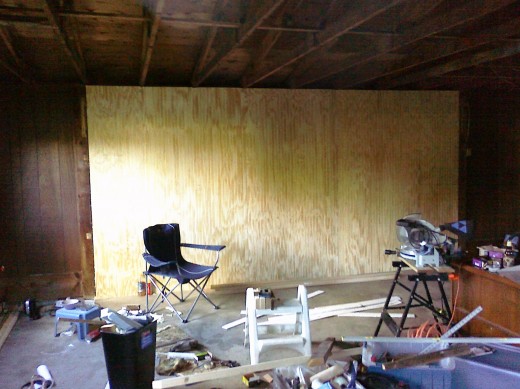
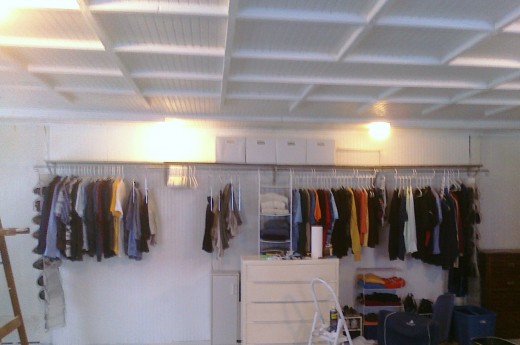
Since I wanted to take advantage of the most space that I could for a closet without cutting into the room, the best place to put it was where the garage door used to be. No windows to worry about and I could be sure where the studs were placed so that the closet could be installed properly. Knowing that a temporary set up would originally be used, I placed the studs so that the closet could be completed at 4' intervalls. I want to install a modular closet system that will have shoe racks and slide out accessory racks and double rods, you know that one you walk past at the home improvement center and say "wow". Unfortunately to install such a system at one time will not likely happen. So, I came up with the one year at a time goal... 24' long closet at 4' completed a year total time to completion = 8 years. I am just estimating times for this because some sections will cost substantially less than others. In the meantime a few galvanized steel rods and hangers will do.
Functional yet inexpensive
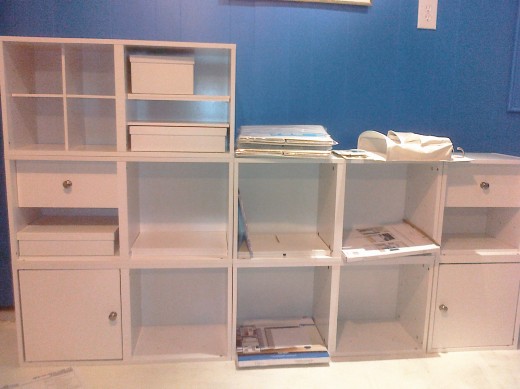
I knew that I wanted a corner of the room to have a place I could scrapbook and store supplies. What I did not want is for it to look out of place. I wanted a wooden storage system and shelving not the plastic drawer carts on wheels. I had a theme I was trying to preserve as well as a budget. The modular storage system was $19.00 per two cube unit and the cubes were large enough to hold a 12"x12" scrapbook album. There were accessories available to add drawers and dividers as well as cabinet doors- so I was truly able to customize my space. With a few white bookshelves I was in business.
Stay tuned for Part 3 - Finishing touches
Until next time
may you always have a seashell in your pocket and sand between your toes


