DIY Faux Frosted Glass


Right out of the gate I wish to make this article clear. If you are looking for a fun frosted glass look for decorating around your home this is the article for you. This technique is NOT a replacement for real glass doors, expensive windows or anything that can't be replaced easily if you don't like the finished look. That being said, this article DOES tell you how to make a great accent for a fraction of the cost of real frosted glass.
What can frosted glass cost?
There are several ways to get a frosted glass look: Real frosted glass, Contact a window company and have frosted film put on, or go to your local home improvement store and get the stick on yourself products. Depending on your area, real frosted glass can cost anywhere from $200 dollars and up. Contacting a window company helps to make sure the project is done right, but the frosted film, depending on your project, can run from $75-125+. If you're like me you'll say "I'll just do it myself and run to the Home Depot!" Only to find the fancy stick it on yourself rolls (for the larger rolls) can start at $60-70 dollars. My project would have required two rolls. See how that adds up real fast? Plus you have to really take the time to make sure ever piece is lined up just right.
My process for making faux glass: What you'll need
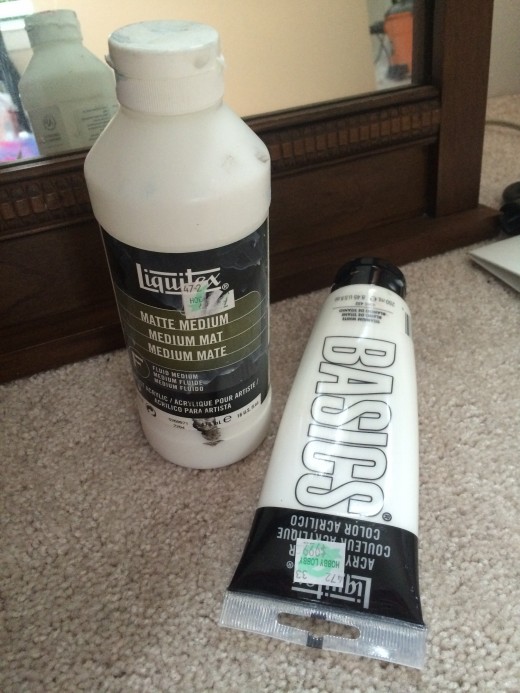
White Acrylic Paint - You'll can see in the photo that I used a large tube of BASICS acrylic paint. $5-12 dollars depending on size.
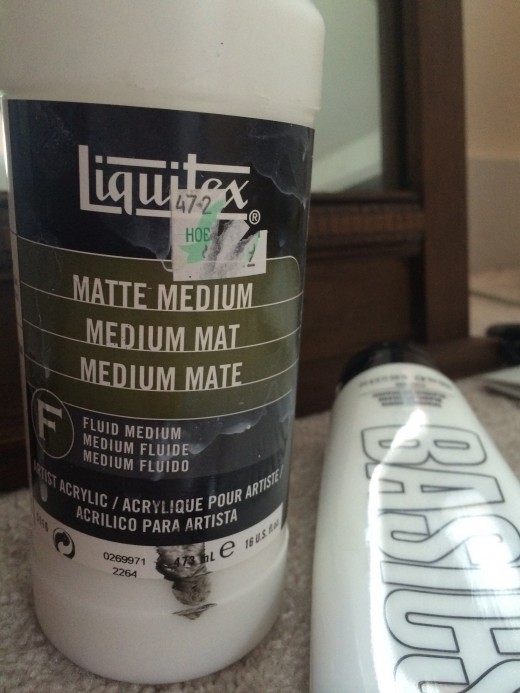
Liquitex Matte Medium - Found at local craft stores like Hobby Lobby or AcMoore. Matte medium helps dilute the acrylic paint. Depending on how much you'll need for your project this product can range from $6-20 dollars.
A Medium- Big Porous Sponge - This is for making the texture and can also be found at hobby stores.
Something to mix the acrylic paint and the matte medium. Can be a brush, scraper, or even spoon.
Plastic plate
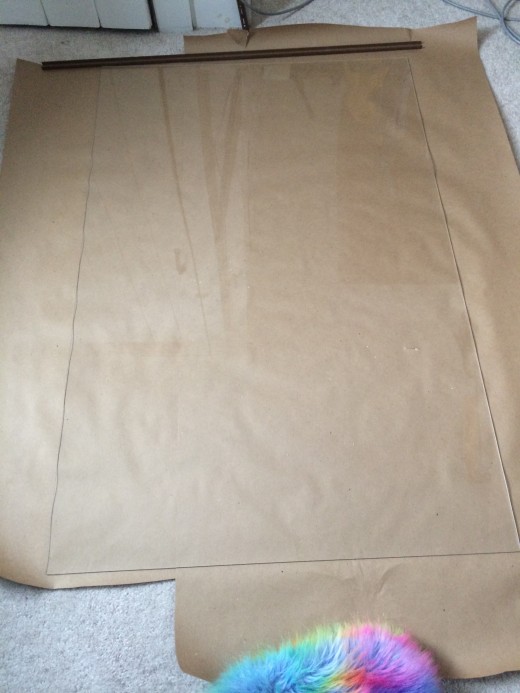
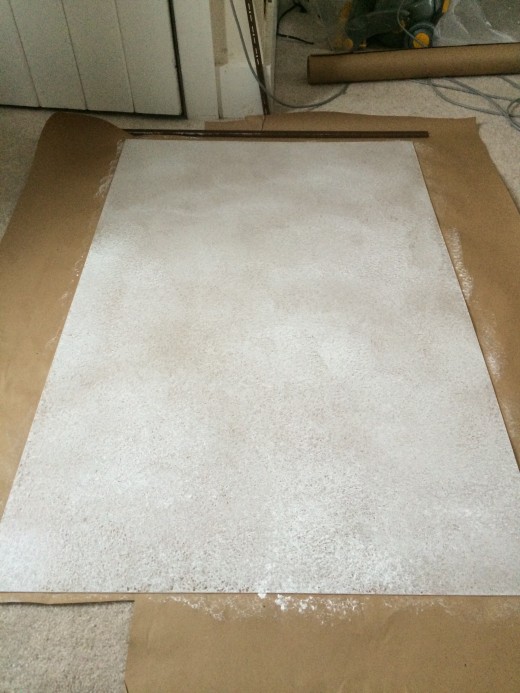
For my personal project, I was trying to hide two large rectangular holes in my ceiling. To add interest I thought it would be fun to make them look like faux frosted windows. Minimizing the weight as much as possible I purchased two large sheets of plexiglass. After putting down some brown paper to protect the floor I placed the plexiglass on the paper. Off to the side on some disposable palette paper is a mixture of matte medium and white acrylic paint. The mixture needs to be semi transparent. You will want a ratio of roughly 6:1 (Matte Medium to paint).
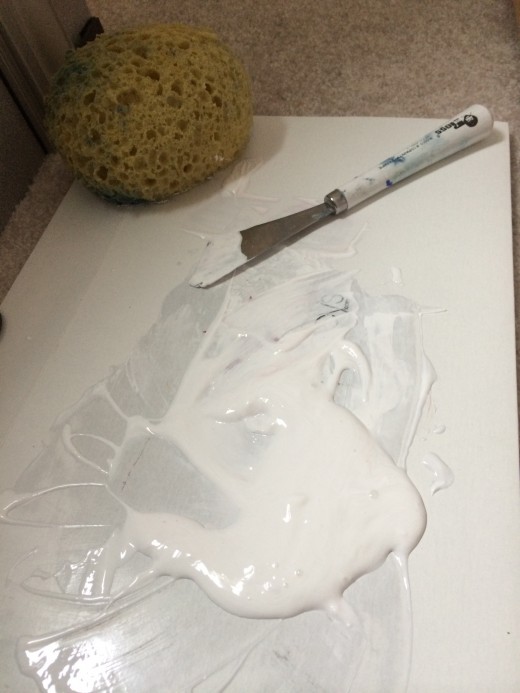
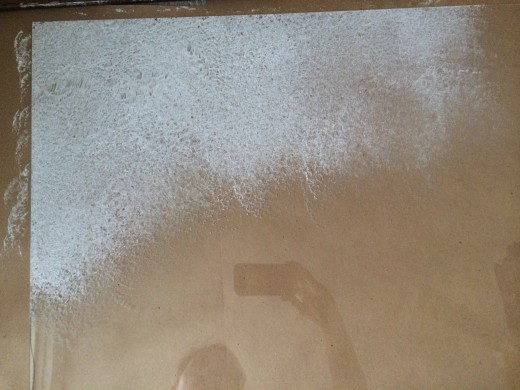
You can see here in the photo the sponge I used. Next, lightly dip the sponge in the mixture and gently dab the sponge over the desired surface. Make sure to dab. If you drag (which is easy to do when you've been dabbing for a long time!) your project will be covered in streaks. To make things easier start in the left top corner and work your way across to the right. As you start the next area overlap the edge of the previous pass to hide any lines. Keep working until the whole area is covered and let dry for one hour just to be safe.

Caution and Notes
- If you are using glass instead of plastic. Keep in mind that glass is smoother than plastic giving it a less gripping surface. You will need to be extra careful when dabbing to avoid streaking.
- The transparency is completely up to you! If you want the "frost" to be thicker use less matte medium. If you would prefer it more transparent then more medium. For fun additional effect mix lighter and thicker areas. Another thought is to use tape to mask off areas for crisscross patterns!
Whether your project is a mirror, glass panel, or just the vase you found at the local flea market for two bucks, adding a faux glass finish is just the thing to bring new life into an old objects.


")
