DIY Grow Box - How to Keep a Small Garden Inside on the Cheap.

Materials Needed
For this Project You Will Need:
- 1 Two-Drawer Filing Cabinet (Thrift Store)
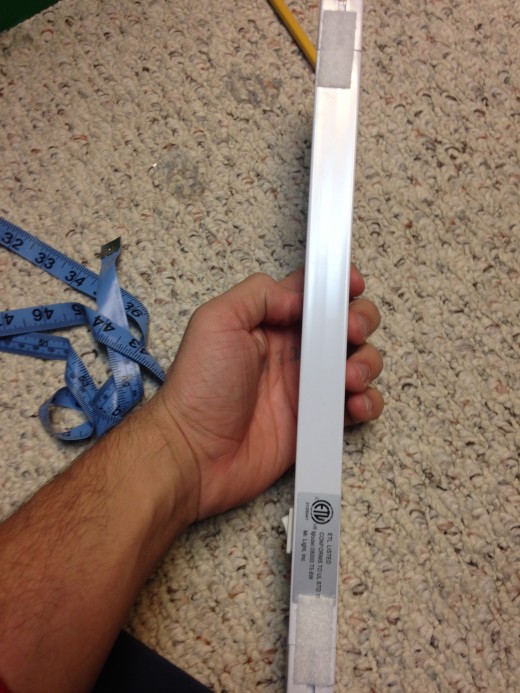
- 1 Mr. Light 88741 8W Linkable T5 Grow Light Fixture (Amazon)
- 12 Pack CERTIFIED ORGANIC Herb Seeds (Amazon)
- 12 Plastic Pots for Plants, Cuttings & Seedlings, 4-Inch (Amazon)
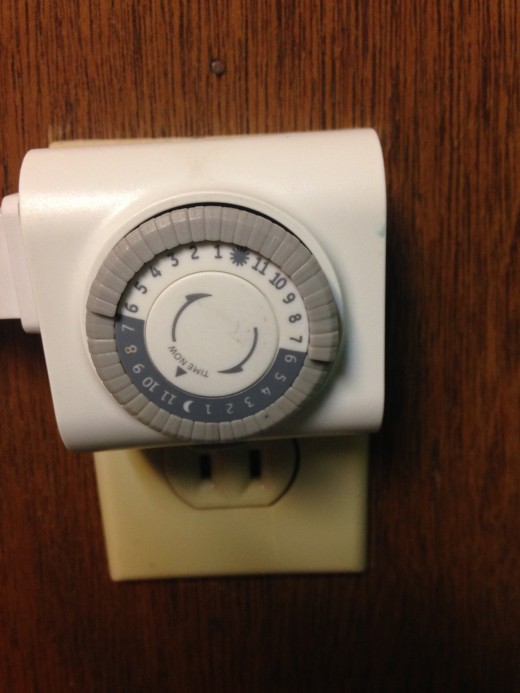
- 1 GE 15076 24-Hour Plug-In Mechanical Timer (Amazon)
- 8 Cups of Soil

Tools Needed
- Drill
- Shovel
- Ruler
- 2" Packing Tape
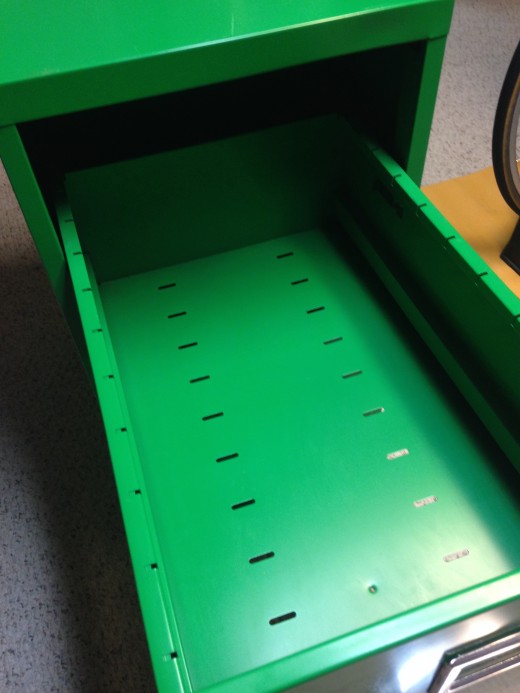
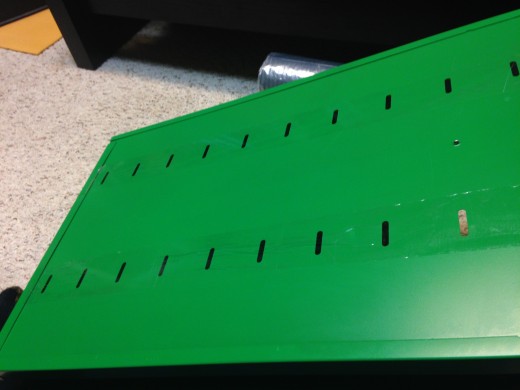
Step 1: Cabinet Preparation
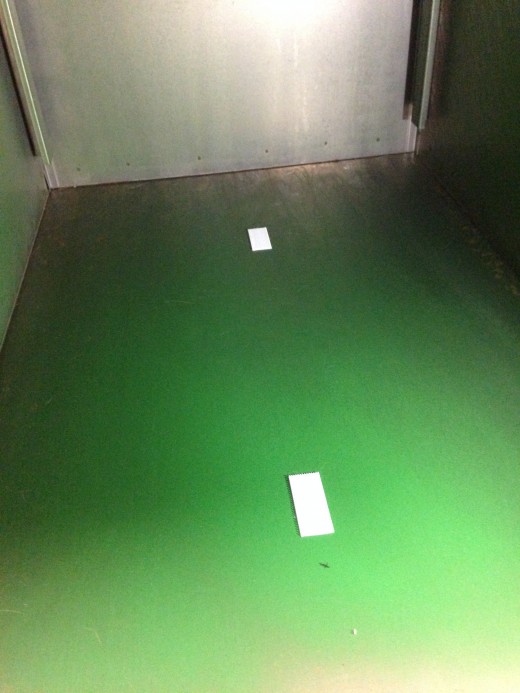
Before making any big changes to your cabinet, it's necessary to prepare the inside. Make sure all the surfaces inside are clean and the bottom of the drawers are sealed with tape.
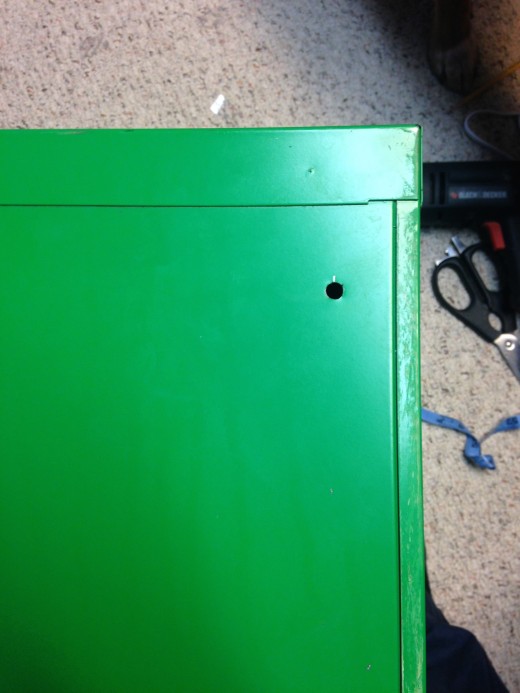
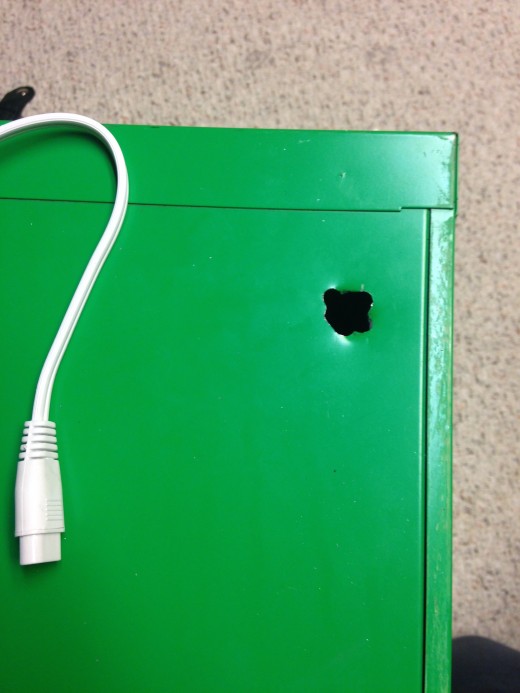
Step 2: Creating Power Cord Entrance
In order to power the grow light inside your grow box, you need to drill a hole in the back of the cabinet. I used a 1/4" drill bit because I didn't have anything bigger, but I recommend at least a 1/2" to make sure that the hole is big enough to fit the power cable. Once the hole is drilled, feed the power cable that came with the grow light kit into the cabinet.
Step 3: Grow Light Placement
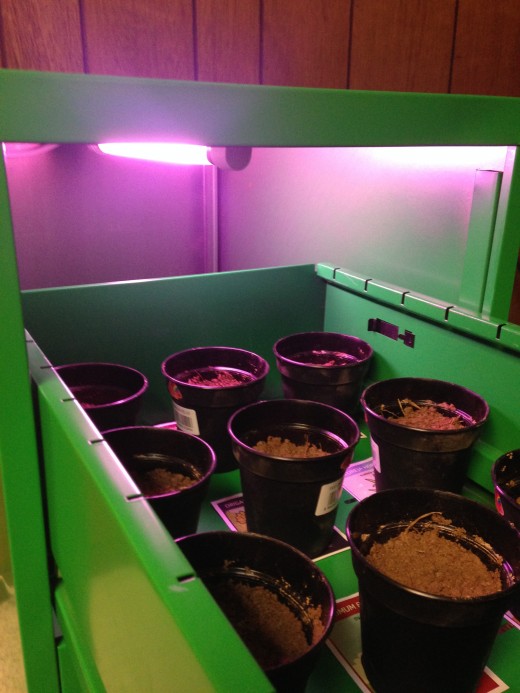
Grow light placement is important for the box to maximize the amount of light to all of your plants. That's why it's important to make sure that your light is placed in the center above your drawer.

Step 4: Setting Up Light Schedule
Using an outlet timer I thought would be the best way for controlling the light. Plants need 12 hours of light, so I set the timer to be on half the day and off the rest. I set the light to be on during the day so it wouldn't bother me when I'm sleeping.

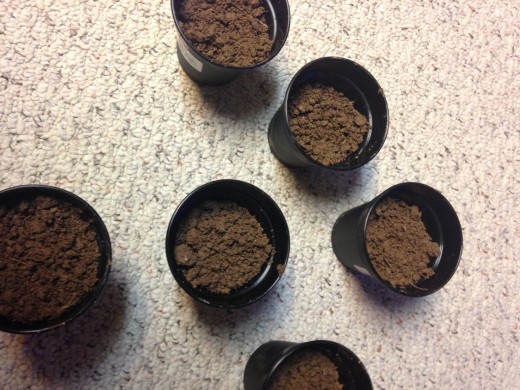
Step 5: Potting
I obtained all my dirt required for my 12 pots from outside my house. If you prefer, you can use high-quality potting soil. The instructions for all the seeds are on their independent packaging.
Once the seeds were properly planted in their pots, I spaced them out equally in the drawer.
12 Pack CERTIFIED ORGANIC Herb Seeds

Plastic Pots for Plants

So, that's how you make it. If you have any comments or questions please use the comment section below.


