DIY Landscaping - Build an Outdoor Patio -In Progress
Being a new homeowner can be quite challenging, especially when it comes to finances. Not only do you have mortgage payments, (which are generally more than what you paid in rent,) and your utility expenses, you now have house insurance, taxes and upkeep of the property to pay for.
Simple things like lawnmowers, ladders, and various yard tools are necessary to keep your new property neat and tidy and in good repair. Simply 'tooling up' to look after your new home can be costly, and I haven't even touched on major repairs such as replacing a fence or hot water heater.
So how can you find the extra dollars to improve your home and put your personal stamp on your newly acquired investment? For those of us who don't have a ton of cash, equity or credit, the answer is simple..."do-it-yourself"!
Where do you start?
Any type of renovation can be an expensive and time consuming undertaking, so the first thing you need is a plan. Figure out exactly what you want to do and prioritize. Make sure that you have all your materials on hand before you start any type of renovation - even for something as simple as painting a room.
This doesn't mean that you have to rush out and purchase everything you need immediately. If you have a tight budget, you can stock pile the items you need until you have everything to start your project. There is nothing worse than being part way through your renovation and having to drop everything and run to the store.
Research
Don't guess at what you need...do some research! Watch some DIY shows, buy some books and find out exactly what your project entails before jumping in. This could save you hundreds of dollars in the long run, not to mention hours of work and frustration. Once you have done your homework and gathered all the necessary tools and materials to complete your project, (some projects can be completed in stages,) it's time to get started.
Patio anyone?
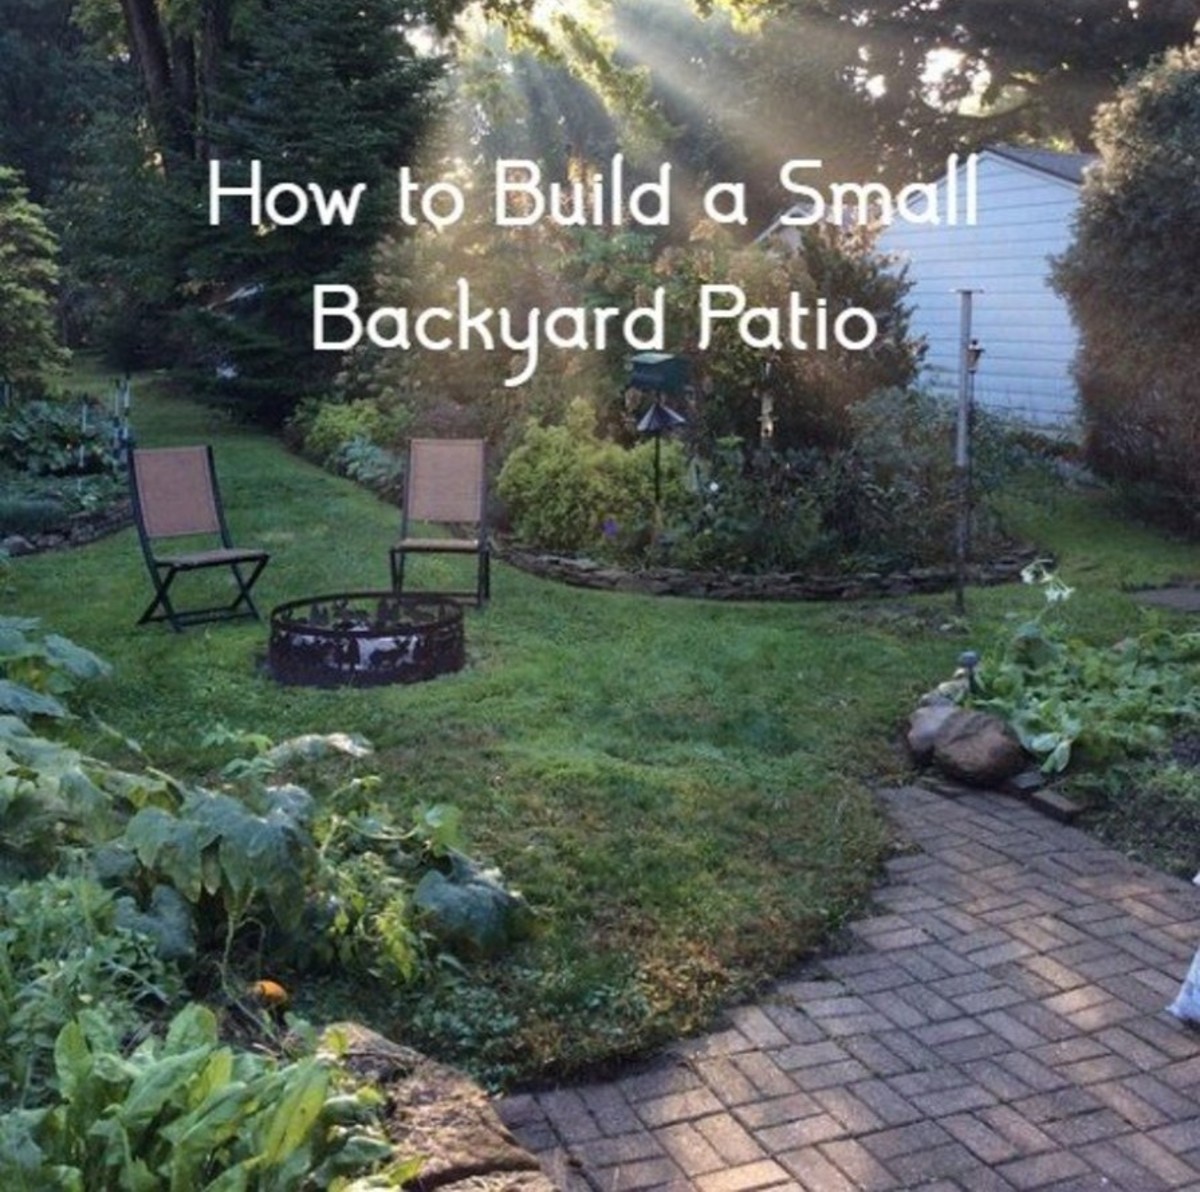
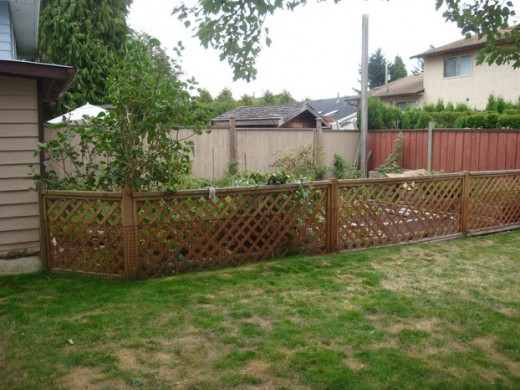
This is exactly how our backyard looked two years ago when we bought the property. The previous owner used to have a vegetable garden, but it was now unused and overgrown with weeds. The garden took up a third of the backyard and needed a lot of work just to keep it maintained. Now, I'm not a gardener by any stretch of the imagination, and the last thing I wanted, after a twelve hour shift, was to be weeding, hoeing and watering every day.
As much as we liked the garden idea, both my husband and I were in agreement...it had to go.
Demolition
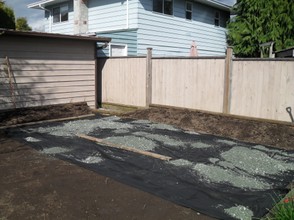
After ensuring that we had the sufficient amount of supplies for the first stage of our 'soon to be usable patio' project, we started the demolition. The fence was torn down and disposed of, as well as all the old landscape fabric and two by fours that held it in place. Then the wooden partitions that defined the garden space were removed.
The next day was spent removing the dirt, (it was a raised garden,) and leveling the space to match the rest of the yard. This process can be accomplished in two ways; the first, by using either a bobcat, or smaller hand operated machine that looks like half a bobcat, and the second, by shovel. In order to keep our costs down, we opted for a bit of hard work, and used shovels
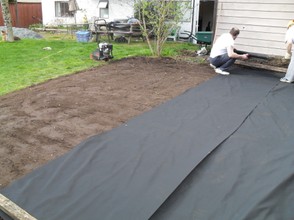
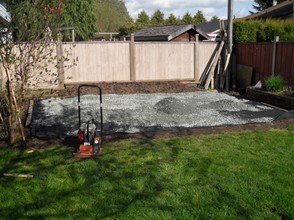
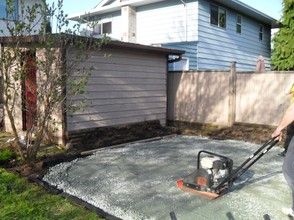
After we raked the remaining dirt and leveled the area (by eye,) we used a compactor, (available at most tool rental outlets,) to compact the dirt and prepare it for the next stage, which was placing the landscape fabric. We used several shovel fulls of limestone to hold the fabric in place as we worked.
Add limestone, level and compact
Once you have the landscape fabric down, it's time to add the limestone.
*A quick clarification here. The reason you add landscape fabric is to help keep out weeds, something that is very important when placing a patio over an existing garden area. It is also a good idea to spray the area well with weed killer, as some of the more tenacious varieties can grow through the fabric, regardless of the manufacturer's guarantee.
The use of limestone instead of simple gravel or road-base material also helps to inhibit the growth of weeds.
Add the layer of limestone and spread it evenly. (Sounds rather like a recipe doesn't it?) Attach a string line from one side of the area to the other, and another string line, crossing the first, in a cross or 'x'. Place a string level on each line and adjust the lines until each one is level. This way, you can 'pitch' the patio so the water will run away from the house, and not pool.
Compact the limestone, being sure to add more limestone to any low areas, until everything is level, then compact it some more.
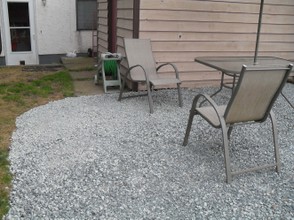
You have now reached the half way point of your patio.
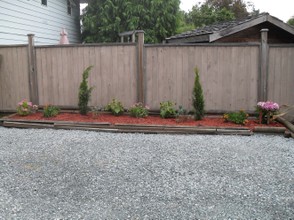
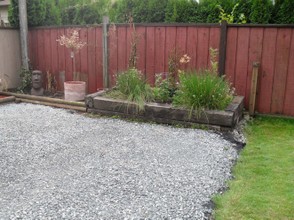
Ready for Stage Two
Since we have chosen to build a stack stone garden around the perimeter of the patio, we decided to finish the patio after the wall was completed. We also decided to remove the tree from the corner of the patio, adjacent to the shed, as well as the flower bed that butted against the side of shed. This opened up the area even more, and allowed for a nifty barbecue area.
We planted our perennials and trees, and even though we don't have a finished product as yet, we can still utilize the area while we decide exactly what we want. There are a lot of different styles of patios and it can be difficult to decide which look you want for your back yard.
Another factor is the cost. Even though we will be doing the work ourselves, the initial outlay for materials can add up to a substantial budget, which can be upwards of $4000.00 for the supplies, not including our time and labor.
We are considering several different options and hopefully we will be able to complete our project next spring. We still have a lot of work to accomplish before we can rest on our laurels, and I will be documenting all our improvements, complete with instructions on how to do them.


