DIY Reupholstering a Chair
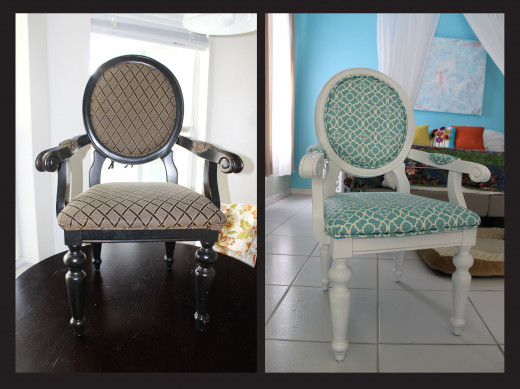
What you'll need
- Chair
- Needle Nose plier
- Small flat screwdriver
- Sand paper 80-100 grit
- Spray Paint (2x Paint and Primer)
- Cloth
- Black cloth for base of chair
- Staple gun and LOTS of staples
Driving along highway 27 in Florida you see all kinds of things. Cities that are new and shinny followed by the old favorites that now resemble ghost towns; and somewhere in between miles of scattered cattle. When looking for a way to shake up an afternoon you’ll usually find something. Of course no adventure would be complete if those things were right out in the open. That is what happened to my son and I. Driving along we had just passed the border from Clermont to Minneola when by pure chance we spotted a small thrift store off to the right called Classic Treasures.
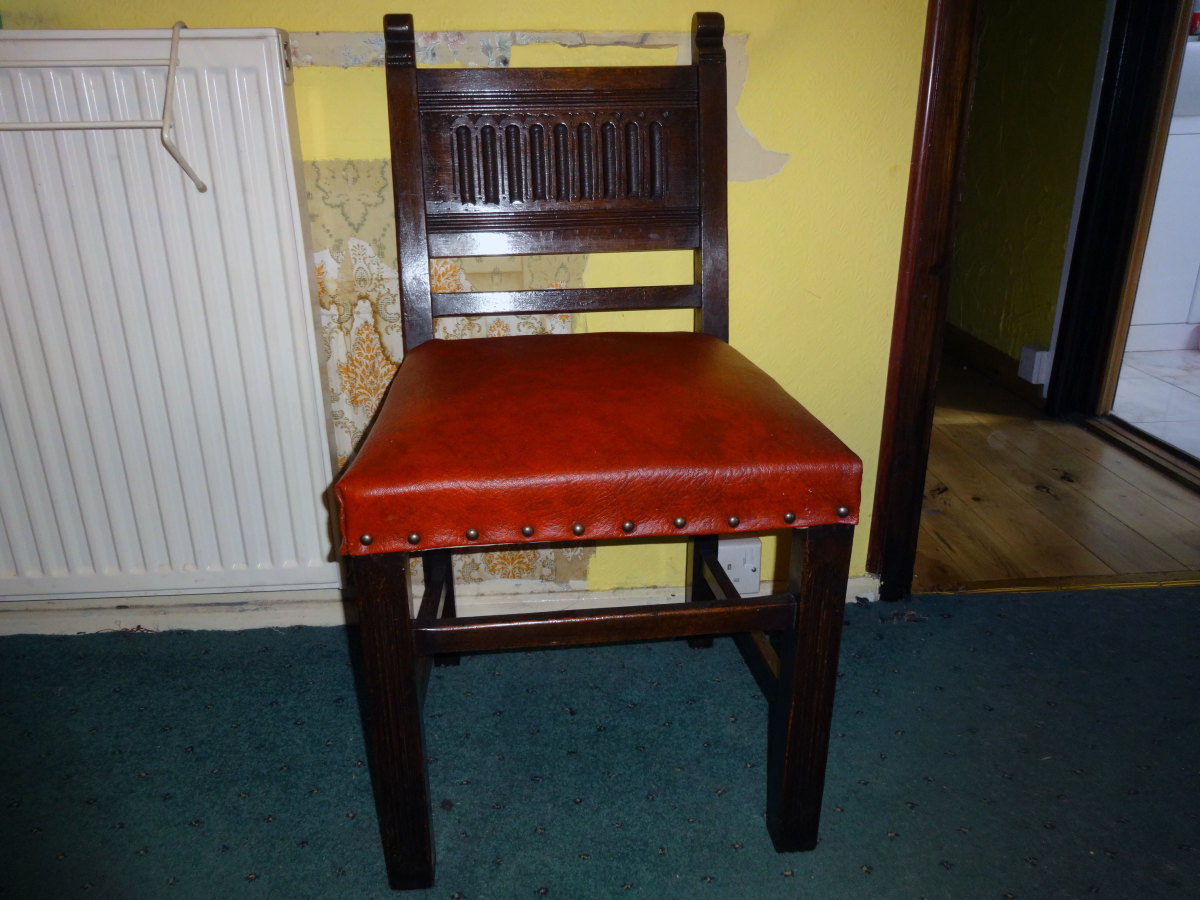
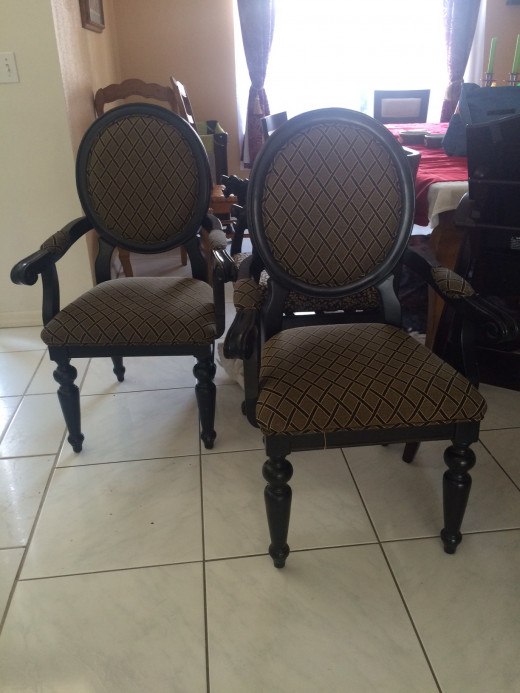
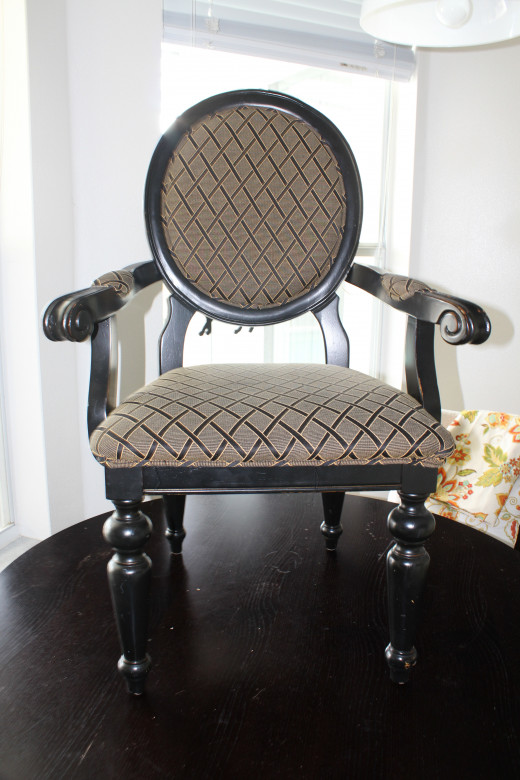
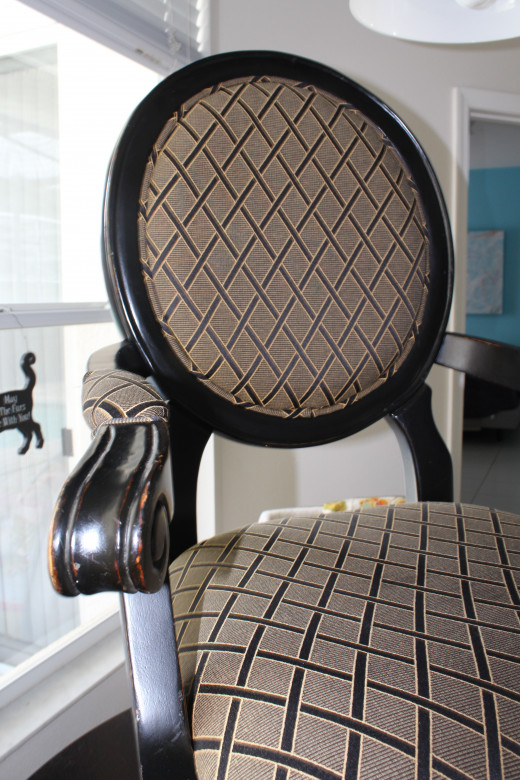
From the outside it didn’t seem like much, a small yellowish building with a plain door and no fancy bobbles. Inside the space was small but filled with unique furniture. Along the back wall was a simple door leading to a workshop. The door was cracked open just enough to see paint and tools all over. The owner obviously cared enough to repaint and fix what came in. In my limited experience I have found these kinds of stores to have the best treasures, and I was not disappointed. Half an hour later I was headed home to meet the delivery truck that was bringing my new chairs and table. Amazon sells similar chairs for $200-$300 a pop so paying 50 a piece was a steal. There was only one problem, being black and gold they didn’t go at all with our bedroom, which is bordering currently on a tropical beach inspired theme.
Step 1 - Demolition
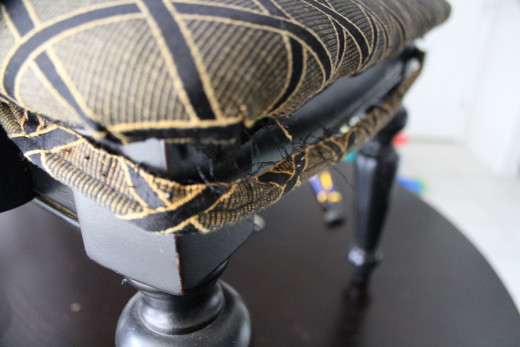
Striping all the old cloth is going to take time and a lot of patience. I started with all the trim then the armchair padding and then the circles. I highly recommend making a diagram for yourself, and tagging each piece. This sometimes takes a few days and it can get confusing with the multitude of pieces. Put everything in a bag including the old cloth so you can use them later as a template. For convenience and safety I kept an old bowl near me when removing all the staples. Use the small flat head screwdriver to pop the staple out. On occasion only one side will come up. In this case use the regular or needle nose pliers to yank the rest of the staple from the wood.
What do you consider your style of furniture?
Step 2 - Removing the stuffing
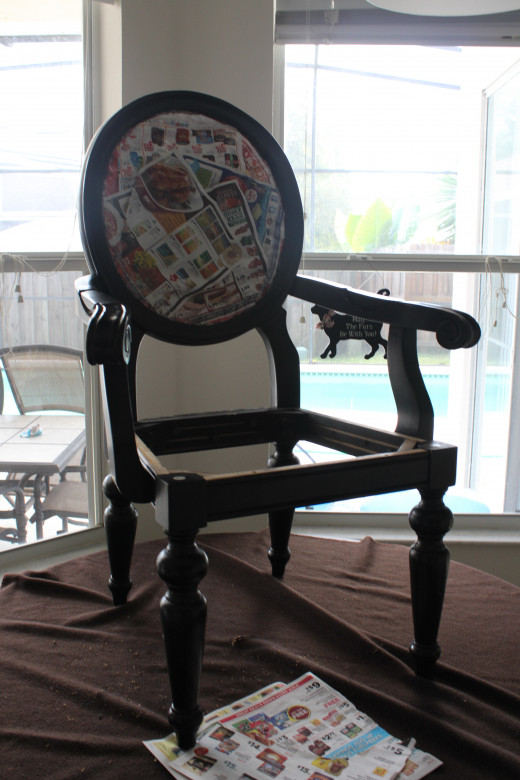
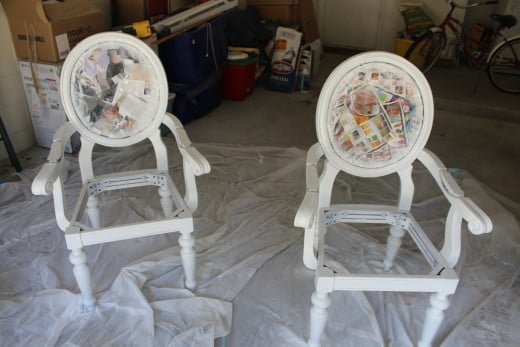
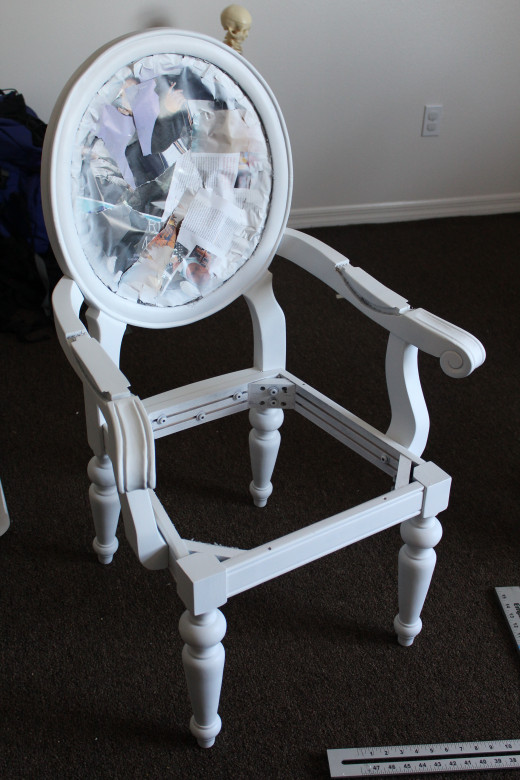
After all the cloth has been removed it's time to take off all the stuffing. For these chairs they had two arm cushions and two oval shaped cushions for each chair. In between there was a woven support that I left on. The original manufacturers did such a nice job I didn't want to ruin it. Luckily, resting on my counter was a giant pile of magazines and newspapers that were just begging to be used. With a few tears here and some tape there the webbing was soon covered and protected.
Step 3 - Painting
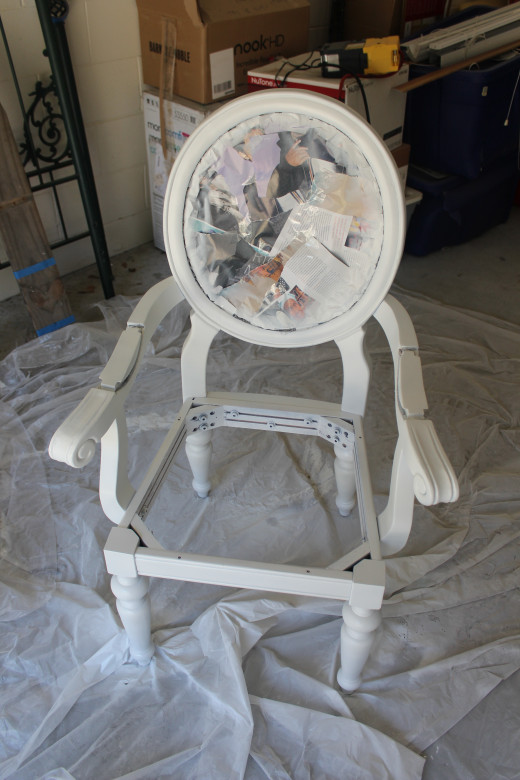
Bring your furniture out to a well-ventilated area and grab that 80-100 grit sand paper. Using the sand paper give the whole furniture a light once over until the surface is slightly scuffed and all the imperfections are rubbed out. If your furniture has paint or a stain you will either have to do a good deal of sanding or you might have to go to your local hardware store and purchase a stripping agent to remove the coat already in existence. After you finish sanding take a damp rag and wipe off all the dust still clinging to the surface. If you try to continue without wiping the dust off the paint will stick to the particles instead and your project will look like a colorful piece of Swiss cheese. Repeat this step if necessary.
Once the sanding is complete move your furniture somewhere away from other objects and that receives plenty of airflow. For example, outside on a tarp, or a big piece of cardboard. If you don’t have to worry about a HOA you could even put it out on the lawn. If paint hits the ground the grass will grow out and you’ll eventually cut down the now discolored areas. Please keep in mind if you do go this route it might be more difficult to get an even coat on the furniture’s legs. And just stay away from the cars! Sounds like common sense but I can’t tell you how many times I’ve heard of people who thought they were far enough away until the wind carried their paint all over their nice white car. Actually that could look pretty cool…Anyway moving on!
Follow the instructions on your spray can, and make sure to shake for a full minute. Spray back and forth releasing at the end of each crossing to overlap the layers of paint. For my project I used a paint and primer in one (Satin finish), but because my chairs were black and I decided to go white it took two full coats (and three cans of spray) to paint mine. The amount of cans of paint you will need varies from project to project. If you decided to hand paint your furniture with a roller ask your local home store for advice on the best type of paint for your durability needs.
Give your paint a full 24 hours to fully dry before trying to reassemble. Now with the painting done it’s time to move on to fabric!
Fabric, Fabric, FABRIC!
I love taking a trip to Joann’s Fabrics! Pass through those glass doors and behold isle after isle of color palettes that hold enormous potential for a plethora of creations. A pattern and hue for everyone whether they be a dark loner or a newborn babe. With the current project being a commonly used object it was important to invest in a more durable fabric. Furniture fabric is usually kept on big rolls near the back of the store. To be safe I purchased 3.5 yards, and it turned out to be a lot more than I needed, but it’s always better to have too much than too little. If you do end up with extra fabric you can always utilize the extra into accents like pillows or glue it to the inside of your bookcase for an extra pop! When checking out never pay full price my friends! You can always find a coupon online or wait until a major holiday. With luck on my side it happened to be Columbus Day weekend and not only was the fabric 40% off but I also received an extra 10% by finding a coupon with my fancy phone while waiting in line.
Step 4 - Cutting out the fabric
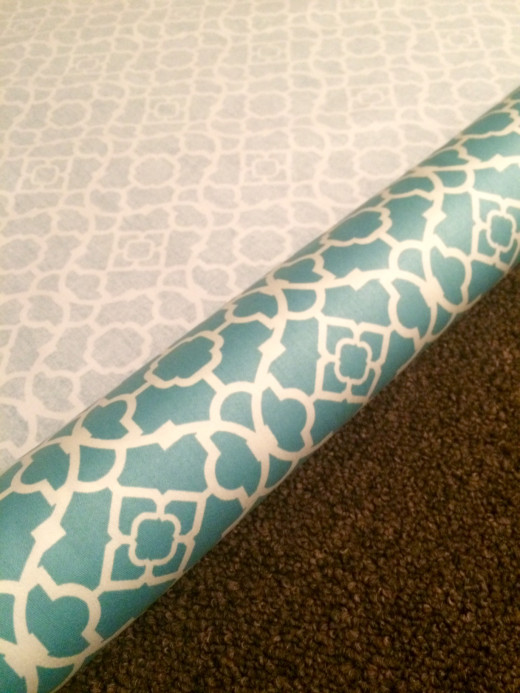
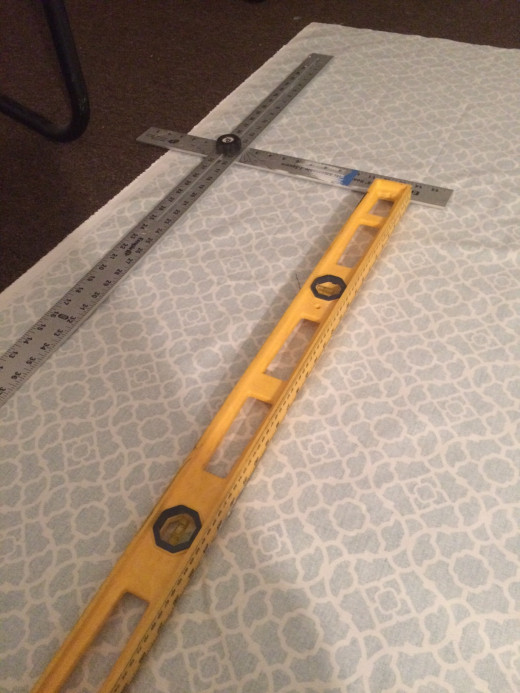
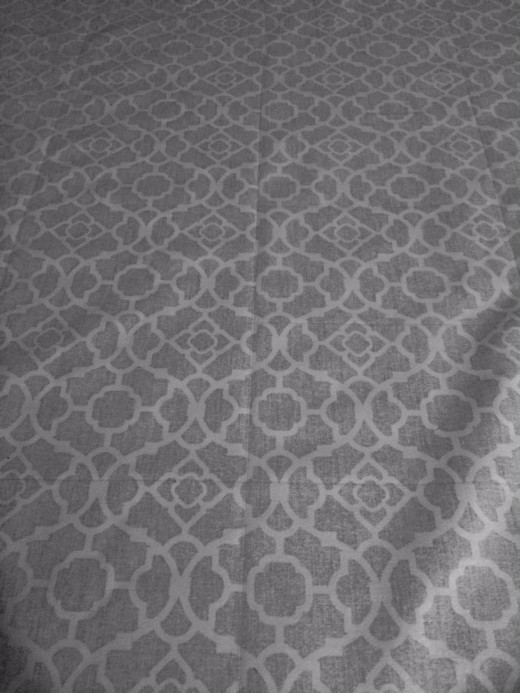
Half an hour later my colorful roll of fabric and I skipped into the house and headed upstairs to start making patterns. As you can see, the pattern on the fabric is quite complicated. To keep my pattern from becoming crooked while creating the ovals I created a grid on the back of my fabric using a T-square and a long level (just for the straight line). By placing the old fabric on the new fabric there was no need for measuring. The grid was incredibly helpful to keep everything on track. Another trick to keep cost down is to reuse the same cord from the original trim. If this is not an option for you, cord is sold at stores like Joann’s Fabric, Hobby Lobby, and Walmart.
Step 5 -Making the trim
Reusing the cord from the original chair was helpful and much more cost effective. Because the cord was so thick I didn’t need to make a double cord. If you’re project requires a double cord, here is a great link on Youtube.
Double Cord
- Remove cord from old fabric. After cutting a few stiches from the end you should be able to just pull them right out.
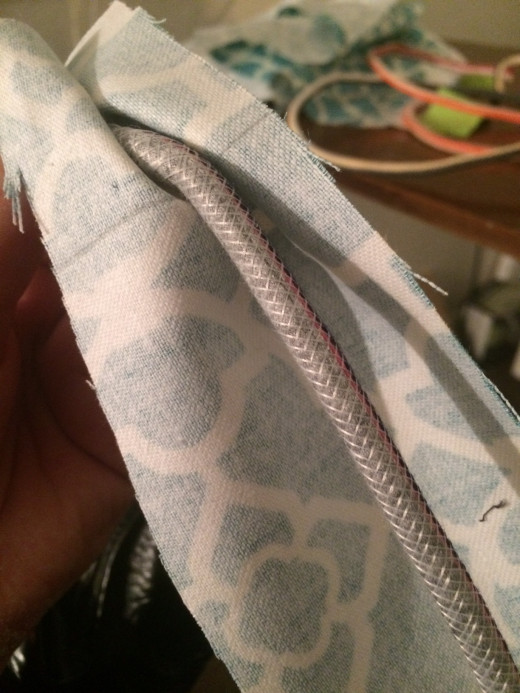
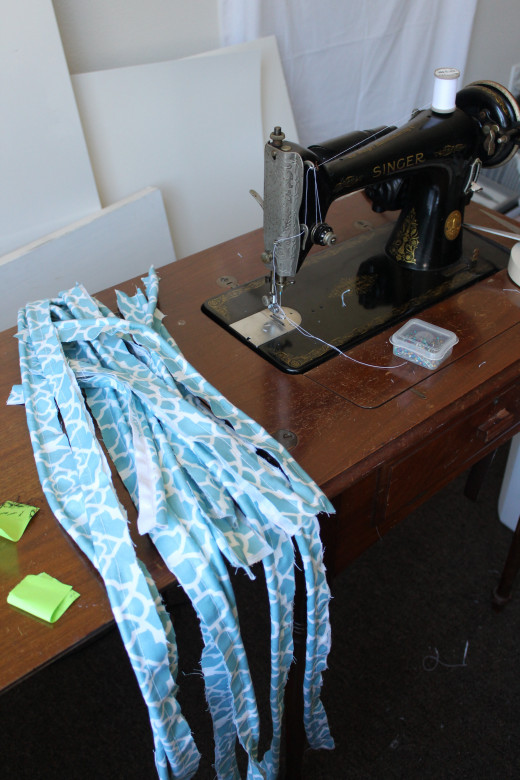
- Cut a new piece of fabric roughly 3” wide by however many inches long (use the cord to measure). One for each piece of cord. Add an extra ¼ inch to the ends to fold the fabric behind to hide the opening.
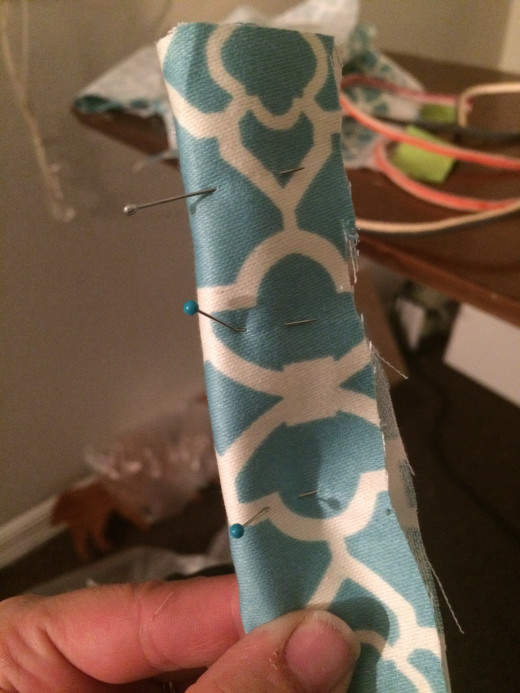
- Place the cord in the center on the backside of the fabric and incase it in the fabric. Pin in place. Use your fingers to smooth out the fabric as you pin to insure a nice tight look.
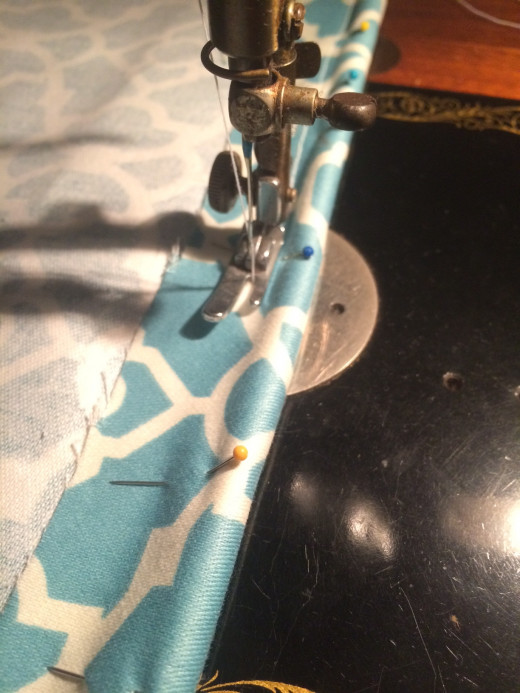
- Place the unfinished cord on your sewing machine and stitch along the edge of the cord to secure it in place.
- Trim off extra fabric as needed but remember to leave about 1/2 an inch to staple.
Step 6 - Reassembly
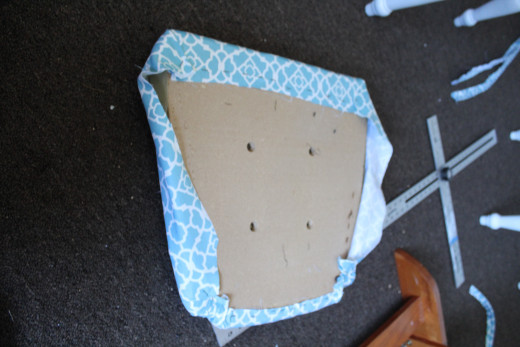
Reassembly is actually quite simple. You basically just wrap the cloth around the desired area and staple along the edges. When putting the seat back together it was very important to continuously recheck to make sure the pattern hadn’t shifted as I was working. Reconstruction went as follows:
- Place fabric on table or floor nice side down.
- Put the cushion and board onto the fabric cushion side down so the board is facing you.
- Check the fabric all around the edges to make sure it wraps around fully. The fabric should cover the bottom of the seat by at least one inch. This leaves room for staples and decreases the risk of tearing.
- Once you are sure everything is going to fit nicely begin one edge at a time. In the middle of the chosen edge place one staple. Then, tighten and smooth out about ½ inch to the left of the first staple. Do the same to the right of the first staple. Continue going back and forth until the whole edge is stapled. Working this way increases your chances of not ending up with little snags or creases.
- Repeat this procedure for all edges.
- Once all the edges are stapled, it’s time to add the trim. Place the trim so the cord is right to the edge of the seat and the “1/2 tail” covers the first round of staples.
- In your bag of goodies should be the old, most likely black, piece of cloth that hid all the staples we have now just added. You should have two copies from when you were cutting out your fabric. Place the black fabric over the board and tuck the edges in about ¼ of an inch to hide any loose threads. Staple around the edges. You can use about half the amount of staples as before. This piece is purely aesthetic.
- Place your newly finished seat back on the chair frame.
How to fold corners
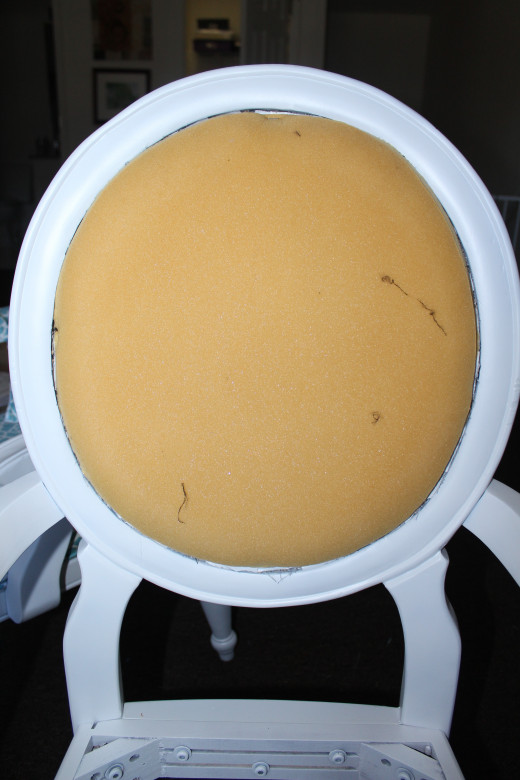
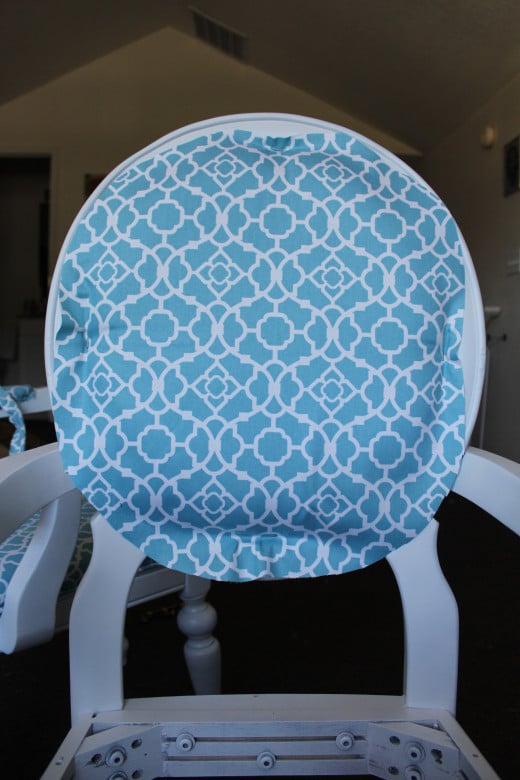
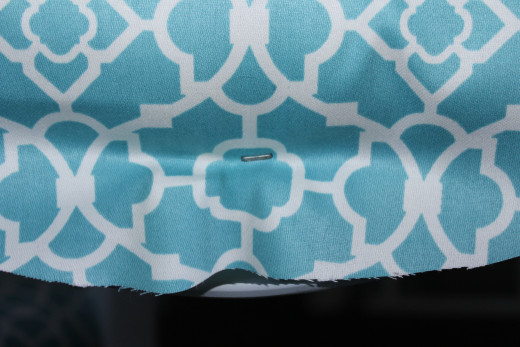
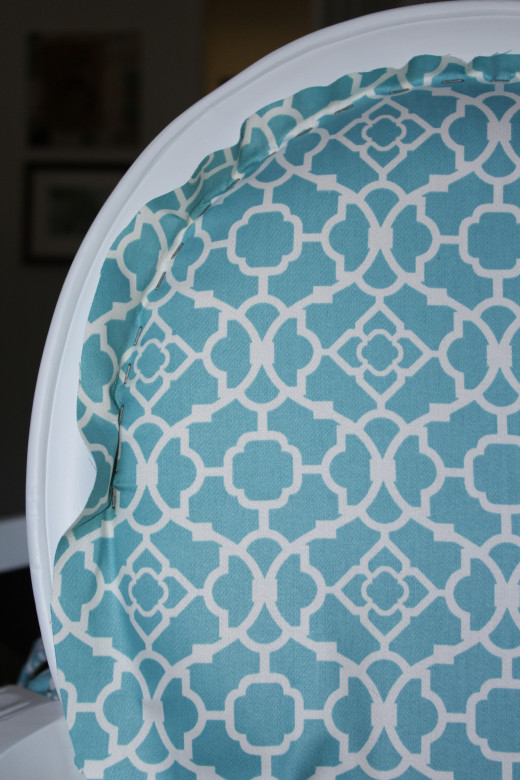
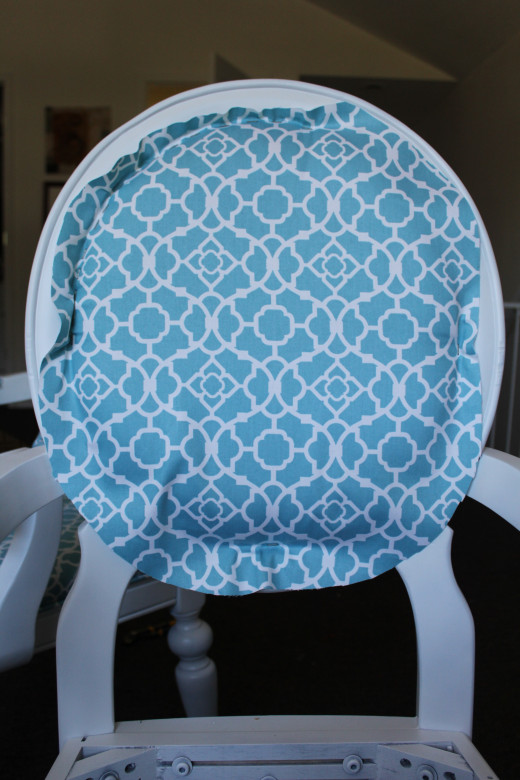
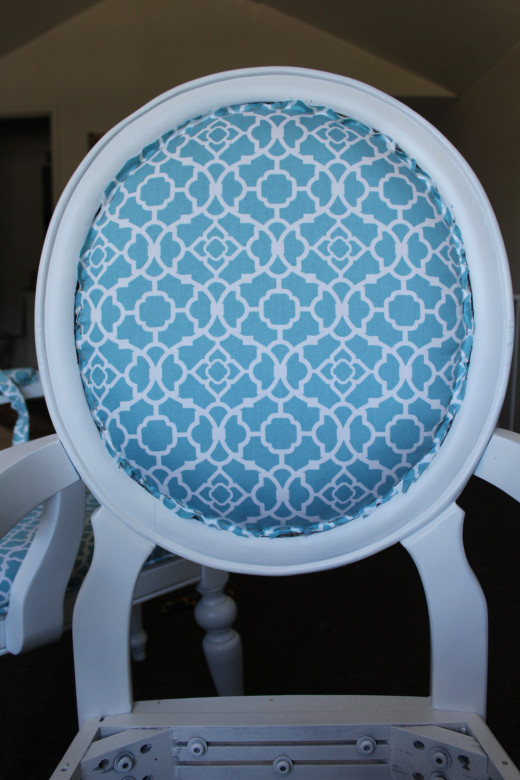
When putting the padding back into the oval section, I found it much easier if I stapled the padding in place so that it wouldn’t move as I was working on the fabric. One staple on each point of the compass; North, East, South, and West. Next, after moving the fabric around a bit to get the pattern even and straight I did the same thing. Secured in place the compass made for a great section separator and my compass transformed into a piece of pie. Working one quarter at a time to fill in the staples all along the edge. Just like the seat you’ll want to pull, smooth, then staple. Just a word of caution, you will want your fabric firm but not so tight that it might rip when someone sits in your chair. Once you get the hang of it this step, it'll go by really fast. Continue this step for back, front, and arm rest cushions. Lastly, trim off the excess fabric.
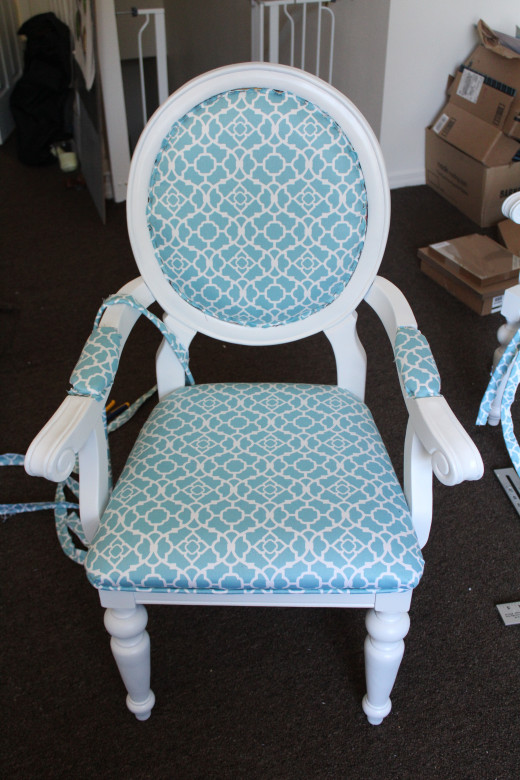
Finishing touches and final cost
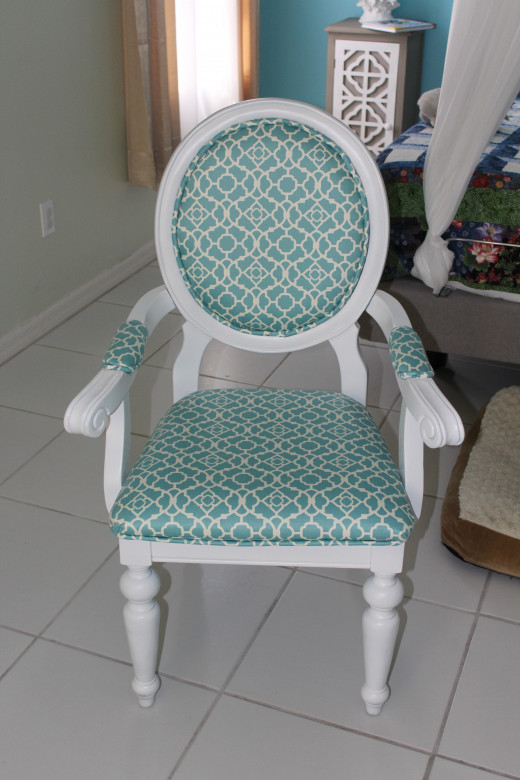
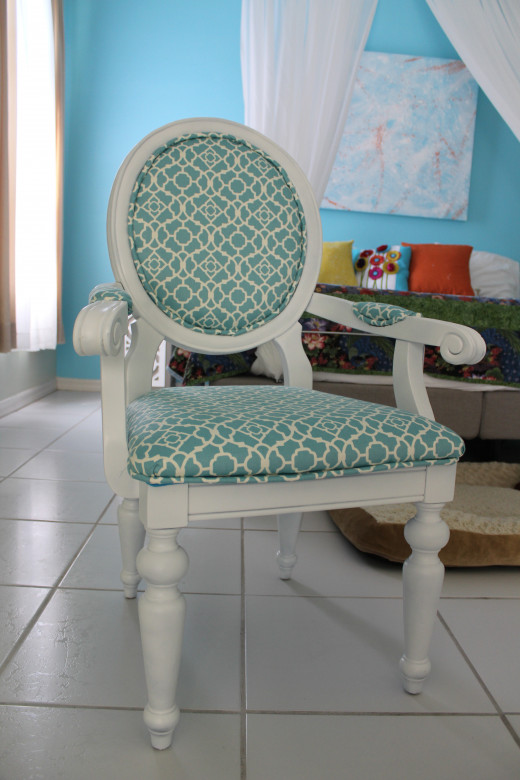
Now for the final touches! You are almost there. Take your beautiful new trim and check and double check that each piece is in its right place. I’ll be honest with you I was positive I did until I glued everything on the first chair and went, “Why is this an inch short?” Then I had to pull it all off and fix it. At this point there are two options. If you have a small air compressed staple gun you can trim off some of the “tail “ and staple the trim around, or if you are like me and don’t have a special stapler you can hot glue it on. You will need to cut the “tail” fairly short. Place about 8-10 pea sized drops of glue along the staples and press the trim into place. Wait about 10 seconds then repeat the process all the way around the edge. And that is it! After you finished all areas that need trim the only thing left to do is stand back and admire all your hard work.
Total cost $76.75 per chair
- Chair $50 each
- Cloth $35
- Paint $15
- Sanding Paper $3.50
