I Am Woman... Part 1: Projects

Day #6 of my "30 Hubs in 30 Days" Challenge
A little over five years ago I purchased a little old house with a lot of big old problems. The purpose of this two part series is to share some of the many adventures that I've experienced since then and a few of the life lessons that I've learned along the way.
A few of my projects
My projects started out fairly small, but they've steadily gotten bigger over the years. I began with little things like adding some color to the trim in my bedrooms (it was white on white, how dull is that?), adding some wallpaper accents in the kitchen and bathroom, and hanging some colorful plants and wind chimes on the front porch.
1. Playing with Spackle: For the first year that I lived in this house, the unmatched walls in the living room drove me nuts! Some of my neighbors have houses that were built within the same decade as my own so I've got a general idea of the original floor plan. Along the way, a past owner knocked out a wall in the downstairs in order to increase the size of the living room. Overall, the project was successful. However, they left the wood paneling on two walls. The other two walls had sheetrock but they had completely different textures.
So, I got this idea to use spackle on all four walls to give them the same texture and appearance. But, after a trip to the hardware store, I realized that I didn't like any of the spray textures that they sell-- even though that would've been the easiest way to complete my project. Instead, I bought a giant 60 pound bucket of spackle and got to work. I experimented with applying the spackle by hand until I found a texture that I liked. Then, over a several month period, I applied the spackle to all of the walls in the living room.
The completed project fulfills all of my goals. At a glance all of the walls in the room match. It hides the old badly patched holes from past owners. And it adds a little bit of character to the room.
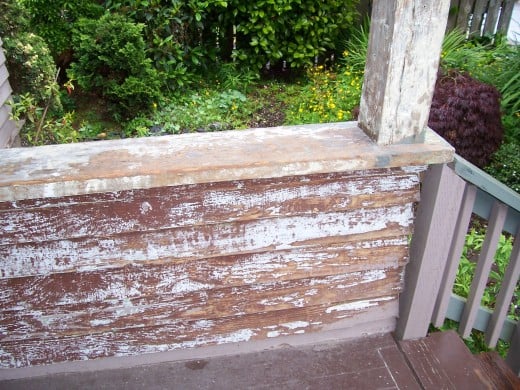

2. Scraping Paint: For years I procrastinated but it eventually got to the point where the pealing paint on the exterior of the house was a real problem. Worse yet, the last time the house was painted, the past owners simply painted over the spots where the paint had pealed. This left an uneven, often "bubbly" appearance.
So, I made a trip to Home Depot and asked the guy in the paint department for advice on removing the old paint. He recommended using a "heat gun." Basically, the device looks like a small hair drier only it gets much, much hotter. What it does is heat the old paint to the point of melting-- which makes it much easier to scrape off.
With a little practice, I learned how to use my newly purchased heat gun to scrape the 80+ layers of pealing paint off the side of my house. The project took up more than six months of my time last summer and fall, but I did it. Unfortunately, the paint scraping took longer than anticipated and the winter weather arrived before I could finish the painting job.
3. Replacing Siding: During the same project, I realized that some of the siding on one side of my house was dry rotted and needed to be replaced. After some research, I determined that this was a project I could do myself. So, I went to a local hardware store and bought myself a jigsaw and several sheets of wood siding. With a little practice, I learned how to cut the siding to the proper sizes and replace the damaged ones. Actually, the hardest part of this project was using a crowbar to remove the old siding. Some of the nails were pretty rusty and didn't want to budge!
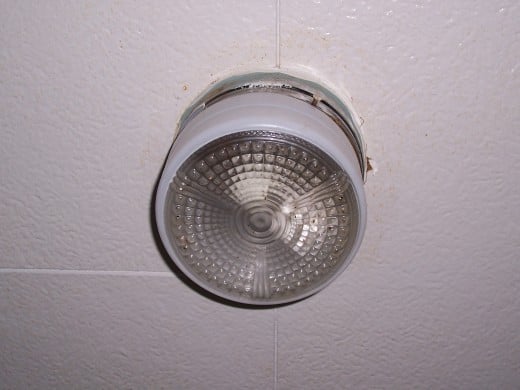
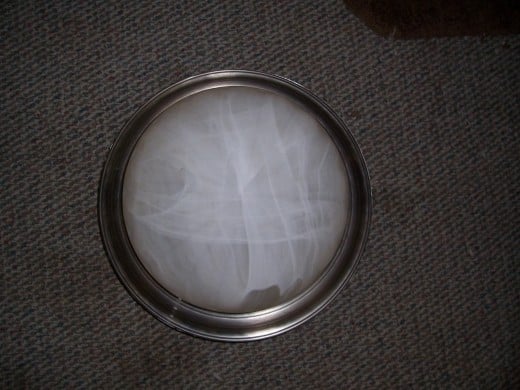
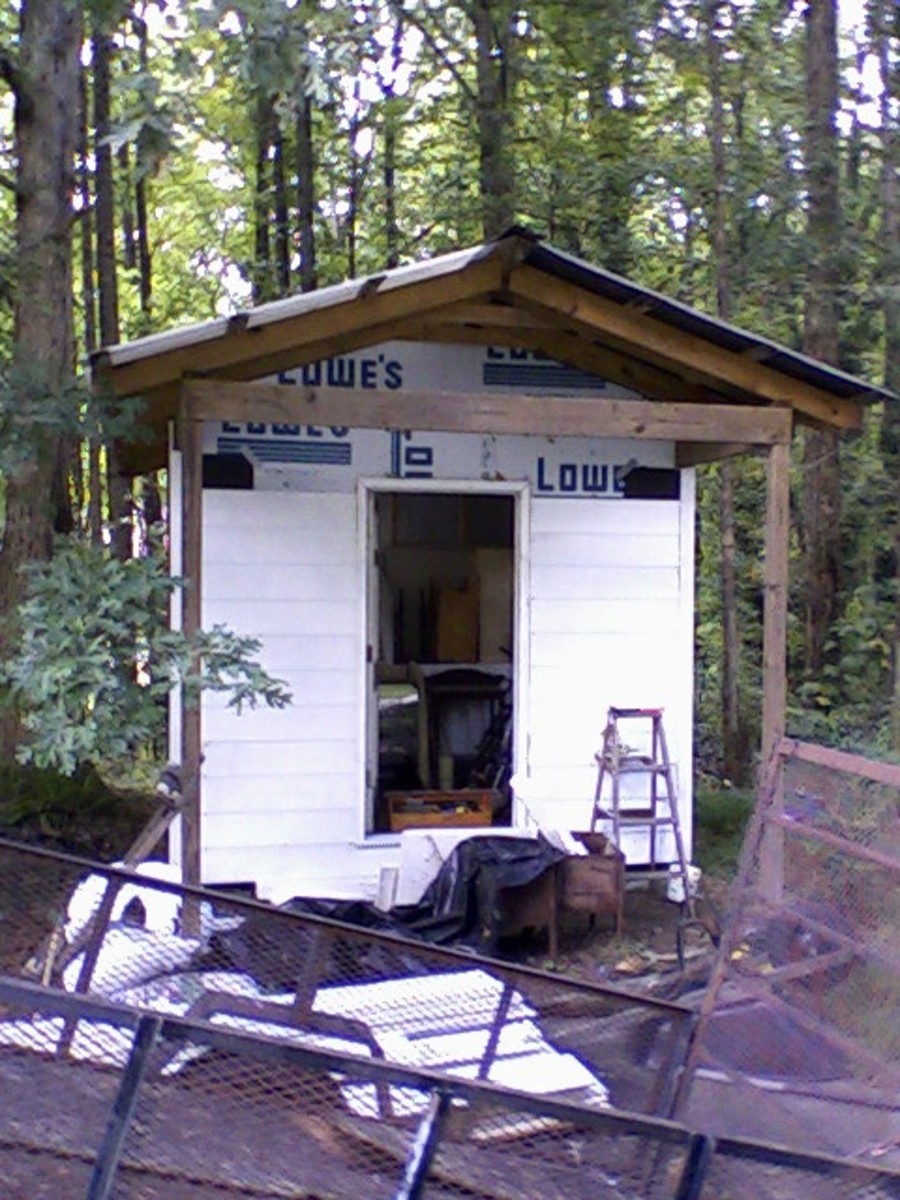
4. Light Fixtures: A few years ago, a woman I work with and her husband did a lot of work on their house. Knowing my tight budget and my enthusiasm for the reduce-reuse-recycle movement, my co-worker gave me several items that they were otherwise going to throw out-- including some old curtains and light fixtures. At the time, I didn't have a lot of electrical experience so I put them in my shed with the intention of hiring someone to install them for me.
I've always been wary of electrical jobs because I was worried about accidentally electrocuting myself. I mean, I knew where the electrical panel was and how to turn off the power. But, I live in an old house with some questionable workmanship. I was worried that even with the power turned off at the box there might still be some electrical charge in the wires. Well, it turns out they sell a very simple tool that was able to eliminate this fear for me: an A/C detector. This pen sized tool is easy to use. All you have to do is place it close to the wire (you don't even have to touch it). It'll light up and beep if it detects a charge.
Flash forward a few years and my confidence in my home-improvement skills had increased dramatically. After doing some more research I decided that swapping out light fixtures was something I was capable of doing after all. Once again there was a learning curve involved, but in the end I was able to replace some "butt ugly" old fixtures with beautiful recycled ones.
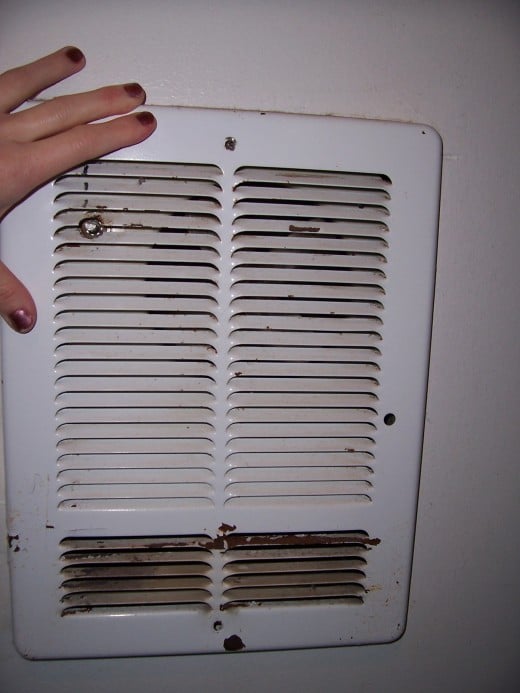
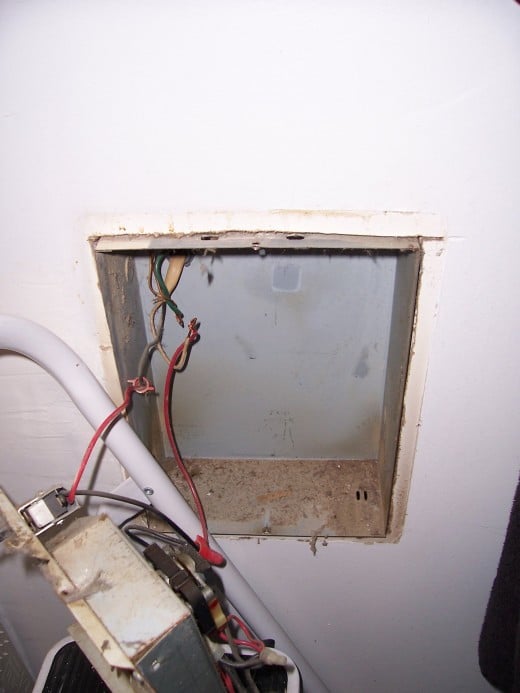
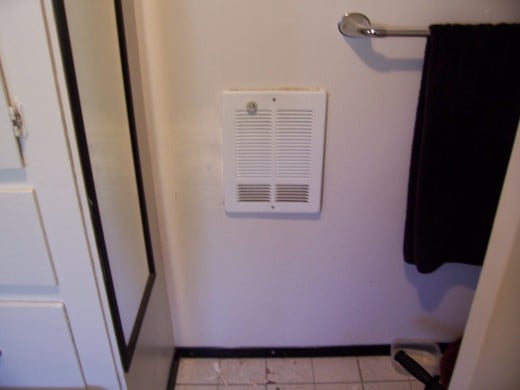
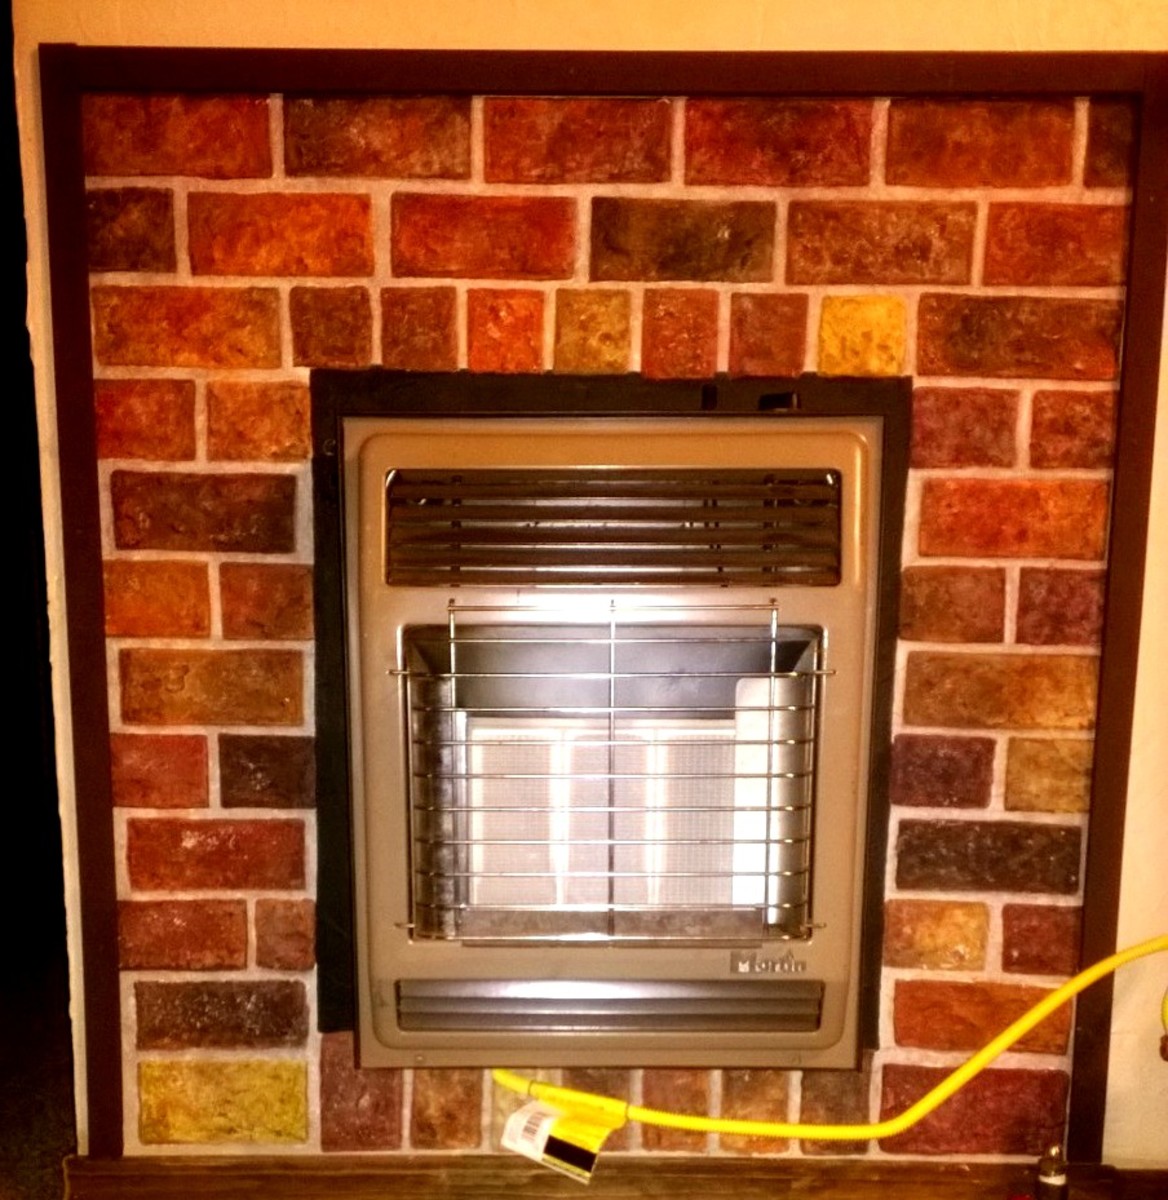
5. Wall Heaters: My most recent project was replacing an old wall heater in the bathroom that stopped working properly about a year ago. It was supposed to be controlled with a switch, but it refused to turn off. It would run constantly. Worst of all, it was blowing out cold air!
Initially, I didn't think that this project was something I could do myself. So, I jerry-rigged the heater to force to turn off (don't try this at home!) and bought a small space heater to use in the bathroom. The problem was the space heater took up space in the small room.
So, after doing some more research, I determined that replacing an existing wall heater is just a little bit more complicated than replacing an existing light fixture. I'm still not on the skill level of being able to install a brand new one (with new wiring and all) but swapping out an existing one I could do.
My plan was to buy a replacement heater that was exactly the same model, size, and wattage as the existing one. That way I wouldn't have to worry about cutting a bigger hole in my wall, running new wire, or anything else equally problematic. However, I discovered that there weren't any stickers or logos on the outside of the heater to tell me what it was. So, when I went into Farr's Hardware store all I had was the dimensions and a drawing of what it looked like.
On my first trip, I found what I thought was the right heater. It was made by the King Electrical Company, the dimensions were right, and the wattage was consistent for such a small room. However, when I got home I spotted a red sticker on the box that warned me that the heater I bought was 120 volts but most heaters were 240 volts. The sticker also warned me that using the wrong voltage heater could have scary results.
With this warning in mind, I used my screwdriver to remove the metal grate from the old heater and-- voila!-- I discovered a sticker on the inside of the heater that told me everything that I needed to know about the model-- including the fact that this particular heater was made back in 1993. Out of all of the things (with dates) that I've replaced in my house so far, the heater was by far the youngest!
So, I made a second trip back to Farr's Hardware to swap my 120 volt heater for the same model but 240 volts. Considering the fact that I went into the store with so little information the first time, I was so close to getting it right!
Once I returned home, I continued to remove the old heater from the wall in my bathroom. That's when I realized the next problem. The old heater had a switch on it to turn it off and on. It was not wired into a thermostat and I didn't feel confident enough in my wiring skills to add one.
So, I made a third trip to Farr's with the intention of swapping the new heater for one with an on/off switch. Well, it turns out they don't sell them like that any more. You have to buy the heater and switch separately and then install it yourself. After a brief panic attack, I accepted this information, purchased the switch and returned home.
Approximately two hours later (and yeah, yeah I realize that professionals could have done it in a fraction of the time!) I was victorious. I had removed the old, broken heater and installed the new wall heater-- switch and all-- and to top it all off, it worked!
Stay tuned! Coming tomorrow: I Am Woman... Part 2: Life Lessons!


