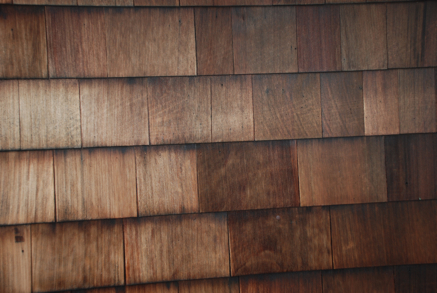
How to Install Do-It-Yourself Cedar Shingle Siding

There are a few different options when you are ready to put up your new cedar shingles. How you install them is going to depend on whether you have removed the previous siding or are going to just place them over the old siding. In either case, you will need the following supplies:
- Chalk line
- Hammer and Galvanized Nails or Pneumatic Nail Gun
- Ladder
- Skill Saw
- Level
Installing the Reference Row
The first step in the actual installation process is locating the bottom left or right hand corner of the side you are going to start with. This is where you will place your starter shingle. Adjust the height so that the bottom of the shingle hangs over the foundation at least ½ inch but preferably a full inch. Use a level to make sure the shingle is straight. Mark this height with the chalk line. Pull the chalk line across the side of the house, making sure it is level, and snap a reference line for the bottom row of shingles.
Fastening the shingles to the house requires the use of nails that won’t degrade due to changes in temperature or exposure to moisture. Galvanized nails are the best choice but aluminum nails can be used as a substitute but they do tend to bend much easier and have more trouble piercing the cedar. If you are attaching the new shingles directly over old siding make sure that the nails are long enough to reach the framing beneath it. If you are installing on a fresh build or after a complete removal of old siding then you may want to put a moisture barrier between the shingles and the frame as cedar does expand and contract in extreme temperatures and may leave the frame exposed to moisture.
The first shingle should be attached with at least two nails with each at least an inch from the end of the shingle to prevent cracking. Once the first shingle is attached follow the chalk line and continue putting up shingles (it is suggested that you leave ¼ inch between shingles to allow for expansion but most siding grade cedar won’t expand more than 1/8 inch). When you reach the end of the house you may need to cut the final shingle. This is where your skill saw comes in handy. Cut the final shingle so it lies flush with the edge of the house.

Completing the Install
Using the installed row of shingles as a reference point and template set up the other sides of the house in the same manner. After you have completed the entire bottom row of shingles all the way around the house it is time to set up for the second row.
A typical cedar shingle installation has a ½ inch overhang for each row. This overhang helps to direct water away from the frame. Place the next shingle up against the house and lower it until there is a ½ inch overhang. Snap a chalk line just as you did for the bottom row. Now, before you put up the next shingle make sure that your joints are staggered. This will prevent channels of water forming and wearing away the siding or getting beneath the shingle to the frame. You will need to cut the first shingle to set up this staggered effect.
Again continue shingling until the entire second row has been completed. Repeat this process all the way up to the top of the siding. There will be several places you need to make cuts including around window frames, exhaust pipes and any other irregularities (wiring, etc.) along the walls.
Tips & Tricks
To avoid an uneven look in the finished product make sure that when you are installing your shingles that you do so on a smooth surface. Remove any warped shingles or damaged siding and fill in the gap with scrap wood.
Don’t use a chop saw or circular saw to cut your shingles. The downward pressure will cause splitting and fractures meaning you’ll break more wood than you’ll end up using.
Put a third nail in the center top of the shingle if it is over six inches wide. Put in four total nails if the shingle is over eight inches wide. This will keep the shingle even (help prevent warping) and more secure.
Updating the curb appeal of your home is as easy as putting up new cedar shingles. How you install them will depend on whether you have a new install or you are doing it over old siding. Either way the process is long and is labor intensive. Still, a do-it-yourselfer should be able to finish a 2000 sq. ft. home in a weekend.
")

 To Install Hardiplank And The Like")

")


