Easy Frugal Gardening Ideas

Start With A Compost Pile
Soil is a key component in any growing situation. Create a compost pile by saving leaves, grass clippings, and kitchen scraps. This soon-to-be rich soil will save you from purchasing bags of soil enhancers but the process takes time so you need to start this simultaneously as you start your garden or even better, before you plant your garden.
While a bin is helpful, it is not necessary; a simple pile in your yard will serve as a spot to have your compost pile grow. Some of my most unexpected shovels of compost have come from where a pile of leaves sat untouched for several months! The pile next to this Soilsaver bin is a perfect example!

Plan the Best Space To Grow Your Garden
Walk around your yard and see where you get at least 8 hours of full sun as most garden plants/crops need this much. It is okay if some of it is shaded light, in fact, I plant some of my plants on purpose in the late morning shade (Texas has hot summer sun!). Many gardens have not been successful because they were placed in an area without adequate sunlight, so this is a crucial step.
Buy Tools At Yard Sales
Two of my favorite hand tools I picked up at yard sales for less than a dollar. I almost always buy tools in good shape when I see them at sales and store them in multiple places on my property, or use them at our school garden. I keep a set in a canvas bag (thrift store buy) ready to grab when I am gardening away from my property. This also applies to shovels and larger tools. I have duplicate versions of rakes, flat shovels, deep shovels, pitchforks, rakes, and hoes. I do have one purchased shovel, but that is it!


Buy Seeds at Dollar Tree or Other Discount Stores
Most discount stores sell seed packets four for a dollar. Another tactic is to purchase seed packets at the end of the season when they are on sale and store them properly in dry, air-tight containers for use the following year.
Don't be fooled by information saying these seeds are not good. They are good and produce good results. They are not heirloom seeds or wild varieties but they are good, affordable seeds to begin your process. Later, you can move on to seed catalog purchases after you become familiar with what grows best for you.
Grow Your Own Seedlings
Using a recycled cardboard tray and seeds you bought on sale, start your own seedlings. And since cardboard is recyclable, you can put it in your compost after you remove the seedlings.
Another option is after you purchase starter plants at a nursery, keep the plastic container (tray or individual pots) and use it to start more seedlings. Always wash the plastic before reusing it to kill any possible disease microbes.

Harvest Your Own Seeds
After your plants have given you sufficient fruit, let them "go to seed" and then harvest the seeds for your next planting. For instance, our cilantro has grown, we used a lot of it, and now it is growing tall and flowering. We will let these continue their natural process and harden into seeds (coriander). We will pick off the seeds when they are totally dry, store them and plant again next year. Another way to reseed is to just let them live their complete life cycle without disturbing them. In other words, let the seeds fall to the ground. You will have beautiful cilantro the next growing season! That is how my cilantro grows. I do not even use any seeds, it happens all by itself.
Of course, you have to have a growing space for this to work out so if you can devote some space to several of your crops, you can harvest many seeds.
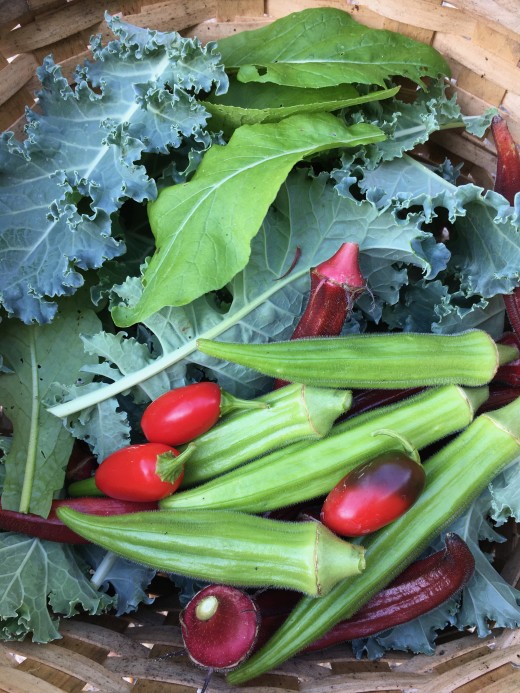
Some of the seeds we have harvested and used are: sugar snap peas, pole beans, green beans, okra, lettuce, arugula, kale, cilantro, dill, and basil.

You Can Afford a "Greenhouse"
You know that container you bought grapes or strawberries in at the grocery store? Use it to act as a mini-greenhouse by inserting a six-pack plant starter container inside. Use a permanent pen to mark what you started on top of the container. It can sit in your windowsill. After seedlings emerge, open the lid and let them grow. Transplant when they have 2-3 sets of true leaves. Another excellent container is what "living" lettuce comes in. These containers usually have holes in them for ventilation so put a tray under them so when you water, it is collected.
No Yard? Plant a Container Garden
Containers or pots are in plenty supply at yard sales or thrift stores. All you need then is to purchase some good potting soil. Many seeds grow well in a pot (lettuce, greens, radishes, herbs) or purchase 4" seedlings at your nursery. You will be amazed at how just a handful of greens brightens up the color of a salad or the fresh aroma they provide.
We have two EarthBoxes that we use for many different plantings. We have grown strawberries, tomatoes, lettuce, arugula, basil, dill, and many other items in these durable boxes. Highly recommended!

EarthBox

Watering Can Savvy
Our school garden needed a new watering can so I held out as long as I could and had to purchase a plastic can for $5.99. Three days later, I found the exact watering can at a garage sale for $.50. Our dog loves to chew on the empty watering cans so I always buy them when I see them at sales. Plus, if you have multiple cans, you can place one near your water sources instead of lugging one can all over.
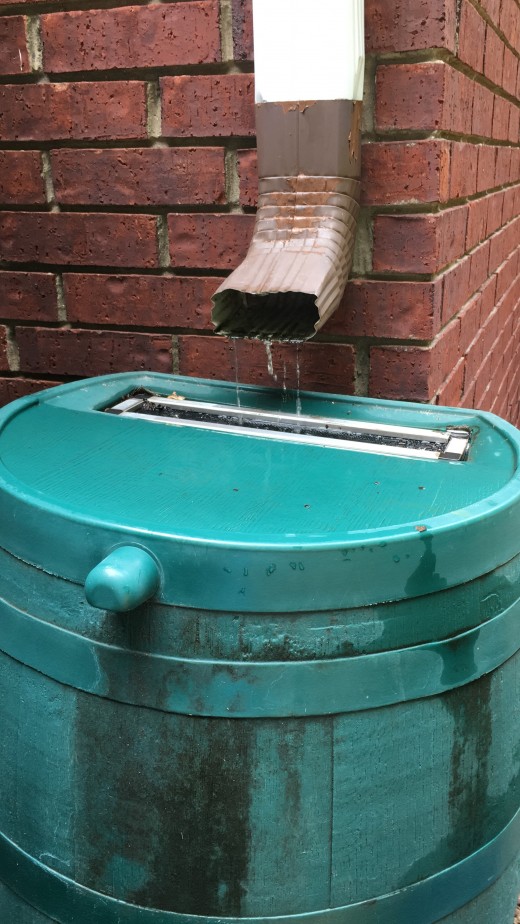
Get Yourself A Rain Barrel
Why do I use watering cans? Because I have a rain barrel. If you find them on sale, you can purchase for under $100. The return on using rain water was huge for me, I know the cost was returned within two years. All you need is 2-4 cinder blocks to raise it up a bit and a location near a downspout. Before you know it, you'll have free water!
I use the rain water when I first plant my seedlings instead of hauling the hose 150 feet out to my garden (big yard, did I say that already?). Since we live in Texas the water gets sparse during the peak of summer heat, but collects well the other nine months. It's really a fun game, I feel quite rich when it rains.
Five Gallon Buckets
When you purchase a shrub or large plant in a five gallon bucket, do not discard the bucket, it is a very handy garden tool.
You can harvest crops using this bucket as it has several drainage holes in the bottom. Just place the harvest in your bucket and head to the hose to rinse them off and remember to do this over grass not cement thereby using the run-off water for good.
This also applies to small 4" plastic planters. If you harvest a small amount of veggies on a quick run out to your garden, just use this type of container, rinse and store or eat!
You can also use the bucket to sift compost. This is a tedious job but you will get fine dirt as a result of your efforts. Scoop some compost into the bucket and using a sifting or shaking motion, the dirt will separate the large chunks and small sticks from the fine dirt and will fall out the holes in the bottom of the bucket.

Get Ready to Garden!
Hopefully these ideas will have you pumped up to start a garden or use some of the ideas to make your garden better for less cost. If you have ideas or methods not mentioned, please use the comment section below to share.
This content is accurate and true to the best of the author’s knowledge and is not meant to substitute for formal and individualized advice from a qualified professional.
© 2019 Joanie Ruppel


