Growing Garlic From the Grocery Store
Garlic Basics
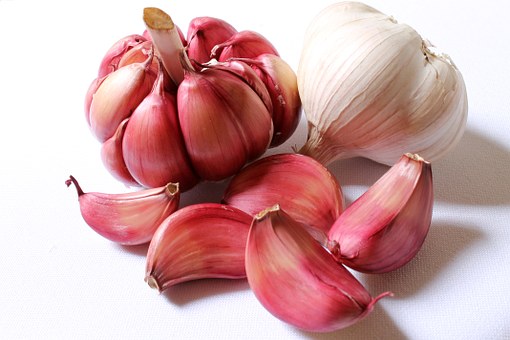
If you are new to gardening, and looking for something to grow that is bulletproof then look no further. Garlic is the perfect beginner crop. It's inexpensive and low maintenance, and if you grow enough of it, it can bring in a pretty nice second income.
Almost all of the gurus that you will see on your favorite gardening channels will almost demand that you buy certified seed garlic. If you want to that's fine but you can skip out on that advice and go straight to the produce section for these two reasons:
- Buying fresh garlic from the produce section costs about half as much as seed garlic per head.
- If you are buying your garlic to grow for profit you can take the time to observe what type of garlic people are buying, and buy that to be able to supply it in the future.
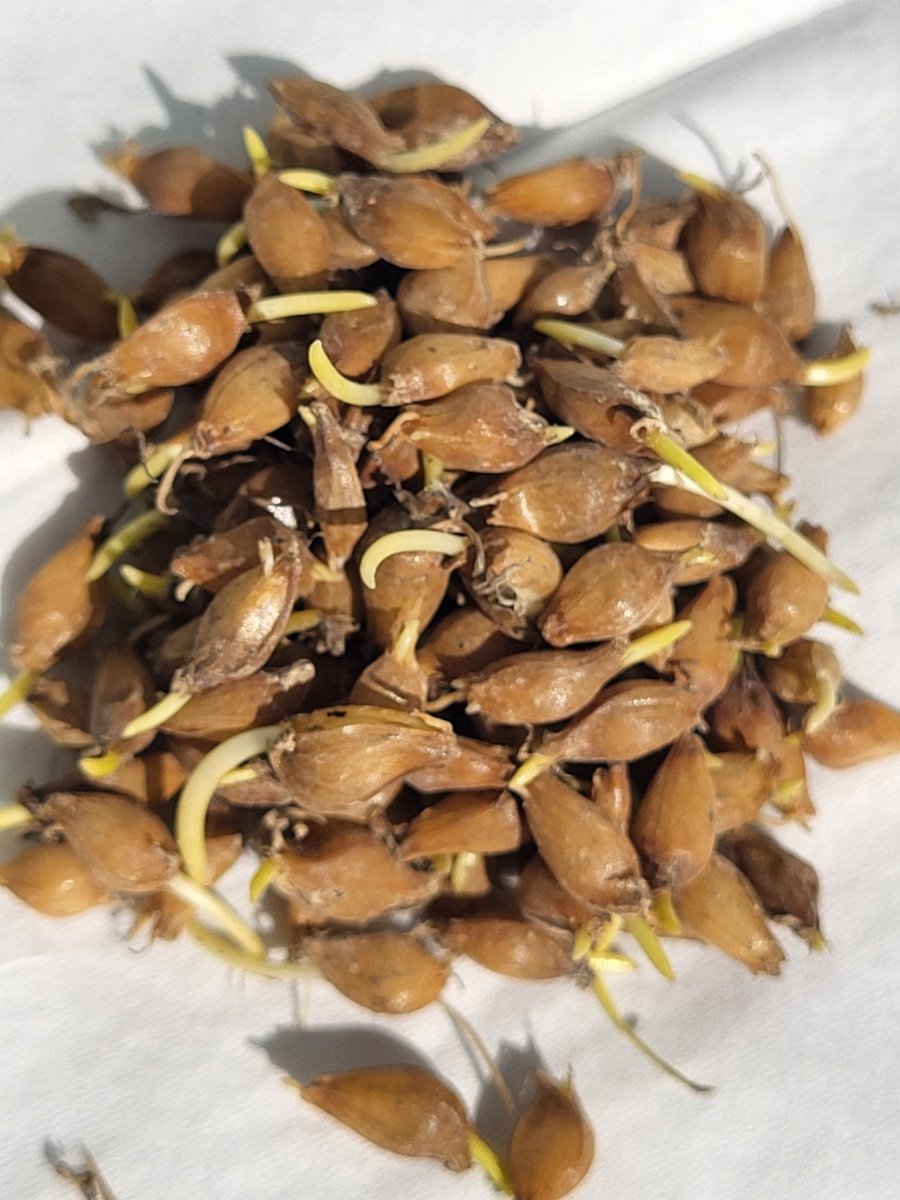
Pick heads that have cracks in the skins like they are trying to split apart. Also look at the tops to see if there is any green growth. These are both signs that your garlic is ready to be planted.
Spring Planting Versus Fall Planting
Garlic needs four to six weeks in temperatures below 45 degrees Fahrenheit in order to form into cloves. If you live in the north where your winters last almost up until April you are going to want to do a fall planting in no later than October 15th. This will have you harvesting in late June or early July of the following year.
If you live in the south where it starts to warm up around March, then you can plant your garlic as soon as the soil can be worked for a harvest sometime around September.
I can't say for sure when your planting time is going to be though. These are just some loose guidelines. If you know someone near you who grows garlic often and you ask nicely, they will probably tell you when they plant theirs and when it's about ready for harvest.
Preparing the Soil for Garlic
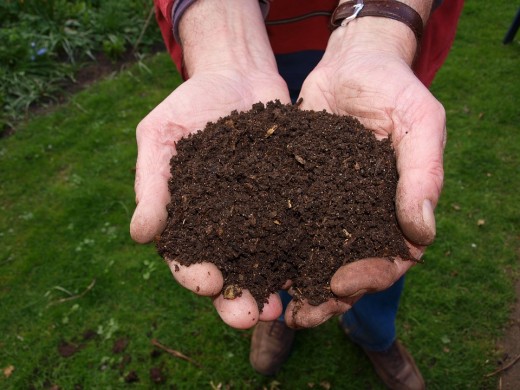
Since garlic is a root crop it will need loose, crumbly soil that won't compact much around it. This can be achieved by adding compost or composted manure to the soil when you are tilling and turning the bed. In addition to the organic materials that you add, garlic will also benefit from a time released fertilizer heavy in phosphorous and potassium. Be sure to mix that in good as well. Be sure to do this, especially if you have determined that you are going to need to plant in the fall.
Planting Garlic
Dig planting holes or furrows about two inches deep and break your garlic into cloves. Leave as much paper on each clove as you can while breaking it apart, and then take each clove and place it into the hole or furrow. Space each clove about three inches apart or nine per square foot and then replace the soil. Make sure that while covering them over with the soil that the pointy end stays pointing up and the root end stays down. Finish with a layer of leaf, straw, or hay mulch about a half of an inch thick. You should still be able to see the dirt through it.
Caring for Garlic
As soon as the garlic leaves get about three to four inches tall, increase the mulch layer right up to right below the level of the leaves. This is a more important step if you live where you will need to do a Fall planting. The mulch is going to provide the garlic with a moisture barrier and insulation though, so no matter when you do your planting it's still an important step.
Two Bonus Steps for Fall Planters
- After winter is starting to leave your neck of the woods and the ground starts to thaw, remove the mulch from your garlic bed until the leaves start to grow again.
- After the leaves grow about three or four inches you can replace the mulch.
Be sure to keep your garlic well watered and fertilized with a balanced liquid fertilizer aside from the time released fertilizer you tilled in.
Harvesting Your Garlic
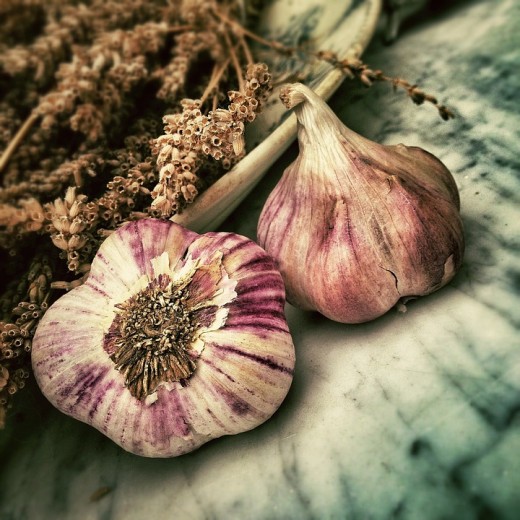
Now lets fast forward about five to seven long, but oh so worth it, months. Your garlic leaves have started to turn brown and droop means that it's finally time to harvest. Do not water your plants for three days to a week when you decide it's time. Then to harvest, loosen the soil up with a garden fork by carefully poking it in the ground where you know you won't hit any of the heads. Wiggle it back and forth to break up the dirt a little and slowly and gently perform a test pull on one of the plants. If it comes up easy then move on to the next one. If it doesn't, you will need to get a trowel or hand cultivator and carefully dig up the head. Do this until you have successfully harvested them all. Some skins will come off when harvesting but try to leave as many on your garlic as possible for protection.
Curing Your Garlic
As soon as you harvest your garlic the curing process has to begin. Lay it in a dry spot out of direct sunlight and make sure the garlic plants aren't touching and that it has plenty of airflow.. Check it daily, for about a week, to make sure the heads aren't touching, and turn it about a quarter turn each day. This should dry it to the point where you can braid the leaves, or take it inside to a root cellar or wherever you have planned for storage.
Get Out and Grow Some
Growing garlic is a long and drawn out process, but it's a very easy crop to grow for beginners in a small garden, or pots. Or it could be grown on a large enough scale to be able to take it right back to the grocery store that it came from. It doesn't matter how it's done, growing garlic is a worthwhile undertaking. But you will never know that if you don't get out and grow some.

