How to Clean the Kitchen Appliances (Without Chemicals)
Green cleaning your kitchen appliances is easy to do. You can clean the stove, oven, fridge and microwave, all with the same cleaner. Clean with the spray bottle or in a bowl. There will be no chemical smell, just fresh and clean. This method is good for you and the envornment. When all the appliances are clean, it will look like a new kitchen. The bonus from cleaning this way is how great the room will smell great. Follow the steps below and the kitchen will be clean and fresh. All you need is a little time, elbow grease and these cleaning supplies.
- Bottle of cleaner mentioned below.
- Cleaning cloth
- Non-abrasive sponge or scrubby.
- Tooth picks
- Pail of warm to hot water.
- Shaker of baking soda
- Tooth brush
- A place to soak stove rings and oven racks.
Glass and ceramic top stoves can also be cleaned with this natural cleaner.
Before and After
Click thumbnail to view full-size


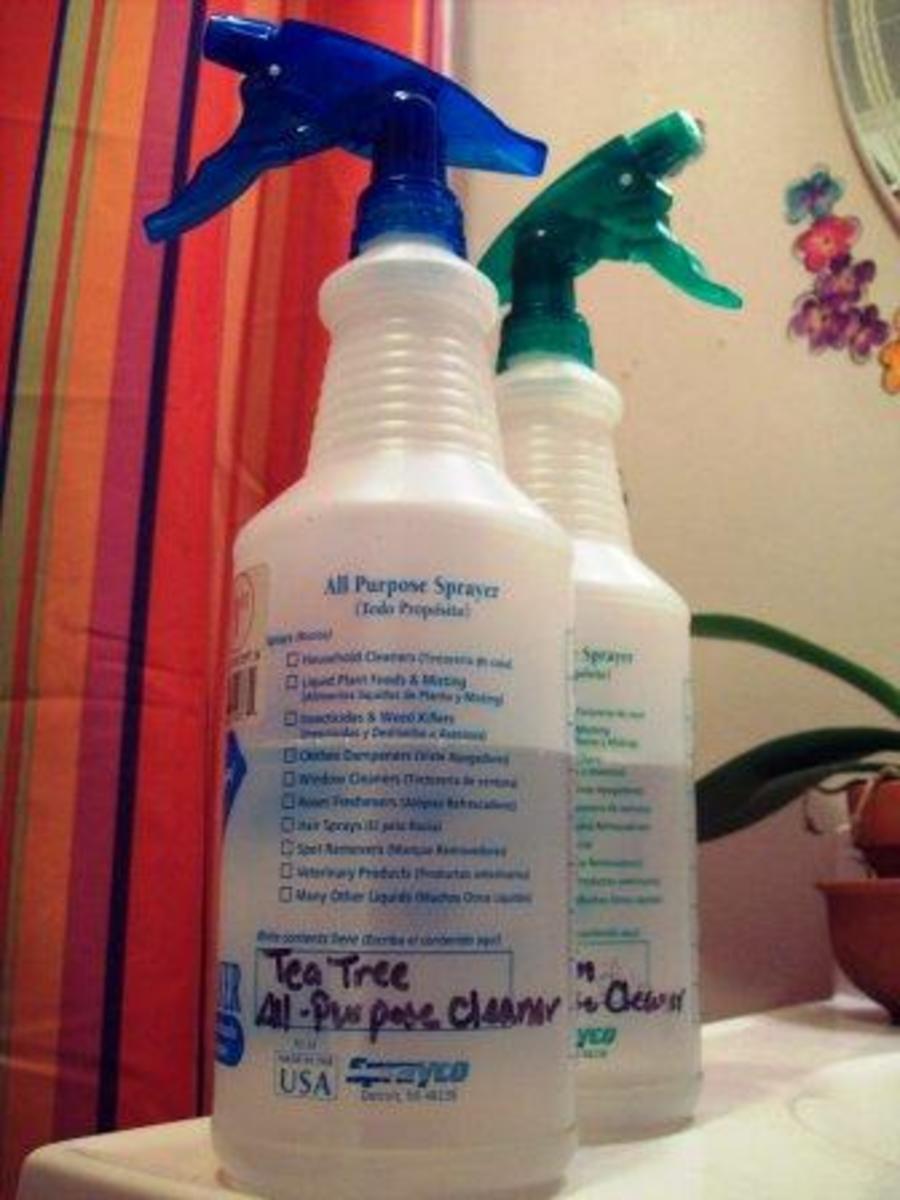
Green Spray Cleaner
1) Spray bottle, regular size.
2) Theives cleaner, 2 capfulls
3) Vinegar, 1/3 rd of the bottle
4) Warm water, fill bottle after ingredients are all in.
5) Lemon oil, 3 drops
6) Baking soda, used seperate. Sprinkle on surface after spray cleaner, let sit 20 min.
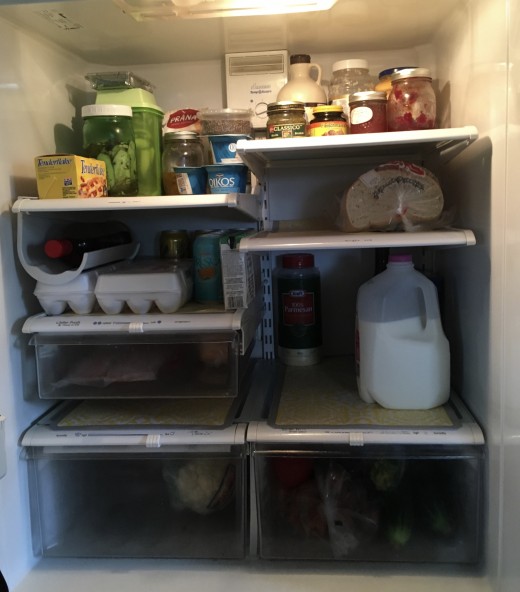
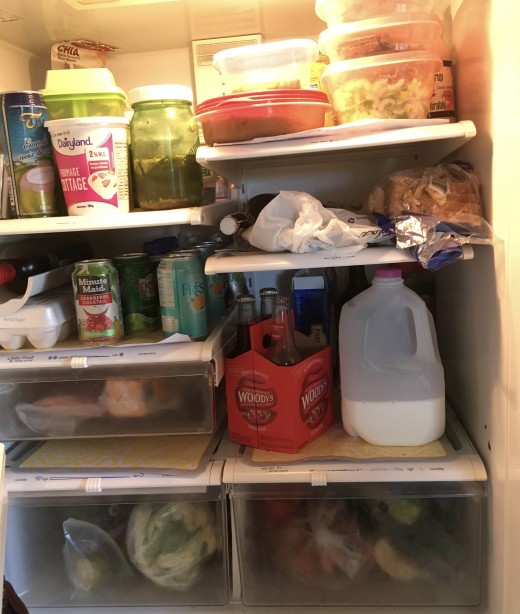
Remove Everything and Wipe Fridge Clean
Steps to clean the fridge:
- Remove everything from the fridge shelves.
- Read each bottle and container if it's expired or growing anything and needs to be tossed out.
- Examine fruit and vegetables for mold or softness, add to compost if needed.
- Spray all shelving and wipe clean. ( with the spray cleaner)
- Dry each shelf with a tea towel.
- You can remove and clean each in the sink if you want. Clean and rinse then put back in place. Clean the bottom bins the same way, dry and put back.
- Before placing each item back in the fridge, wipe off with a cloth to remove any food or stuck on gunk.
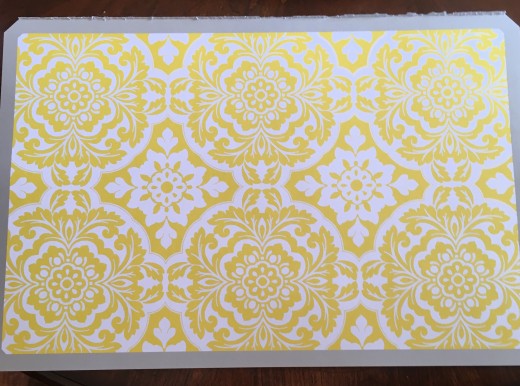
- Use vinyl liners or
paper place mats, like I have used here. They are cheap and can be found online. I like paper best, it can be recycled. The liners make spills or dips easier to clean up.
- Now you can add all items back in and your fridge is sparkling clean.
- If you have hard gummy or caked on mess then sprinkle with baking soda and allow to soak before wiping clean.
Don't Place In Hot Water
Remember to use warm water if washing in the sink.
Glass shelving will break, straight out of the fridge.
Empty the bins into the garbage before washing them.
Adjust the moisture levels when you place bins back.
Now it's time to fill them with fresh food.
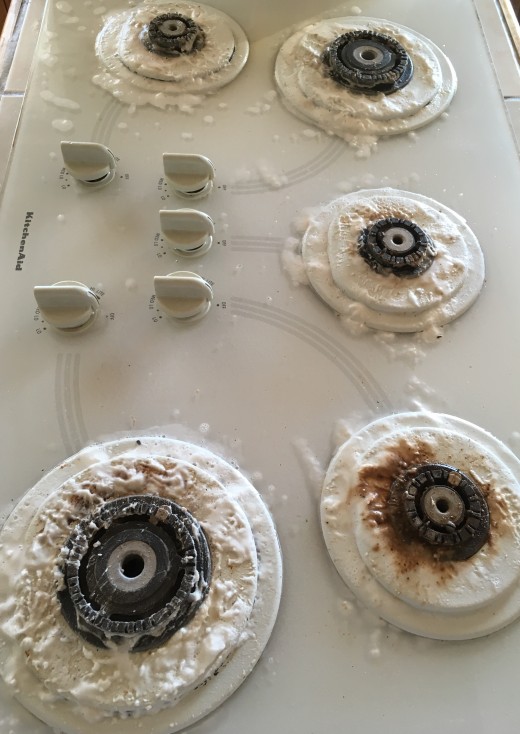
Stove Top Before and After
Click thumbnail to view full-size


Cleaning the Stove Top
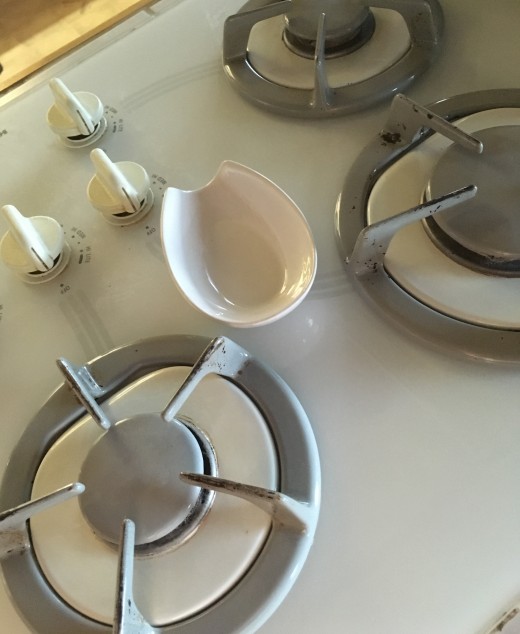
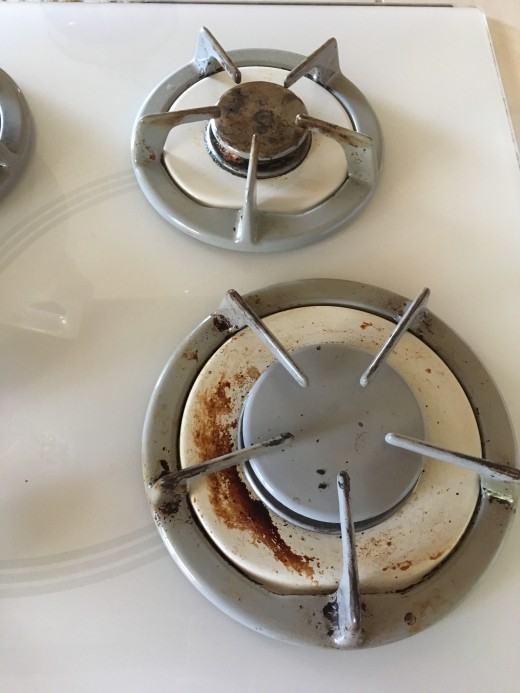
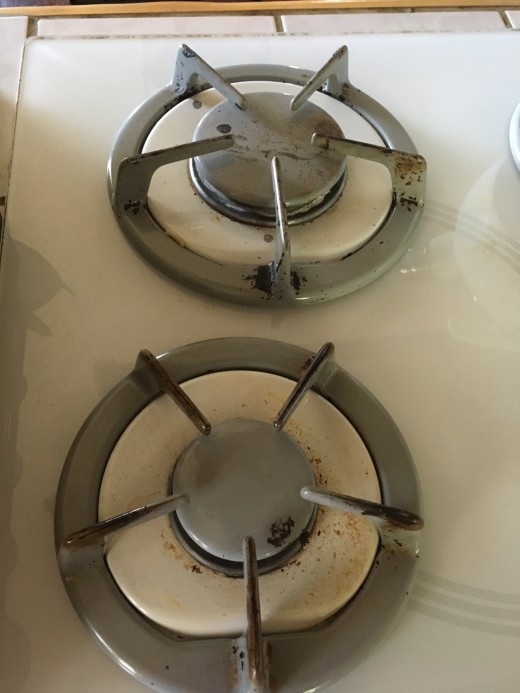
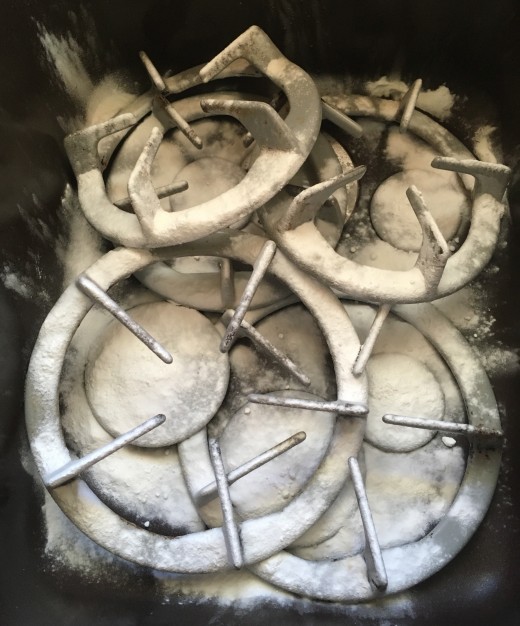
Place the rings in the sink and spray with the cleaner. Sprinkle with baking soda and let sit. While they are soaking, use the same cleaner to spray clean the stove top. Then sprinkle with baking soda and allow to sit for 20 to 30 min. Scrub with a none abrasive scratch pad and wipe clean. If it's not as clean as you would like spray again and add more soda and let sit for a bit longer. About 15 more minutes. Scrub gently and wipe clean again. Clean the rings you put in the sink and place them back on the stove. The great thing about cleaning this way is there are no chemicals used. Once the stove is clean move on to the oven.
If you have a gas stove, use a toothpick to clean the holes in the burners. Sometimes they can have a bit of build up. If the holes are clogged, use an old toothbrush and clean each burner. Make sure they are completely dry before using. My burners work like new after a good cleaning. Some of the stuff you see here is baked on, from the previous owners. In the thumbnail, you will see the end result after a second cleaning of the rings.
Do You Clean Appliances Often?
Did You Know Cleaning Appliances Where This Easy?
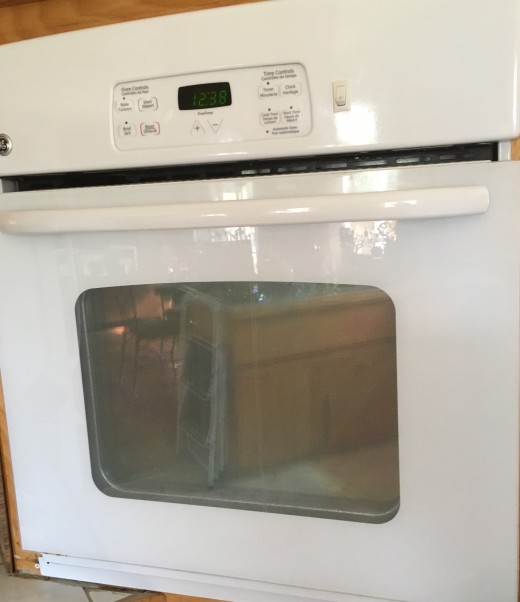
Oven and Door Cleaning
Click thumbnail to view full-size


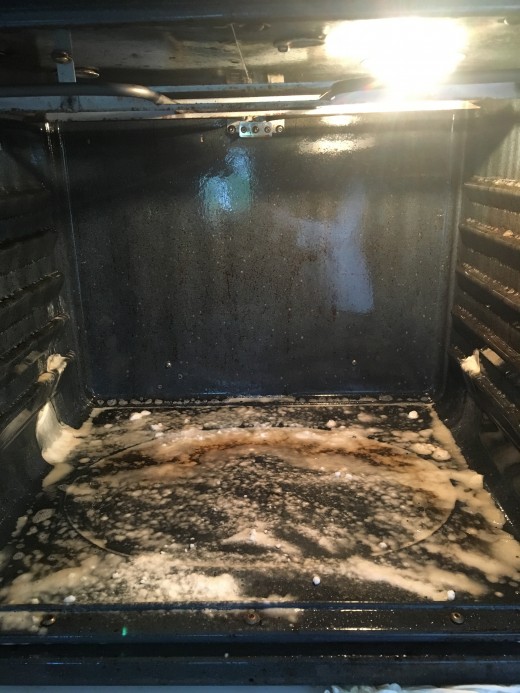
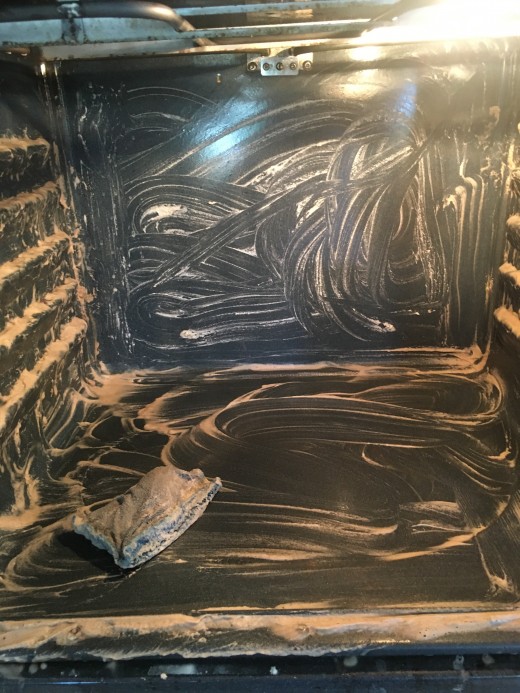
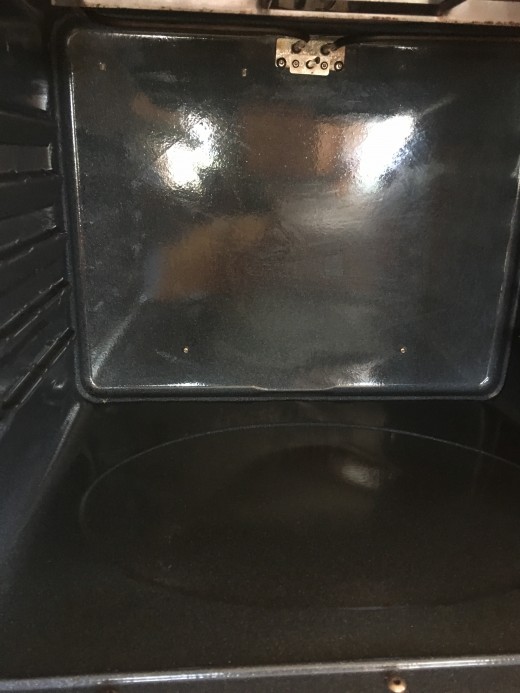
Cleaning the Oven
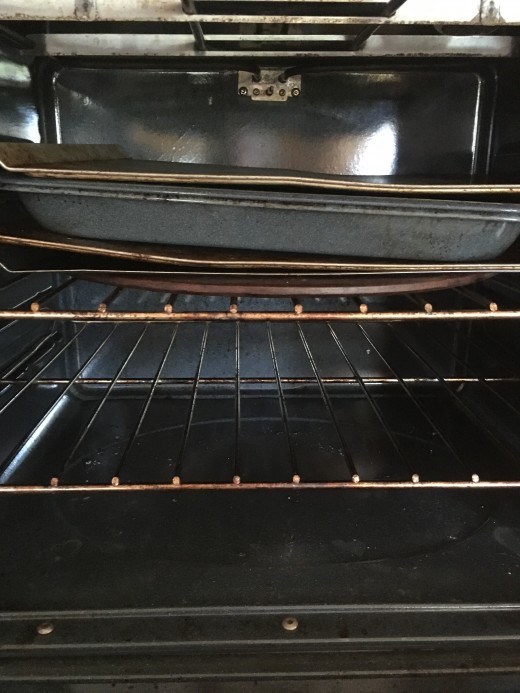
Remove racks and place them in the tub to soak. Make sure you lay a towel down first. If you have a self-cleaning oven, wipe out with a clean damp cloth, lock door and turn onto clean. once the cycle is done, allow the oven to cool. The tub needs to be protected from scratches or damage from cleaning the racks. If you have time let them soak overnight. Clean and rinse in the morning and put back in the oven.
Steps to clean your oven:
- Use a damp cloth to remove any loose bits.
- Spray the entire oven with the green spray cleaner.
- Sprinkle the entire bottom of the oven with baking soda.
- Let sit for at least 20-30 min.
- Use the scrubby and in a circular motion until you have covered the entire oven.
- If it's really bad, leave the cleaner sit for another 10 minutes.
- You will be able to see the grime that is absorbed by the cleaner, baking soda mixture.
- Use the cloth and bucket of water to clean and remove everything. Rinse cloth or scrubby as needed.
- For tough built up grime, repeat with soda and wipe till clean.
- The oven racks can be cleaned in the tub using the same process.
- Add boiling water until the oven racks are completely covered.
- Leave them soaking for 1-hour minimum and rinse clean.
- Removable shower heads work great for rinsing racks clean.
- Repeat if necessary, dry and place back in the oven.
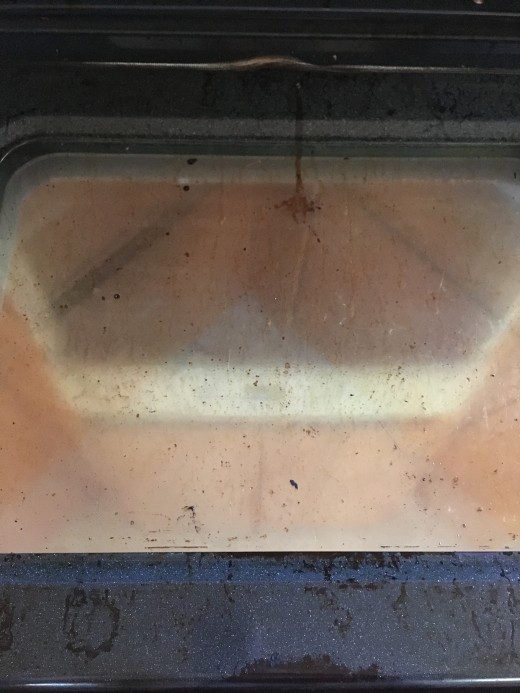
Clean the Oven Door
Clean the oven door following the same steps as the oven. Then use this glass cleaning recipe to finish off the glass. Use a clean cloth or paper towel. I use a microfiber cloth for cleaning glass. The door will sparkle and shine with no lint left behind and no paper to throw away.
Glass Cleaner:
- Spray bottle
- Fill 1/2 way with warm water
- Fill with vinegar
- Add 2 drops blue dawn
- 4 drops lemon oil or concentrated lemon juice.
Make sure you clean the edges and seal. Grim will build up here and you might not see it. Last but not least clean the front of the door and your oven is done. This glass cleaner works for inside and out.
Cleaners for Different Surfaces
Cleaner Subtitutions
| Oil Substitutions
| Thieves Substitutions
|
|---|---|---|
Hydrogen Peroxide
| Thieves oil
| 1 cap, Blue Dawn
|
Rubbing Alcohol
| Lemon Juice Concentrate
| 1 cap, Palmolive
|
Peppermint oil
| 1 Tbsp Salt
|
You can change this recipe. Use peroxide on ceramics or tile. Rubbing alcohol in the air to freshen or on pourous surfaces. Use salt to absorb grease, sprinkle on grease before you clean.
Clean and Fresh
Click thumbnail to view full-size


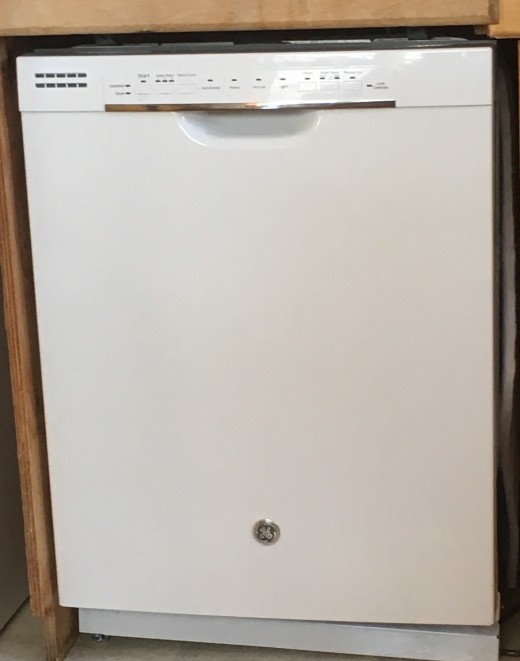
Clean the Dishwasher
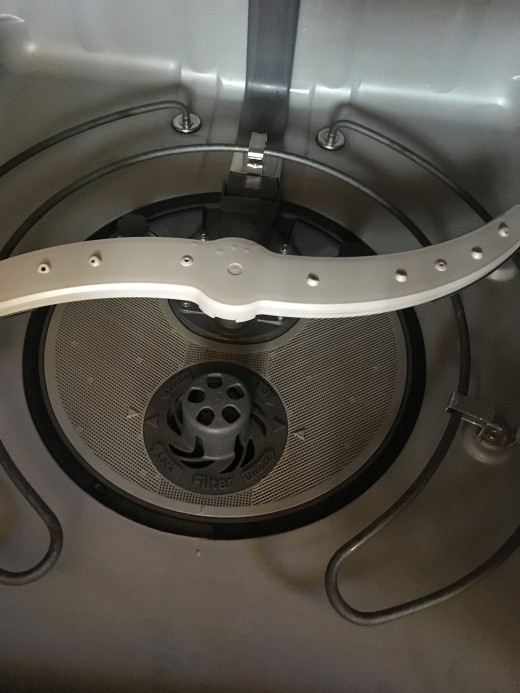
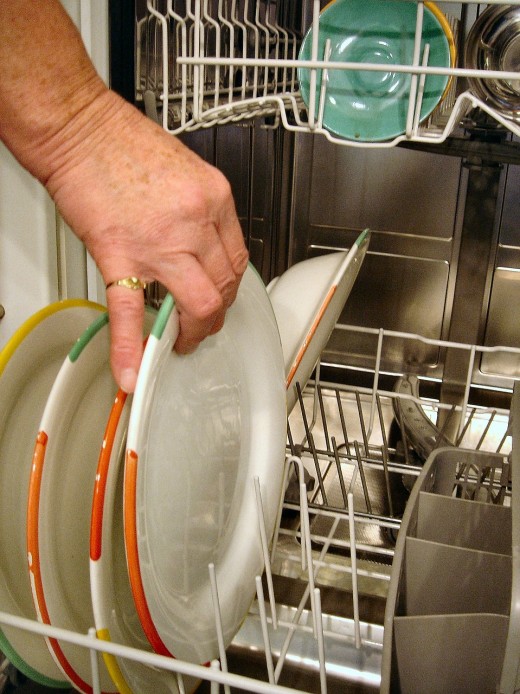
Cleaning the dishwasher is important to its maintenance. Start By removing the racks so you can access the filter/food catcher. Before cleaning, remove the food catcher and remove any food stuck in it. If your dishwasher is no longer fully cleaning the dishes, there is good chance the filter is clogged. When cleaning the dishwasher use the short wash cycle. Use a pyrex measuring cup or a dishwasher safe bowl. Add vinegar and 6 drops of lemon oil. After you put the filter and sprayer back. Sprinkle the bottom of the dishwasher with baking soda. Place measuring cup on the top shelf and run it through the wash cycle. You don't use soap when you are cleaning the dishwasher. This process will remove grime and soap residue. Use the glass cleaner to clean the front of the dishwasher and you are done.
( Most dishwashers have a food catcher in the middle bottom area under the water sprayer. It looks like a filter.) Some dishwashers have a filter that is on the bottom, but off to the side a bit. It will still look like a filter or strainer. the dishwasher is now clean and fresh again.
Microwave
Clean the Microwave
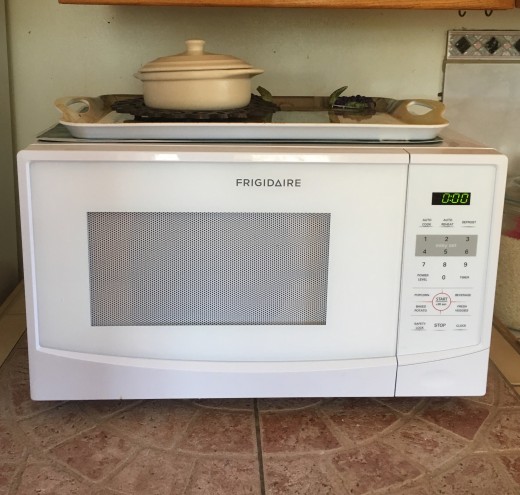
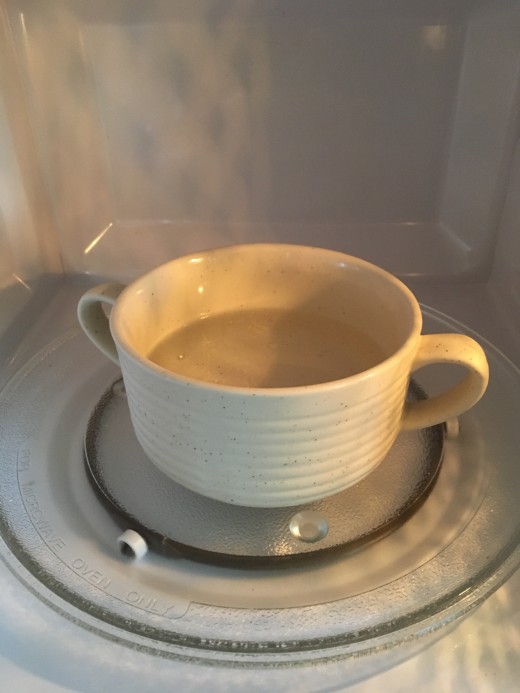
The Microwave is the quickest appliance to clean. Start with a damp warm cloth. Place a bowl of vinegar with lemon oil or lemon juice in the bowl. Place it in the microwave and run for 2 minutes. Let sit to cool a bit, approx 1 minute. Remove the bowl and tray. Use a warm cloth and wipe out the inside, rinse the cloth as needed. The moisture you created makes it easy to clean. Wash the tray, dry it and place it back inside. Clean the outside of the microwave with the green glass cleaner and you are done. This whole cleaning job takes less than 10 minutes. If you use it a lot then wipe it out regularly and the gunk won't build up.
Cleaning With Natural Products
Cleaning the home using natural, chemical-free products is good for the whole family, including the pets. Your lungs will thank you for it. Cleaning the house used to make me feel sick. I had no idea it was the chemicals I used to clean my home. So take a deep breath and clean away. Our home sure smells good when I am done the cleaning. Cleaning this way is also antimicrobial and antibacterial. This cleaning method has been found to kill bacteria that have become immune to traditional chemical cleaners. I that my home can be clean and chemical free at the same time. Clean and fresh is always best.
What are you cleaning next?
© 2017 Terrie Lynn

