How To Test Your Home for Air Leaks for Less Than $1 and Save Big Money
Regardless of the season, leaky houses will cost home owners thousands of dollars over the course of several years. The trick to stopping air leaks in your home is to first find them. It’s a lot easier than you think and will cost you less than one dollar and can be done in about two hours.
World Peace
World peace can be achieved for less than one dollar. You see, many wars are fought over the world’s fuel supply and the resulting effects of abusing it. The problem in itself is not using fuel; the earth is designed to provide more than enough to sustain us and is self replenishing if it is maintained properly. Stop fuel abuse and you not only save the planet and stop wars, but you create world peace.
Okay, so maybe that’s be a bit of a stretch…but, reducing how much fuel you use in your own home may at least stop the battle of the checkbook when it comes time to pay for it every month…from my perspective, in my house, there are a lot better things that could be bought with the money saved by not throwing it away—like food.
Seeing is Believing
The trouble with air is that you can’t see it. Left unchecked, it pretty much comes and goes as it sees fit. We do, however, know some tricky things about it. We know that even when it seems to be still, air keeps moving unless we stop it. Hot air likes to move up; cold air likes to move down. If you push it, it doesn’t push back, it will move in the direction you force it or try to go around what ever you are pushing it with. We also know that both colder air and humid air are harder to push. Armed with knowing these things we can do battle against it or at least use it to our advantage. The battle would be so much easier to fight if we could just “see” it.
Option One
Option one is probably not a viable option but, for demonstrative purposes, it will help explain our battle plan. For this experiment we will need somewhere between 38,000 and 400,000 gallons of water, give or take a quart. (Like I said…probably not a viable option). Now, starting with the chimney, fill your house up with water. Like any good experiment, one of the first steps is to form a hypothesis. In this case, answer the question: What do you think will happen?
If you guessed that the water will come out every where it can, you would be right! If you guessed that everything in the house would be destroyed…again, right! So, what did our outrageous experiment tell us? If you concluded that if the water was instead air that we applied pressure to, it would flow out the same as the water…through every nook, crack, and cranny...Like a bucket full of holes.

Option Two
Option two, like option one, is not a practical method of experimentation and I certainly wouldn’t recommend trying it. However, it will at least serve the purpose of explaining the second, even more critical point of visualizing our fight against air. For this you will simply need a large lake or ocean and a very huge crane.
Step one: Using the crane, gently lift your whole house including the basement and foundation and take it to the closest large body of water.
Step two: Lower the house into the water, put on a wetsuit and scuba gear, and go inside with a waterproof notepad and pen.
Step three: Starting in the basement take notes as to where the water comes in as it sinks…and it will.
Step four: Remove the house from the water and review your notes—this will be where, if the water were air, your house is leaking.
Option Three
Option three, unlike options one and two, is a bit more practical and will serve the same purpose. The best part of it is that it cost less than one dollar and will provide both of the results of both options. It is not an experiment but actually the fourth step of what is commonly referred as the scientific method, step four: “Taking and analyzing data”.
It’s probably worth noting at this point, there are professionals in the market place who do this for a living. These professionals are commonly referred to as Home Energy Auditors or Energy Advisors. For them, the first part of their business is to do exactly what we are doing by using a wide range of equipment and detection devices. In many cases, the second part of what they do is developing a plan in which to mitigate the problems they discover. If you need certified documentation as to the results for tax breaks, rebates, or real estate assessments, this is the way to go. Keep in mind, theses professional services are expensive and more often than not, become the motivating factor to sell you ancillary services or products. Option three will give you the same practical results and like I said earlier, will cost less than one dollar. Ready to give it a try? Unlike option one and two, we will go into a bit more detail and you will need the following:
- Pen
- Notepad
- Flashlight
- Match or lighter
- Stick of incense (any “flavor” will work)
We are going to do two things. We are going to conduct a “blower test” and a visual light leak test. The blower test can be done anytime and only requires one person. The light leak test requires two people and is best done at night. Both tests require the pen and notepad.

The Blower Test
A blower test is based on negative and positive pressure within your home. The test itself is an exaggerated method of “causing” air to leak to make it more readily measurable and to identify where heat is escaping or cooler air is coming in thus causing the “waste” of energy use. Professionals will often temporarily install a physical blower in an exterior door or window and then seal the house to emulate normal conditions such as closing windows and doors. The blower is then turned on and using an electronic smoke device they will investigate the whole house from basement to attic to track air movement. By exhausting the air from a sealed house they are causing a negative pressure which will cause an influx of air movement at any location that is not sealed. The most noticeable of these movements will occur around windows and doors, through attic openings, and through uninsulated structural connections such as where the basement wall meets the first floor construction.
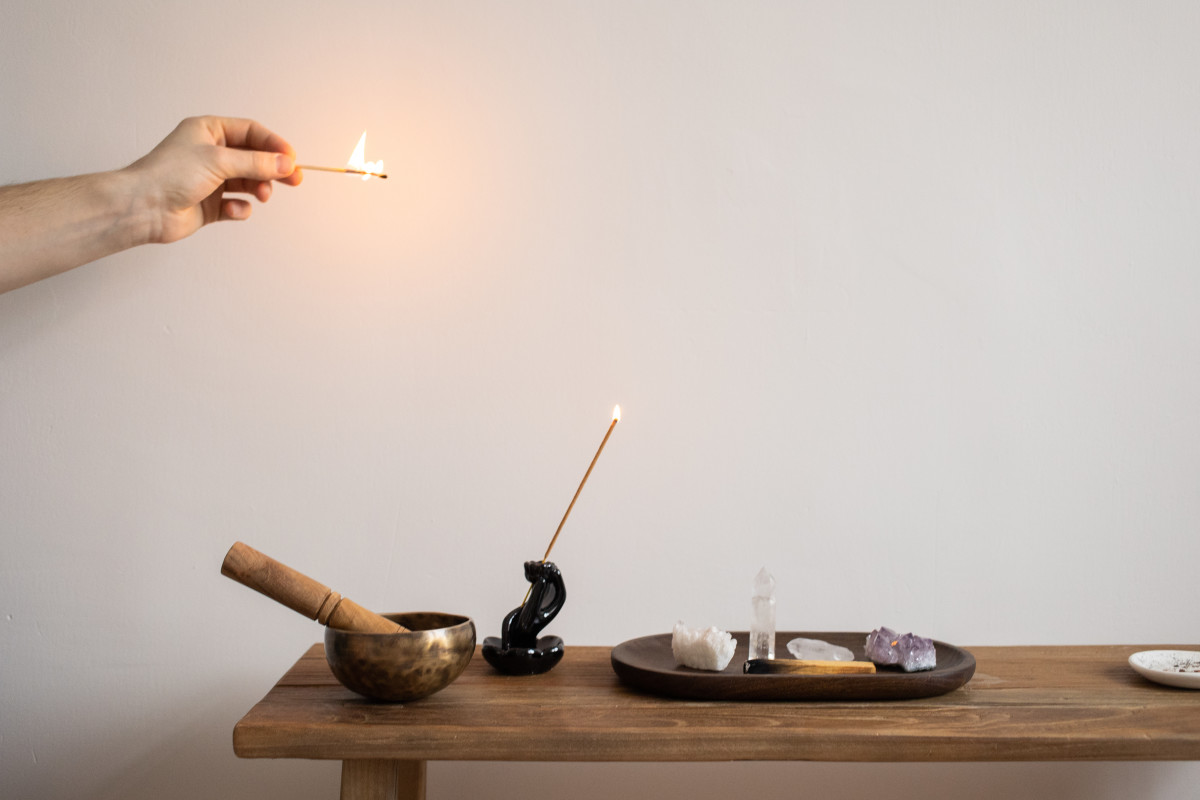
To conduct your own blower test, you will create the same effect in a slightly different way but will achieve the same results. The steps are simple and only require a single stick of incense and notepad and pen. Here are the steps.
- Close all doors and windows
- Turn OFF heating and/or air conditioners
- Turn ON all bathroom vents and kitchen vents (such as a ducted range hood)
- Light the incense stick
- Starting in the basement, walk slowly around all perimeter walls, windows, doors, etc.
- Record any area or location in which the smoke from the incense moves away from the perimeter—these are the locations where your house is leaking.
- Continue throughout the rest of the house again noting specific locations concentrating on exterior walls, windows, and doors.
- After noting the exterior leak areas, do the same thing at interior doors, ceilings, and outlets and light switches noting changes in air flow.
- Make special note of ceilings around lights and access ways such as attic pull down stair units.
Upon completion of your “blower test”, you will now have the necessary data to attack and mitigate air leaks. Stopping just 20% of the major air leaks in your home can equate to a 40% reduction in energy savings due to heat and cooling loss.
The Flashlight Test
This method of air leak testing requires two people and is best done at night with the lights out. The object here is to identify major leak zones and even though it won’t provide you with the all of the data a blower test provides, it is still a quick and easy method to initiate your war on air leaks. The method is simple and goes like this:
- Turn off all lights
- Have a helper go outside and shine the flashlight around all doors and windows
- From the inside, note any areas that you can see the light from the flashlight coming through—surprisingly, you will find the major drafts and can quickly and economically fix them.
The War of Mitigation
After completing one or both of the practical options, you now have the information to formulate a battle plan. Highlight the locations on your list that were most significant. Using this highlighted list, you can now start the process of fighting back one leak at a time. Most of the items you will discover are simple fixes and others may require more effort or the need to call in a professional contractor. After fixing just several of the major leaks, you will be able to measure their effectiveness by the reduction of money being sucked right out of your house.
More Information
The following are some additional resources to help fight the cause. Feel free to comment or request more information.
Government Resources
For Government Energy and Weatherization programs and assistance, contact Office of Energy Effeciency Department

