How to Build A High Deck Over A Steep Slope

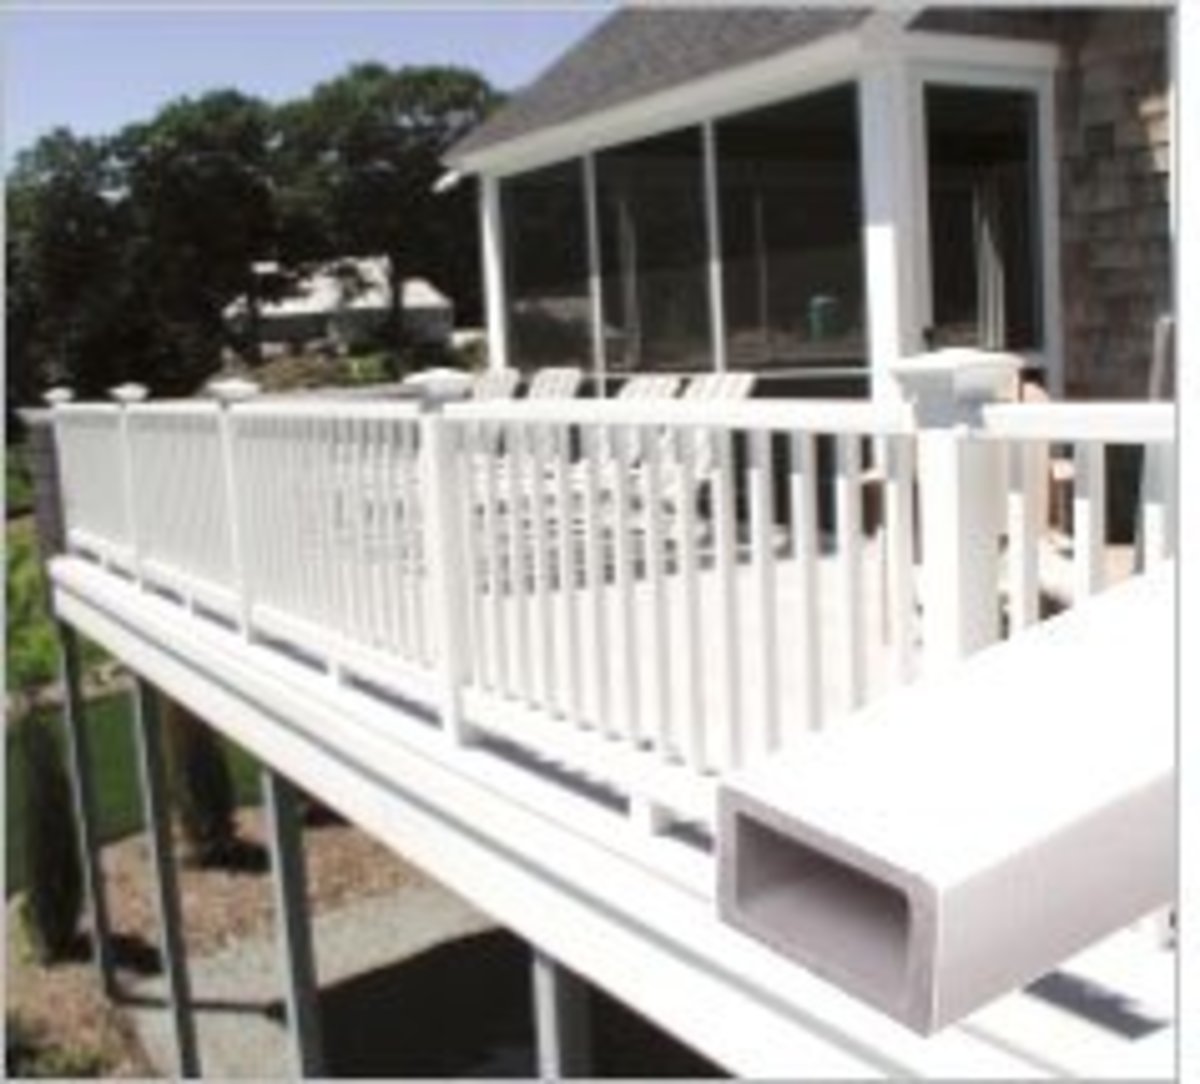
If you are going to build a deck that is over 5 feet off the ground, hangs over a steep slope, or both, then using the batterboard method to mark the footing locations will probably be difficult or not practical at all. Here’s a method to mark the footers for a high and steep deck so that you can build it yourself.
This is challenging project and can take at least one other person to help you. I have seen some people completed 2 story decks by themselves but for the sake of safety, even having someone watch you is better than having no one around when you get in to a serious problem like falling down.
The items you will need for this project will depend on the design. Below is a typical list of tools and materials.
Pressure treated wood for deck frame
Lumber for temporary beam, posts, level bases, braces, and stakes
Deck screws and nails
Hammer
Power Drill
Level
Measuring Tape
Plumb bob
Mason's or nylon string
Ladder
Marking chalk
As usual, the instructions assume that you have the proper approvals for your deck plans. This is especially important for high decks, decks over a slope, and high decks over a steep slope. It is especially important that the severity of the slope and type of soil is taken into consideration for the footers. The purpose of this is to prevent the footers from slowly sliding down the hill.
Add the ledger to the house first.
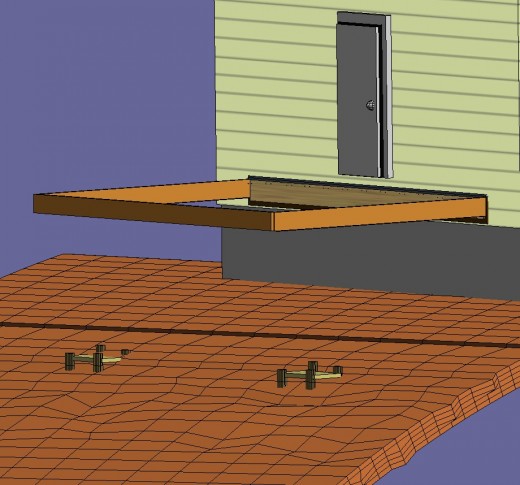
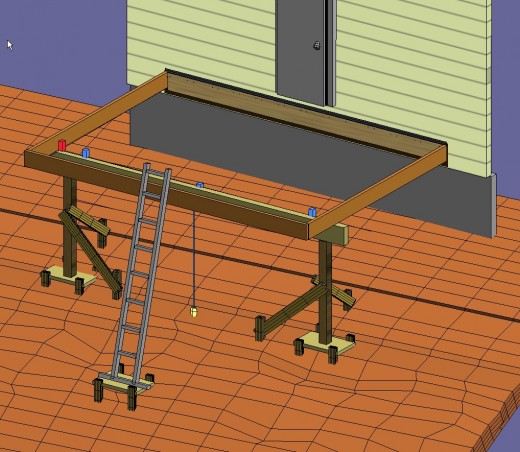
Add the outside frame to the ledger and support it with temporary posts. See Fig 1. Make sure that the posts are strongly held to the ground and to the frame. You will need to put a ladder against the suspended frame so it is critical that the temporary posts are placed securely.
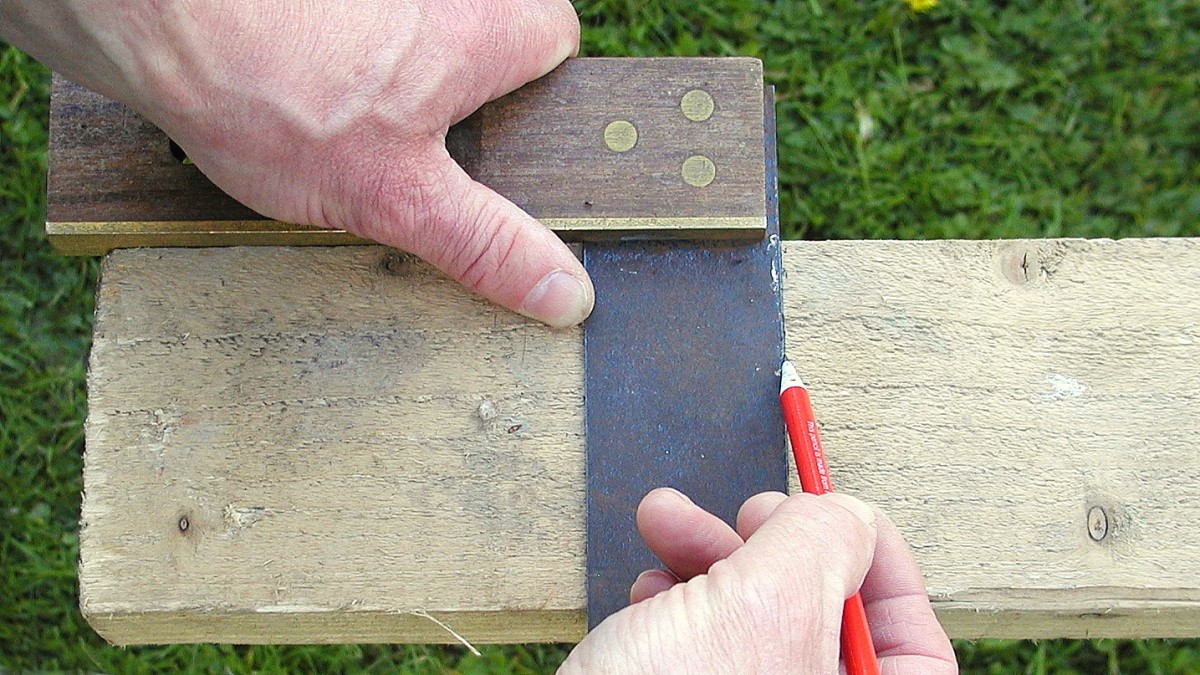
Make sure the frame is square using the 3 4 5 carpenter triangle technique.
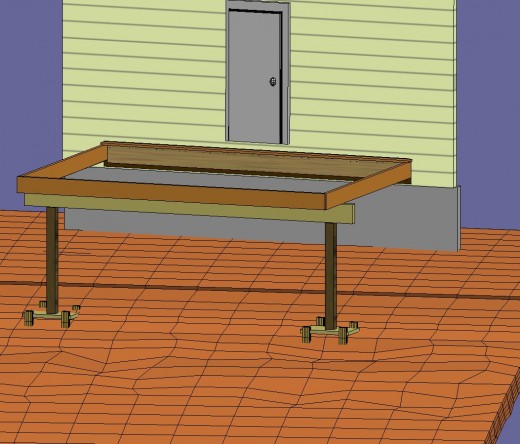
Make a level base to support the temporary posts. See Fig 2. If the slope is very steep, dig a level area for the wooden base to sit on. Surround the base with stakes to ensure that it doesn’t move.
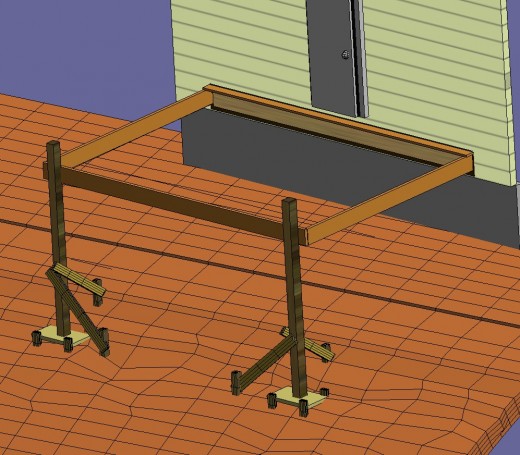
Cut the posts to the height that will support the frame or frame with temporary support beam. See Fig 3. Make it about 6 inches longer than what you measured at first and then make a final cut when you are ready to use the post.
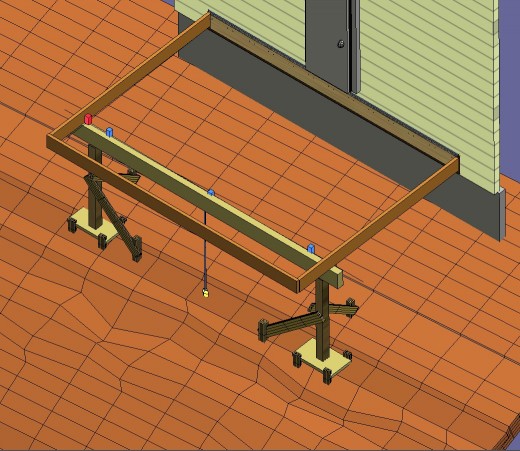
One method of supporting the outside frame is to place a temporary beam under the frame and let the posts go under it. See Fig 4. For this method, make the final cut for the post height and support the posts with 2x4s placed diagonally on at least 2 sides and level the posts. The 2 x 4s will act as braces. Once the posts are level, drive 2 x 4 stakes on the ground to hold the diagonal brace in place. Do this for at least one more posts.
Secure the posts to the base with toe nailing or screwing in at angles.
The other method is basically the same but a temporary beam is not used. See Fig 5. Instead, the posts are supporting the frame at the header. The posts are temporarily secured to the header with nails or screws. This method should not be used if the frame is more than 5 feet off the ground.
Determine the positions of the beams on the outer joists and mark the positions where the posts will go. See Fig 6. Drop a plumb bob from the marks and mark the position with a stake. Outline the footer’s size with marking chalk.
Once you have located where you will add the footings, you can build the rest of the deck using conventional methods. With decks higher than 5 feet, you may need a ladder to perform the remaining tasks. See Fig 7.

