How to Build Wall to Wall Shelves When You Don't Have A Clue
The Finished Project
When a Computer Nerd Builds Shelves:
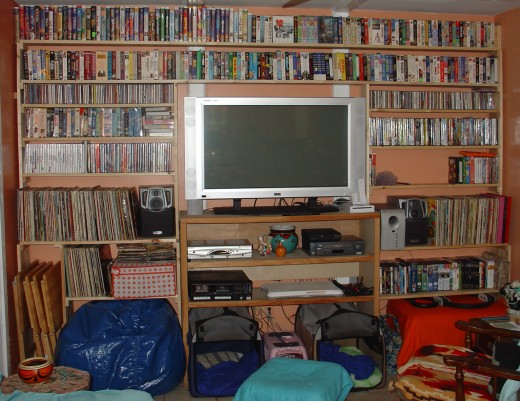
It's been a long time, but here I am again, with another project. This time it was a custom-built set of bookshelves to go around our TV. Mom decided to tear out the closets and central shelves, in order to create more space.
This was not a brief thing. She put a ton of work into the room before I even got involved. She worked on the floor, grouting, tiling, and cleaning. Painted the room. At times she shanghaied Monique into the project.
Mostly I was left out. For the main part, all my friends and family accept my limitations. I can move things. Carry stuff. Perform manual labor. Don't expect high craftsmanship from me, though. I can build things that won't fall over... but I lean strongly to functional. Not fancy.
Thor better just watch his back!
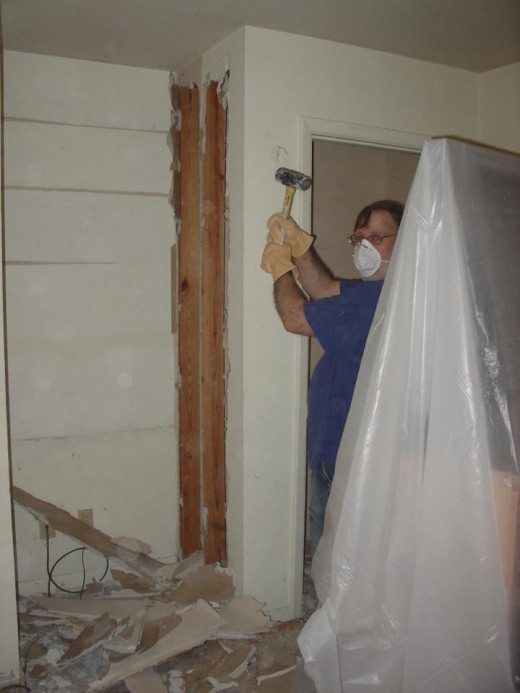
Me and the Tiny Hammer
My first responsibility was to tear out the closets. Once they got far enough along, Mom and Monique originally thought it would be simple to knock the walls out. What they didn't realize was how securely and permanently those closets were built.
Initially, I thought a 4-pound hammer would knock out the sheetrock. After plinking away to no real effect, it was time to step things up. So I got the 8-pound sledgehammer out. Better, at least it knocked out the sheetrock effectively. But the 2x4's were anchored like Redwood trees. Eventually, it took a combination of the 16-pound sledgehammer and a hand-saw. After the dust settled, the closets had disappeared forever.
(Oh, and before you ask... Monique took pictures of me plinking away with the 4-pounder. But nobody took one single shot of me kicking butt with the 16-pounder. So all I have to show you is pics of me with the tiny hammer.)
How Can You Tell?
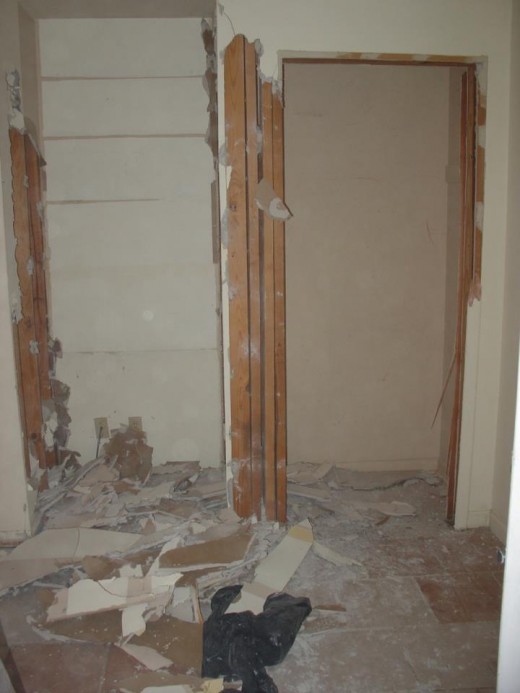
Are These Timbers Load-Bearing?
Monique asked me at one point if maybe the timbers were 'load-bearing.' I told her I didn't know, but we'd find out in a few minutes. She was not as amused as I was.
You might note a certain 'lack' in my carpentry knowledge. Rest assured, my actual practical skills are far worse. I've never had that 'guy gene' that most guys are born with. Most home projects result in me breaking important things. Like fingers, or knees. With the closets, I wound up with a major bruise that covered most of my right shin, and didn't go away for several weeks. Must have done it with the sledgehammers, but didn't realize until the next morning.
My Bright Blue Bean Bag Chair

Why Yes, I own a Bright Blue Beanbag Chair
Back to the project at hand, though. Mom and Monique continued once the closets were clear. After they did their part, it was back to me again. I really don't know what I'm doing, but my task was to create a wall-to-wall bookshelf with custom sections. It needed to accommodate the television/stand, her record collection, our video collection, and the cd's. Plus a few dinner trays, an ottoman, and my bean-bag chair.
In case you're wondering why an over-50 computer nerd has a bean-bag chair... Mom promised me one if I built the shelves. Sounded like a fair deal to me. I happen to like them. So mine's bright blue, and has it's own storage space in the shelves.
Evolution of a Plan
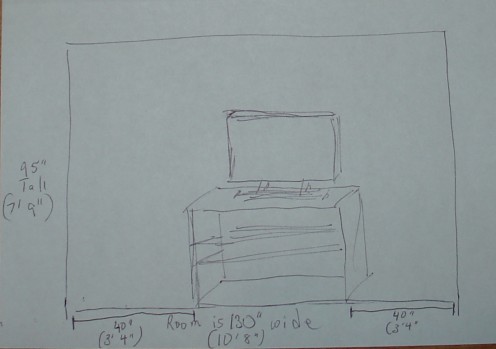
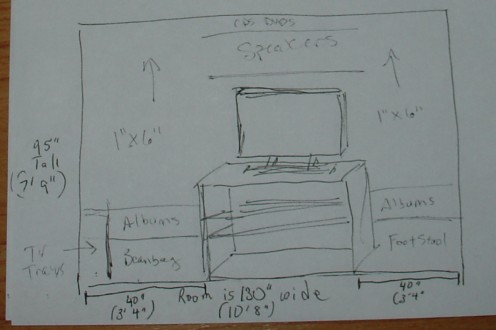
First things first: Measure the Room
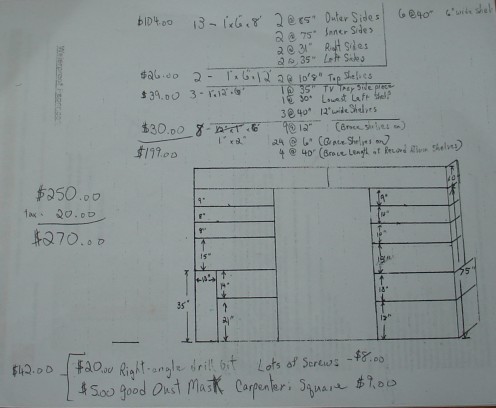
In the meantime, the gauntlet had been thrown. Now I had to build a major project. First, measurements. I mean, that makes sense, right? So I got the width of the room, the height, and figured out that I had about 40" on either side of the tv.
Next, a rough sketch with these measurements, including the tv. Then I made 4 copies of this sketch. Gave it to Mom with instructions to make a rough drawing of what she wanted to go where. I figured with 4 sheets, she could change her mind several times and start over.
Make Sure; Then Make Sure You're Sure
Monique assured me that she and Mom already knew what went where, and had hammered out the details in advance. But since Mom gave me at least two sets of conflicting instructions while I was making the first measurements, I thought maybe her plans had shifted. We double-checked.
Yes. Yes, those plans had changed. I felt vindicated. No way was I getting yelled at for doing it wrong... put it down in writing. Now it's back to me. Using grid-lined paper, a metal straight-edge, pencil and eraser, I went back to the days of my youth. Before computers. Yep... drew the plans up completely by hand. To scale. Slowly, with lots of thought, and a bit of erasing.
Back in my day in the Air Force, I was in graphics, and we had to do everything manually. Guess it was natural that, faced with a project, I reverted to old habits.
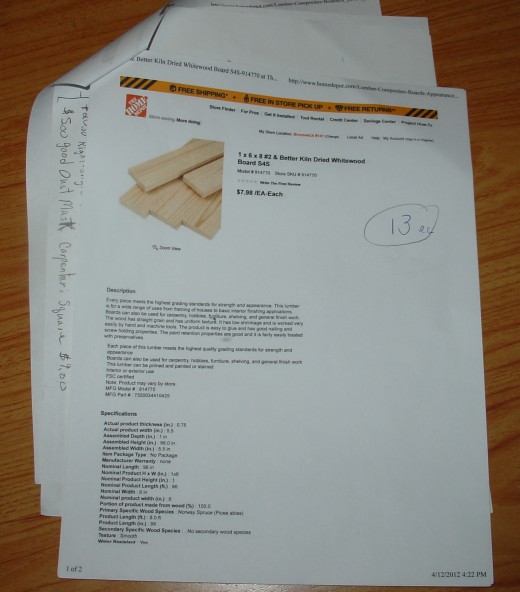
One of the Home Depot printouts
Attention to Detail Equals an Accurate Cost Estimate
Drew the plans, calculated the material, added a few tools. Went to the Home Depot website. Printed out every different item, and wrote on that page how many of each. Came up with a 6-page proposal, at an estimated cost of $270.00. When we actually bought the materials, we used a 10% discount coupon, and the cost was $255.00.
For someone who doesn't know what he's doing, that went rather well. After shopping with Mom for 2 hours at Home Depot (do I get combat pay?), she took off to get some lunch. Monique and I unloaded the Jeep. Then Monique wants to know if we're going to start 'today'? I said yes... I've already put over 2 hours into shopping and unloading. Not even counting the days and days of designing the plan and calculating the costs.
A Nerd and his Dog

Wish I Had Inherited More of Dad's Abilities
Remember, I SAID I didn't know what I was doing. My Dad could have designed this whole thing in his head, given me point by point instructions... and guided me through the whole project in a couple of hours. Without ever writing anything down. No, I'm not exaggerating. We've done it. From pile of lumber, to finished project. Dad sitting on a chair, telling me every measurement, cut, and how to assemble it. It was amazing.
You'd think I could have inherited the genes of a master craftsman. If not all his genes, at least a few. And Mom comes from a hard-working, self-sufficient farming background. So what do they get? A son who's good with computers. Go figure.
Finally building the shelves
A Non-Standard Approach
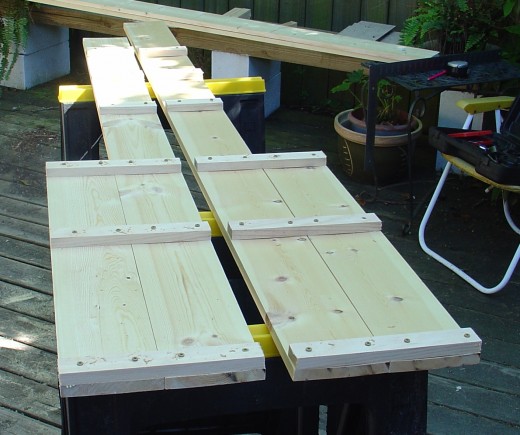
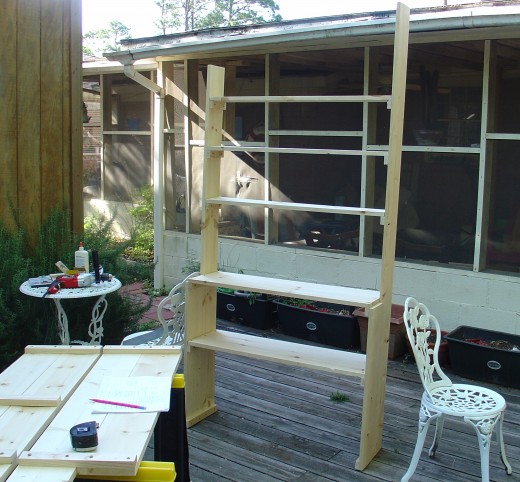
Back to the topic. Sunday, I went out with tools, lumber, and plans. Measured, cut, calculated. Monique has commented in the past, I have a weird approach to projects. I always have a plan, but it rarely makes sense, until it's finished. This went the same. Even looking at my 'blueprint', she didn't really understand it. Until it was time to start putting pieces together.
First up was the right side. Got the bones of it assembled, and suddenly all those odd pieces looked like a bookshelf. Since we were using Pine, it was pretty lightweight.
I made the bottom shelves about one foot wide, because they were going to hold full-sized record albums. The higher shelves were six inches, since they only had to hold videos and CDs. To get that wider base, I used two vertical 6" boards, and attached them with braces. That seemed easier than trying to take a 12" board and trim six inches off the top 2 thirds.
Fits in just fine
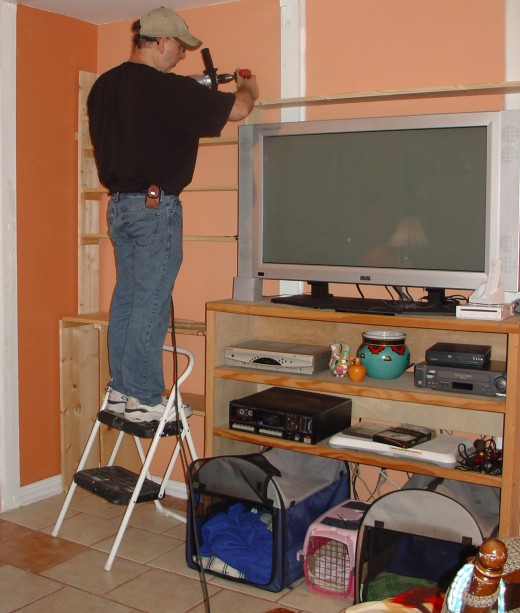
Never Underestimate the Effectiveness of a Good Solid Kick
And before you ask, yes, I accounted for the real-world size and thickness of the lumber. Left room to fudge things. Which is good. Remember above, where I mentioned 40" on each side of the TV stand? In real life, it turned out more like 38 inches. I had intuitively compromised, and made it 38 and one half. If I'd gone for 38 inches it would have been perfect. As it was, thank goodness it was only half an inch too large on each side. A couple of good solid kicks, and they fit in perfectly.
Okay, so maybe a cable or power cord got crimped. And the Wii quit working. Thankfully, Monique has fabulous practical skills. She moved the cables around, cleaned the Wii and got it running again. Back in business.
Almost Done
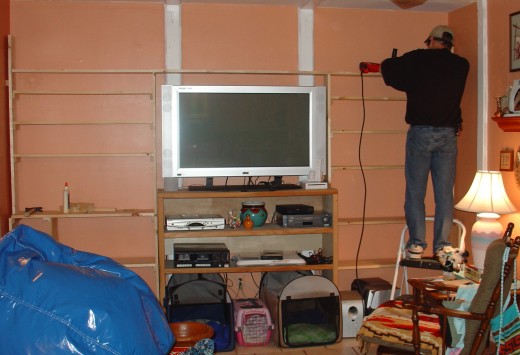
Another Project (Sort of) Well Done By the Computer Guy
All that was left was to put the top two pieces on. By this time, I was getting pretty tired. So instead of screwing everything in, like I'd done with the rest of it, I cheated. Popped it in with a couple of nails. And some Elmer's glue.
And yes, if you can't tell, until this point, every single piece that's attached to any other piece is done so with wood screws. They make the shelves stronger than plain nails, and since I'm mistake-prone, allow me to take things back apart if they don't work well. I avoided splitting the wood by pre-drilling each hole.
I put small 1x2" bracers under each shelf. The structural support shelves are tightly screwed into place. The top few shelves are just dropped onto the bracers, and can easily be removed for a taller space.
Mom was ecstatic. It turned out exactly how she wanted. On the one hand, that's not surprising, since I made her draw out her idea of what goes where. On the other hand, this was entirely my project, designed and built by me... so the fact that it actually worked was astonishing!
Finished, and filling the shelves with junk
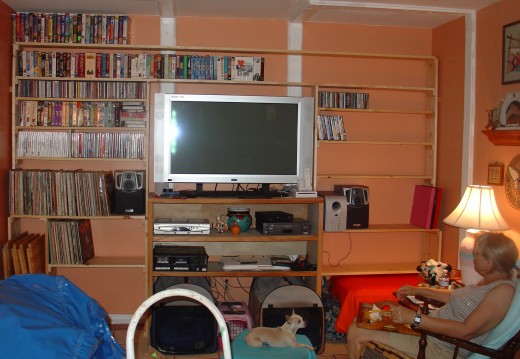
Could I Be (Gasp) Developing Skills?
To be honest, I've always taken a sort of 'backwards pride' in my lack of the guy gene. But it seems I might be losing my edge. I mean, I even used real Sawhorses! Always before, a couple of chairs or convenient stack of something was good enough. Now I've got... sawhorses! And a real carpenter's square, and even a right-angle attachment for my drill. I'm not only using tools, I'm using the RIGHT tools! Dad always said "Use the right tool for the right job." I never really understood him before.
I'm scared to tell Dad. After all these years of being a klutz, he probably won't believe me. And to top it all off... I didn't get hurt. No injuries. Not even a bruise.
A friend suggested maybe I was becoming... competent. Lord forbid! The only thing worse than hating projects and being bad at them... would be hating projects and being good at them!!!
Still, as long as I HAVE to build something, at least I can take a bit of pride in it!

