- HubPages»
- Home and Garden»
- Gardening»
- Landscaping
How to Build a Fence and Gate by Yourself

Importance of a Fence
Isn't it so lovely out there today? Just see outside your window. The sunshine's pouring down on your garden, butterflies flying around, wind blowing through trees, other people walking on your land, neighbors' children playing in backyard…. Birds flying far in.... Wait! What???
Think you got the idea. This is why we need a fence around our home. Since you actually searched for ‘how to build a fence’, guess I don’t have to explain you all the importance of a fence. So let’s keep things short and get to work!
As you know, a fence can be a long lasting attractive feature for your home, which will also come in handy when it comes for your privacy. No one wants their neighbors creeping around them 24/7 right? And today, I'm going to show you How to Build a Wooden Fence and Gate by Yourself. Since we are going to using wood, making it would be even easier than the other ways. Now we will plan, design and install an attractive, professional looking fence, just by following 8 simple steps!
Tips
If you don’t have all these at home, you can always ask from a friend or hire them from a nearby shop.
Pick the Right Tools
First of all, gather all what you would need at one place. This way you won’t have to run into your house for each and everything. And having the correct tools to carry out the job is equally important.
- Spade
- Hand Saw
- Hammer
- Post hole Borer
- Electric Drill
- Electric Jig Saw
- Screwdriver
- String Line & Stakes
- Retractable Tape Measure
- Spirit level
- Galvanized Nails or screws
What Type of Fence You Prefer?
Planning Your Fence
Make sure you are building the fence on your land! Installing a fence within your property won’t need much planning at all. But if this is a boundary fence that you are talking about, it’s better to discuss your plans with the neighbor first and get to an agreement. By that way, you won’t have to break it down soon after you finish or loose one of your buddies around.
Also make sure that there are no obstacles on the path where your fence will be placed. It’s even better if you can level the surface as much as possible before doing the construction.
Safety Measures
This is an important aspect of getting to know how to build a fence. If you don’t obey these, this DIY project won’t have a happy ending for sure. Make sure to follow these safety measures throughout the whole process.
- When digging holes for the posts, be careful enough not to damage any underground cables or pipes.
- Always use gloves, safety glasses and a dusk mask at proper times (like when using power tools, cutting wood, etc)
- Always, always keep children away from your work area until the fencing project is done.
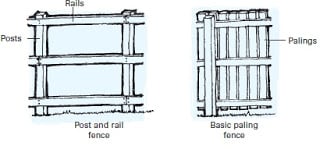
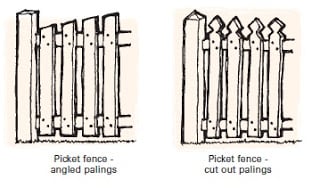
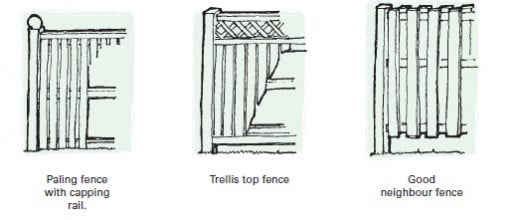
Selecting a Fence Design
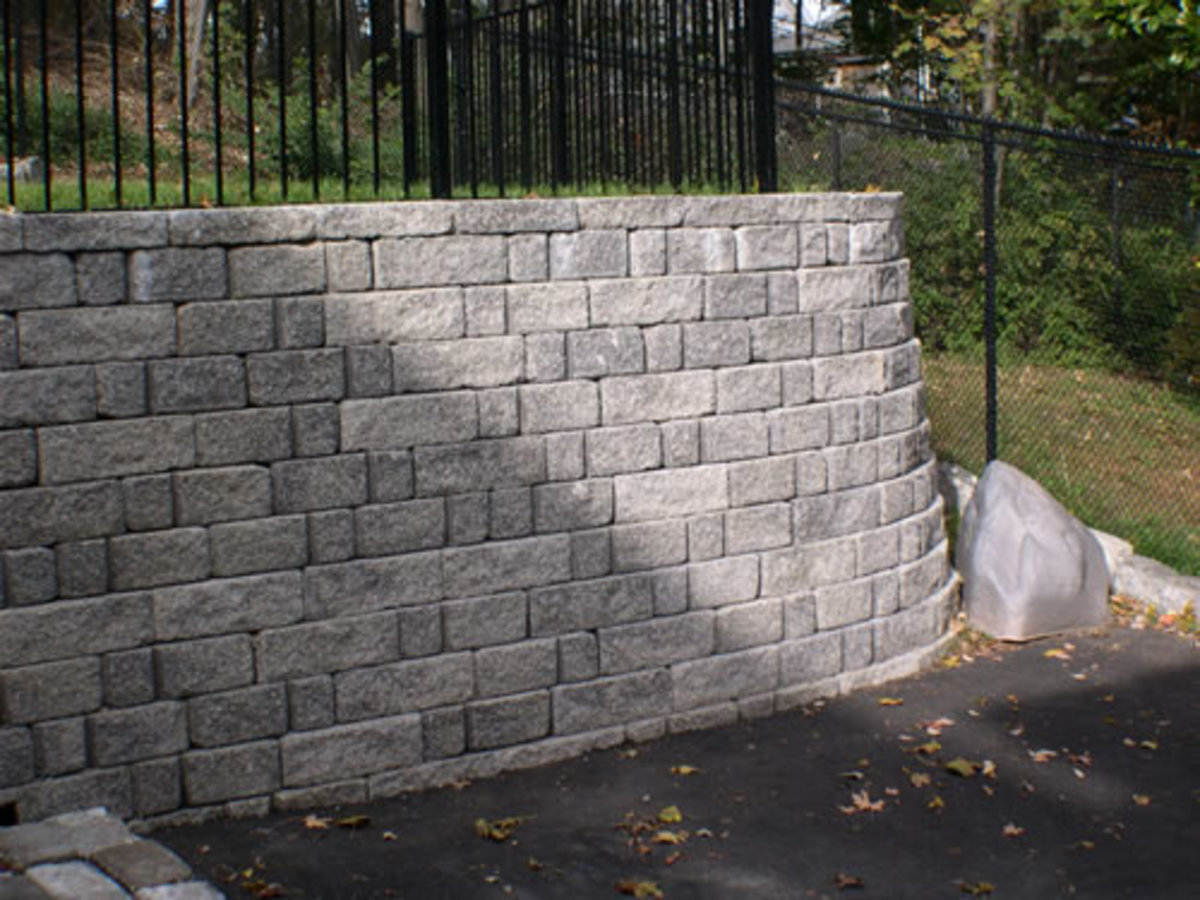
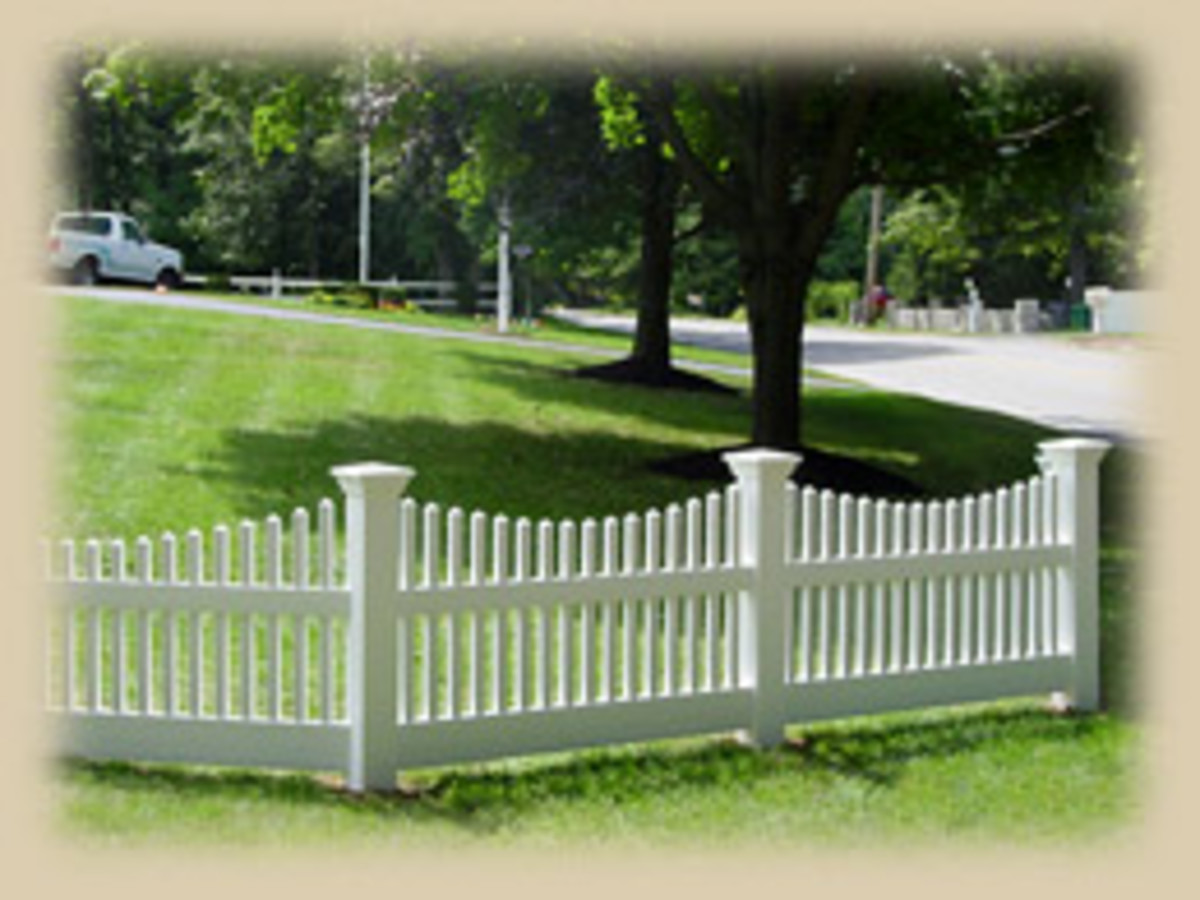
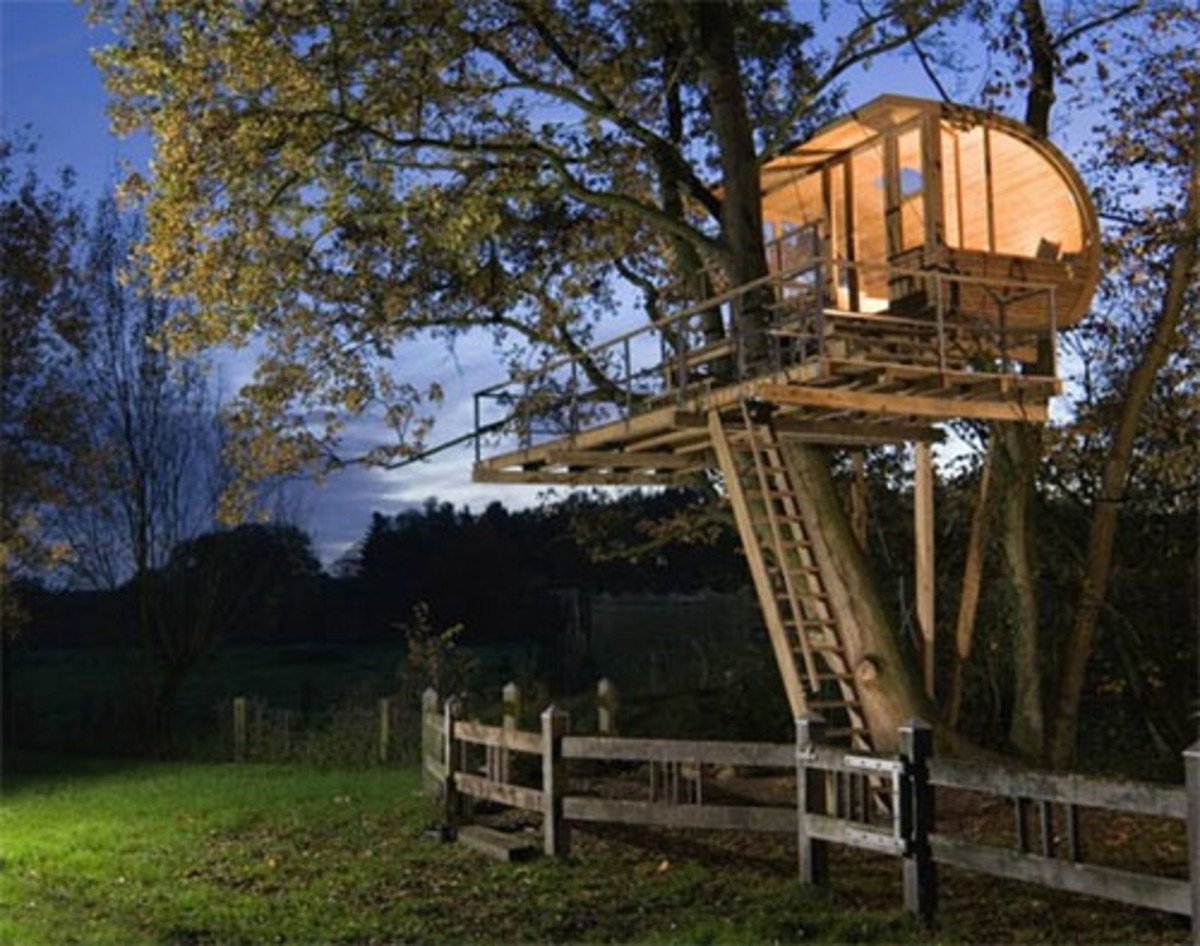
As I said earlier, building a fence will also enhance the attractiveness of your home. So it should be well designed. In the planning stage, you must decide what your fence would exactly look like after you finish. So decide it now. Actually there isn't a proper way to build a fence; it’s up to your creativeness. I have posted some of the common fence designs below. You can always use your own imagination and modify them or invent one of your own designs. It’s totally up to you!
Constructing the Fence
Okay. Now you are actually going to get the answer for your search ‘how to build a fence’. This is the hard and the time consuming part. Here I have breakdown the whole procedure of building the fence into 8 different steps, just to make it clear and easy for you to understand.
Step 1: Measuring the fence
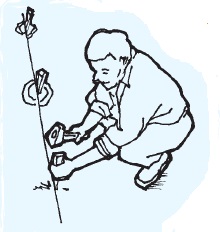
Measure the total length of the fence you are going to build up and mark out its line using a string attached to two wood stakes driven into the soil. The string you placed should mark out the positions of the front of the fence posts. After that, hammer stakes into the ground, marking the positions of your main support posts. For this, you can use chalk to mark the post positions before the stakes are removed. Calculate a regular distance between each stakes using the retractable tape measure. This distance between posts will depend on the type of the fence you are building (standard post spacing between post centers is 1800mm maximum or less)
Step 2: Doing the Digging
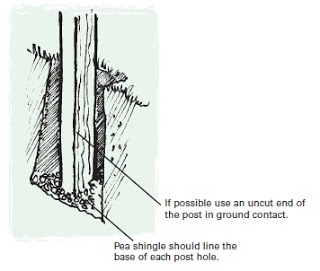
Dig post holes to suit the length of the posts. You can use a spade or a post-hole borer to do the digging. These posts of the fence should be fixed within a minimum of 600mm into the ground. You should dig in a way that the holes are wider at their base than at the top, which is nearly three times the width of the posts. Put the posts into the holes afterwards. Usually for most types of fences, 100mm x 75mm posts are adequate, but for posts at the end and corners of a fence or posts for a gate should be at least be 100mm x 100mm.
Step 3: Doing the End Posts
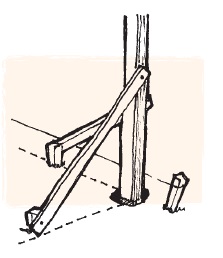
This is the most important part of building a fence. You have to brace the end posts in place with battens or wood off cuts. Tack the nails in lightly on those bracings so you can easily remove them later. Make sure that posts are vertical using a spirit level. Also check that top of the posts are of the correct height above the ground level. And before we do the concreting for the posts, do a last check that they all are vertical and square in their holes.
Step 4: Concreting
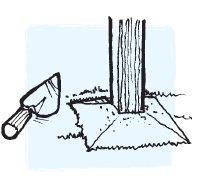
At the moment, you should be able to see your fence building up little by little. This is also a crucial step now are moving on. Here, we are going to concrete the posts in position using either a dry pre-mixed concrete or a mixture of 1 part cement to 6 parts of sand/gavel. Be sure to keep the mix stiff as possible so you could stick it tightly into the post holes. Use a wood stake to push the mix down into the holes. Beware not to leave any air pockets left inside the holes after putting the cement. If you make mistakes on this step, it’s guaranteed for your fence to come off within few months. So do it carefully. And when the concrete begin to set off, be sure to keep posts vertically aligned and of the same height. You will have to leave the posts for like 2 to 4 days for the concrete to completely set in.
Step 5: Setting Up Intermediate Posts
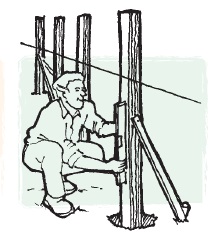
First setup a string line about 600mm above the ground level and spaced 20mm off to your end posts. Place your intermediate posts into their holes and check alignment by measuring 20mm off the string line. Also check that the posts are all vertical, square-on, in line and brace in place as the end posts. Before using concrete to set them up permanently, do some rechecking on alignments and heights, just as we did before.
Step 6: Doing the Railings
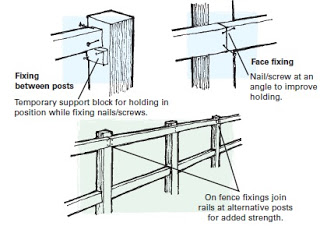
Here you have to decide the number of rails to be used for your fence. Consider your fence’s height to get the answer. In standards, rails are of 100mm x 50mm for 1800mm post spacing. As a rule in building fences, two rails are needed for fences up to 1200mm in height and fences higher than that requires 3 or more. These rails can be attached to posts in two ways, which are either cut them to be fixed between posts or fix their faces to posts. You can use nails or screws to do the fixing. Normally the bottom rail of the fence should have a maximum of 150mm above the ground level.
What Made You Need a Fence?
Step 7: Doing Palings
Again set a string line between the two end posts of the fence to line up with the top of your palings. Here, if the fence in not on a leveled land, line up the string line with the upper point of each paling. Do calculations for the spacing needed for the palings between posts in order to get a nice fence design.
Now fix the palings to the rails using flat head nails or screws. Attach palings to each rail using two nails or screws. Here, make sure to drive nails/screws in different angles so it will prevent from lifting. You can use a spirit level to make sure the palings are kept vertical. This is the last step in completing your fencing project. When you reach to the end, you’ll see your amazing, home made fence smiling at you!
Step 8: Building the Fence Gate
Wait! Didn't I just told you we are Done? Oops! Correction! We were almost done! You won’t like to jump on and off your fence every time you need to go outside right? That’s why we say ‘either a fence without a gate or a gate without a fence is useless!’ (Actually, I made that up) Now let’s make a wooden gate for our fence.
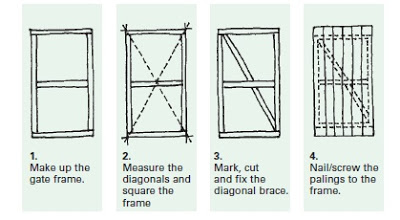
When building a gate for your fence, the posts should be of minimum parameters 100mm x 100mm and should be set to a minimum of 900mm apart to allow access through it. To establish the gate width measure between the two posts and deduct 25mm to allow a 12mm clearance at each side.
On a leveled ground, make up the rectangular frame of the gate from 75mm x 50mm wood including a central and horizontal wood. To make the frame square, measure the two opposing diagonals of the gate frame and adjust them until they are equal. This step will also ensure the right angles in the gate frame. Fix the wood to each other using nails or screws. To brace the frame, lay a piece of 75mm x 50mm wood diagonally from the corner to corner on the frame. Mark them, cut and fix using nails/screws
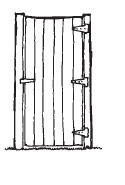
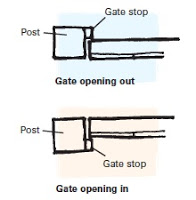
Now place a hinge on each of the three horizontal members. If your fence gate opens inwards, then hinges will be fixed to the inside of the gate and vice versa. Fix the hinges to the palings and in line with all other horizontal members. Screw the hinges into position and after all are fixed, remove the support material. Finally fit the gate latch, normally about halfway up the gate or at a reachable height if you want to get access from outside too. In addition, you can also fix a 25mm thick length of wood to the gate posts, opposite to the hinges so that they will act as a gate stop and help to prevent damage to hinges from slamming.
Now cut palings for your newly built fence gate to match your fence design and fix them to the gate frame using flat head nails or screws. You should always try to space the palings to go with the fence design or else all your hard work of making an attractive fence would go in vain!
After setting up all the palings, to fix the gate in place between two posts where you decided to set it before, keep the gate on packers so that it will be the required distance off from the ground for the fence gate. Also place packers at the sides of the gate so the gaps between the gate and posts will be the same, plus the gate will be rightly positioned.
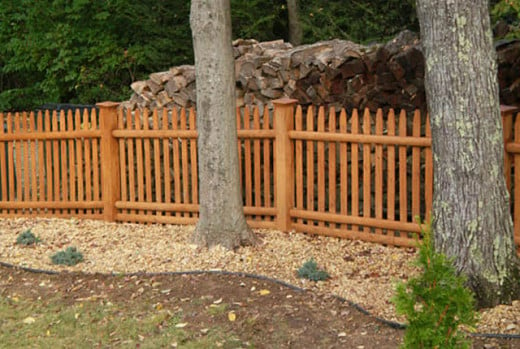
Now that’s all! This is how you can build a fence in the simplest way. If you went through all the steps and completed them successfully, by now, you should be looking at the amazing outcome of your DIY project, a brand new home made pro looking fence! How does it feel? Satisfied right? Must be feeling so fulfilled. Will you ever get that feeling if you hired some other to do this job for you? Never!!! So you just hit two birds using one stone! If you prefer, you can always paint your newly built fence and the gate using a color that goes with your liking and the environment around. As I always say, it’s all about your imagination! Use it and see how creative you can be.
© 2013 Pandu B

