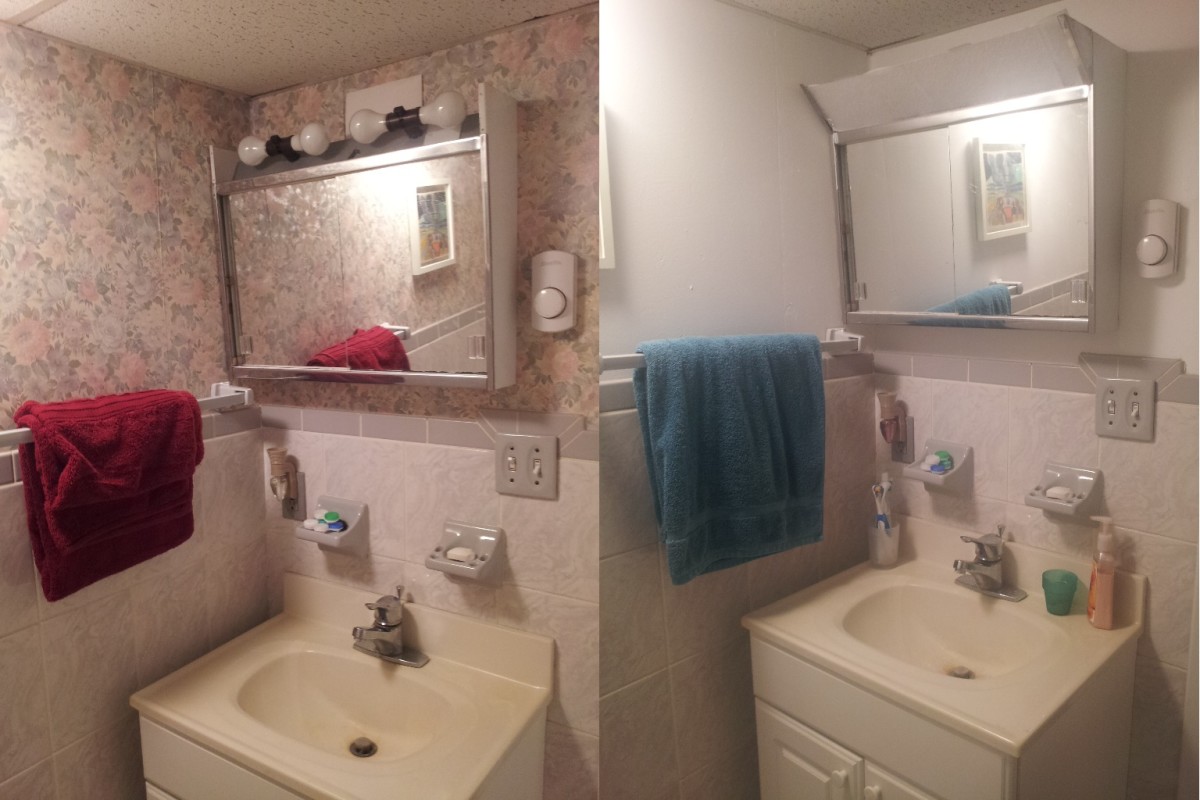
DIY Tips on Painting Your Home
It doesn’t matter how your home is furnished or whatever choice of décor you have. There comes a time when the walls and ceilings in your home will need freshening up. Painting is something that all home owners have to do from time to time. It will depend on the condition of the walls as to what degree of work will be involved.
Start with a good look at the ceilings, look for any cracks. Quite often when a home is built the ground has not been compacted properly, which causes the ground to subside. This in turn will create cracks or gaps along the cornice around the ceiling. These will need to be fixed before painting.
Prepare before painting
Before you do anything, clean out the cracks and remove any loose pieces. Mix a quantity of Polly filler powder with water or a joint compound and using a filling knife push the plaster into all the cracks. Smooth off as best you can, before it dries, as once dry it needs sanding smooth, and it will be a lot harder to do then. If the whole is pretty big, then you could use pieces of old plaster to fill in the hole.
Cracks in wall
Gouge out the crack and fill with Polly filler or a joint compound. If it is a little bit wide then I would suggest you use a
piece of fiberglass mesh tape. Put this over the crack and apply a thin coat of joint compound filler. Smooth it off and let it dry. Then apply another coat over it. Keep in mind the result will need to be a flat finish so the join will not be seen after sanding it smooth.
If the cracks are really bad it may be advisable to call in a contractor to fix them.
Paint Tips
Here are a few tips that I have learned:
- When you open your paint tin it is a good idea to punch several holes around the rim this allows the paint to drip back into the tin.
- Wipe the drips off the side of tin when pouring paint into paint tray. You may want to read the directions in 6 months time.
- Always read the directions on each tin before using.
- Most paints require a good stir; make sure to do it properly.
- Always use drop sheets on the floor to protect your floor coverings
- Wash brushes, rollers, and all equipment as soon as finished.
Cleaning Walls
It is a good idea to wash all walls with Sugar Soap before painting. Often there will be things spilt on the walls like sugary drinks in kids’ rooms or oil and grease on kitchen walls. This is best washed off before painting. Leave it to dry thoroughly before painting. It may even be discolored from a cigarette smoker in the home, prewashing will remove this.
Removing Wallpaper
It is probably best to use a wallpaper stripper to remove it. If the wallpaper has been painted over you may need to hire a steam stripper machine to remove it. Non washable paper you could use half warm water and half stripper, brush this onto wall. Allow it to soak through then scrape paper off with a wide scraper.
Selecting the paint
The paint you choose will depend on the type of surface, which room and the choice of many different brands and types of paints that are available.
Oil based Paints
These paints are best used in wet areas like the bathrooms, kitchens and laundries. As they are oil based you will need to use mineral turpentine to clean up the brushes, rollers and of course yourself.
Water based Acrylic Paints
As these are water based you can thin the paint and clean up the brushes and rollers with water. This makes cleaning up much easier when the job is finished. That’s why I use the acrylic paints all the time it is so much easier.
You can still use water based paint for the wet areas in your home like the bathroom, kitchen and laundries. You should use the ones specially made for these in a satin or gloss finish.
Painting order
Always paint the ceilings first, then the walls and finally the window and door surrounds. Make sure to cover the floor with drop sheets to protect the floor coverings from any kind of paint drips and spillage. Keep a wet cloth to wipe off excess paint if using water based paint.
Ready to start painting
Start with the ceiling- You can use a brush or a pad with two little rollers on one side. Start to cut in the edges along the border between the ceiling and the wall (under the cornice) Work across the wall from a corner, covering about two feet at a time. Use a brush to paint the curved part of the border. Then use a roller to paint the ceiling, it is a good idea to buy a ceiling paint for this as it is thicker and less likely to drip paint.
Painting the walls – Start and finish in the corners in case you do not finish the whole room then your will not see where you started and finished. When using a roller use it in all different directions, so it does not miss anything. Some walls will only need one coat others may need two.
Window and door trimmings
Most people use the oil based paints. I am lazy and like to use the acrylic gloss to do these. This is of course up to you and a personal choice.
Sand and prepare surface
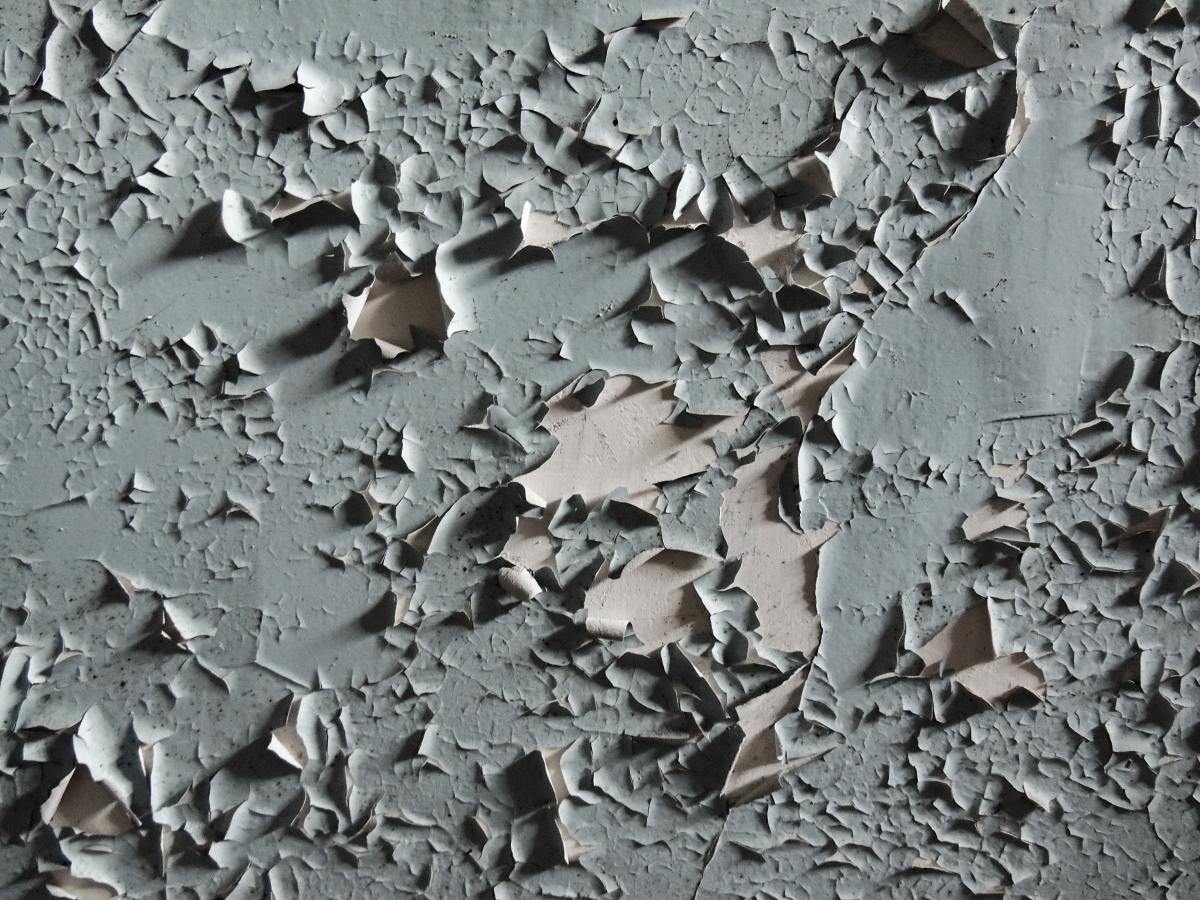
Check the surface and make sure the paint is not peeling, if it is then sand and if you need to take it back to the woodwork then it would be a good idea to paint with and undercoat first to seal it. Then paint with the gloss the next day.
Painting Your Home Tips
Do you paint with gloss or acrylic paint
© 2010 Eileen hughes

