How to Grow Lemon Balm From a Seed
Introduction
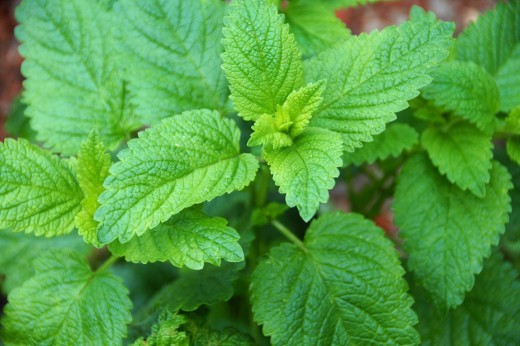
Are you looking for a simple, fragrant, beneficial herb for your garden? Or maybe you'd like a plant that thrives in containers, either on the patio or by a sunny window? Lemon balm (Melissa officinalis) is a lemon-scented member of the mint family and one of the easiest, hardiest, and most rewarding herbs to grow. Not only will it beautify your space and attract pollinators like bees, butterflies, and hummingbirds, its leaves have many beneficial uses around the house, from teas to aromatherapy to homemade cleaning products. Whether you're just starting out or adding to your existing garden, you can't go wrong with lemon balm!
Materials
- Lemon Balm seeds
- Seedling Tray or recycled paper towels + bag (or other container)*
- Starter soil or fine-textured potting soil
- 4 inch (10 cm) Starter pots*
- A spoon, scoop, or trowel
- Rocks or gravel for drainage (optional but recommended)
- 8 - 12 inch (20 - 30 cm) pots (if you plan to move seedlings into containers)
- Natural fertilizer or compost
*Consider using biodegradable substrate and planters! They're both eco-friendly and easier to transplant.
Planting and Sprouting Seeds
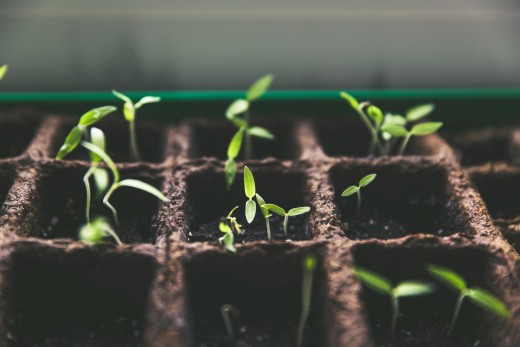
Using a seedling tray:
- Gently press seeds into starter soil--either use store-bought "starter soil," or use very fine-textured potting soil.
- Water delicately and thoroughly.
Using paper towels in a bag:
- Wet paper towels until they are very damp but not dripping.
- Arrange seeds on one half of the paper towel, about 1/2 inch (1 - 2 cm) apart.
- Fold the paper towel over the seeds, and place in a bag or other container.
- NOTE: The container should keep moisture in, but it should NOT be airtight, so seeds can breathe and mold doesn't grow.
Next Steps:
- Place seed container in a warm spot indoors that receives indirect sunlight and is out of reach of children and pets.
- Check the seeds and substrate daily, and mist them as needed to keep them damp.
- TIP: If mold appears, remove all the seeds that are not moldy, and transfer them to fresh substrate. Thoroughly wash any non-porous containers (i.e. glass, plastic, etc.), or discard and replace any biodegradable ones.
- Seeds should sprout within 14 - 21 days.
- Wait for the newly sprouted seedlings to produce at least four leaves before transplanting them to individual pots.
Caring for Seedlings in Starter Pots
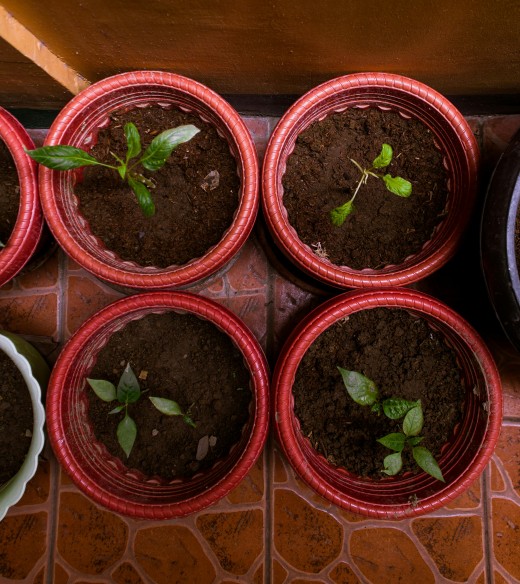
Once leaves on seedlings have divided at least twice, if they aren't each already in individual pots, carefully transfer each plant into its own starter pot.
- Fill starter pots nearly to the rim with starter soil or fine-textured potting soil.
- TIP: Make an indentation in the middle of each pot up to the first knuckle of the pinky finger (about 3/4 inch or 2 cm).
- Lower each seedling into an indentation. Ensure the roots are covered and the base of the stem is aligned with the surface of the soil.
- Add or remove soil if necessary to create an even surface, then gently but firmly press the soil down to remove air pockets and ensure the roots have good contact with the soil.
- TIP: Don't press too hard! Imagine you're tucking a kitten under a blanket.
- Water each plant carefully until water drains from the bottom of the pot.
- Arrange the plants in a sunny spot indoors, preferably on a tray to collect any water or soil that drains from the pots.
- TIP: Check plants regularly, and avoid letting pots sit in a pool of drainage water to prevent mold and root rot.
- Water regularly to keep plants evenly moist (but not soaking wet).
- TIP: Don't use any fertilizer on them yet!
- Wait approximately 1 - 2 months for plants to mature before transplanting to larger pots or into an outdoor garden.
Transplanting and Maintenance for Maturing Plants
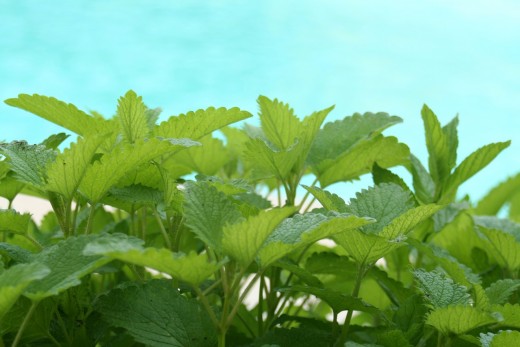
Once plants are about 6 inches (15 cm) tall, the stems look sturdy, and their leaves have divided several times, they can be transferred to 8 inch (20 cm) diameter pots or placed in the ground.
Prepping the root ball:
- If starter pot is biodegradable: gently pull on the bottom and sides of the planter to open holes for the roots to emerge and loosen the root ball. The planter and plant can then be placed together into the new pot.
- If starter pot is not biodegradable: cover the top of the starter pot with your hand, hold the plant stem between your fingers, and carefully turn it upside down. Gently press on the sides of the starter pot with the opposite hand to work the soil and roots out together.
Transplanting to larger containers:
- Place 1 - 2 inches (2.5 - 5 cm) of rocks or gravel at the bottom of the new pots to improve drainage (recommended). Fill the rest of the pot with organic potting mix, a vegetable/herb potting mix, or potting soil mixed with a little compost.
- Make a hole in the center of each pot that's about 4 inches (10 cm) deep and wide.
- Place the root ball and remaining soil into the hole in the new pot, adjusting the soil, so the roots are covered, and the base of the stem is level with the top of the soil.
- Even out the soil, and gently press down to remove air pockets.
- Water thoroughly until water drains out the bottom.
- The plants can now be placed outside, or inside near a sunny window.
- TIP: Lemon balm prefers 3 - 6 hours of sunlight per day, but since the plants are still young, avoid full, direct sun for the first few months.
- Check them regularly, and keep the soil evenly moist.
Transplanting into the ground:
- Choose a spot that gets at least 3 - 6 hours of sunlight daily.
- Mix compost or enriched, organic soil into the ground, if necessary.
- Dig holes about 4 x 4 inches (10 x 10 cm) and space the holes 18 - 24 inches (45 - 65 cm) apart.
- TIP: Lemon balm can be invasive if left unchecked. If you don't want it taking over your garden, don't plant too many, or put them in larger containers first (see above), then plant them in the ground, container and all.
- Place the root ball into the hole, and even out the soil, so the roots are covered, and the base of the stem is level with the top of the soil.
- Gently press down to remove air pockets.
- Water thoroughly once you're done planting, and be sure to always keep the soil evenly moist, but not soaking wet.
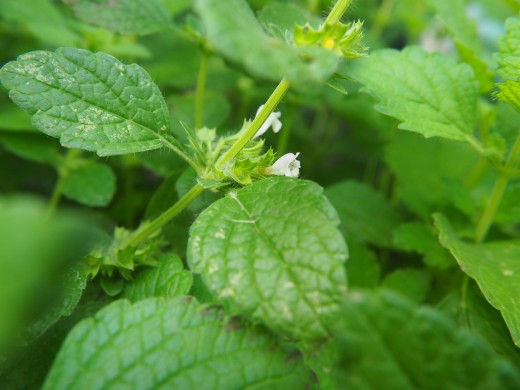
Caring for and Harvesting Mature Plants
- Once the plants are more mature, they can be fertilized a few times a year. Use an organic all-purpose or herb-and-veggie fertilizer, or add compost to the soil.
- TIP: Don't over-fertilize! Lemon balm loses its fragrance and potency when you apply too much fertilizer.
- After 1 - 2 months, if plants are in containers, they can be given full sun for a few hours a day. On hot days, water them well in the morning or early evening, and move them if they start to wilt.
- Lemon balm thrives in hardiness zones 3 - 7, so they can handle cold weather, but it's best to move them inside when temperatures dip below freezing, or wrap plants in a tarp or blanket if they're planted in the ground.
- Stems and leaves can be harvested in small amounts all year (for instance, to brew a fresh cup of lemon balm tea). Pruning them encourages new growth, especially as they start producing flowers.
- You can also take more extensive cuttings a few times a year. Leave about 4 inches (10 cm) of each stem and sufficient leaves intact when pruning, and this perennial will grow back.
Happy Gardening!

