- HubPages»
- Home and Garden»
- Home Decorating»
- Wall Decor & Artworks
How to Hang Your Art and Photographs
Hanging artwork on your walls is one of the best and easiest ways to add color, personality, and life to any room. But please, do not let the word "art" scare you - your wall décor need not be fancy or expensive. There are many ways to create art for your walls that are inexpensive, yet very personal, making any room a true expression of its owner.
Many people make the mistake of hanging one piece of art over their sofa or above their fireplace and considering the job done. Or they think that since they can't afford a big piece of art, it's best to have none at all. In fact, grouping smaller pieces of art often makes a greater impact that one big piece. By using smaller pieces, you can create interesting arrangements that make a strong design statement and adds personality to your room.
Lesson No. 1
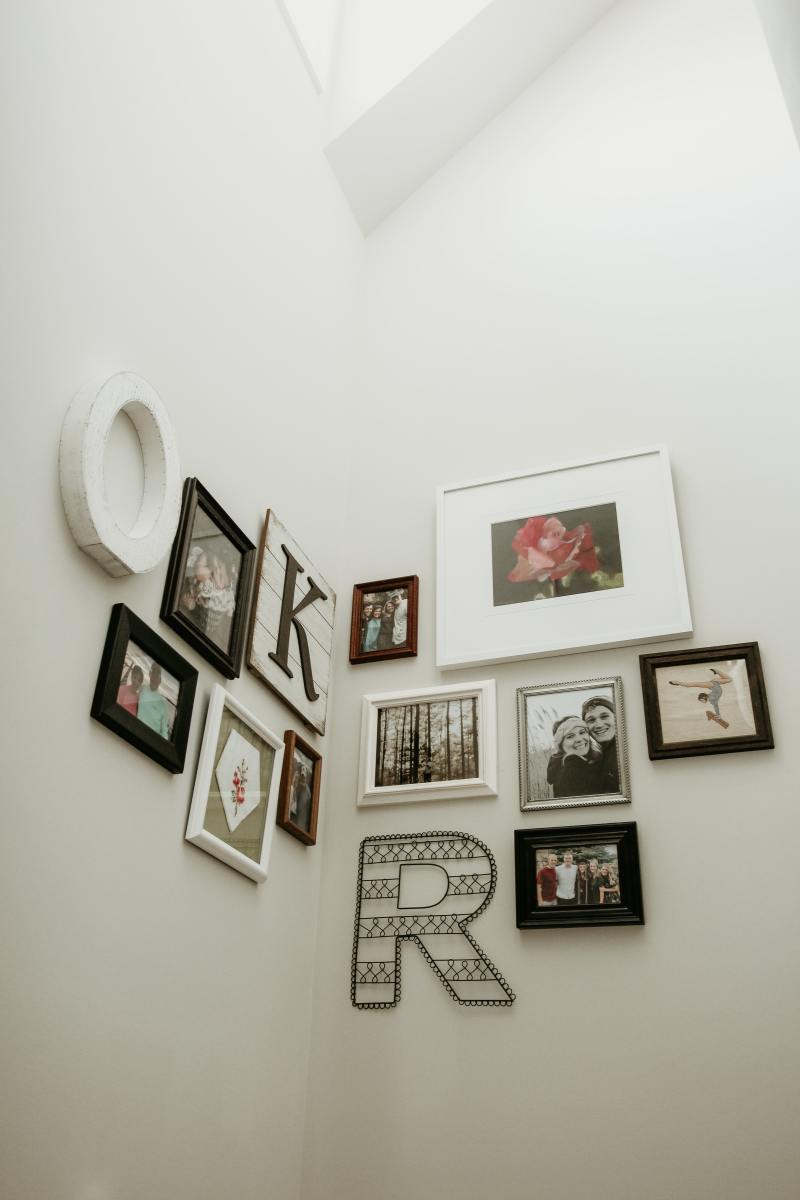
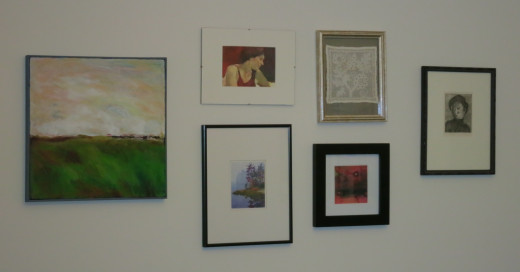
You don't need to group your artwork by color or subject matter. You also do not need to use the same color frame or frame style to hang work as a group. Almost any artwork can be hung together as long as you arrange it in a pleasing and balanced manner. Look at the arrangement at the top of this article. The pieces represent landscape, portraiture, abstract painting, and even vintage lacework. These pieces really don't have anything to do with each other, but are hung in a way that is pleasing and actually moves your eye from one piece to the next.
Balance, Balance, Balance
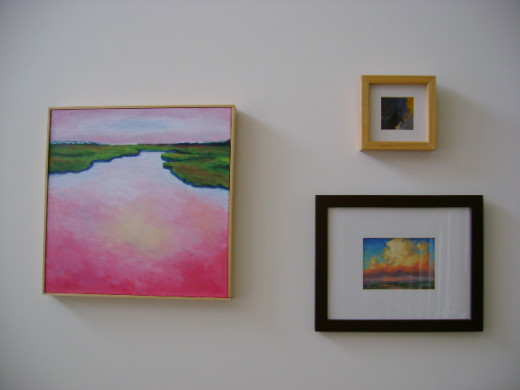
The key to grouping artwork is balance. First, don't crowd your artwork - give each piece a little bit of space around it. Try to balance the wall space around each piece in a way that is pleasing to the eye.
In the large grouping at the top of this article, the four central pieces are hung with the same amount of space between them. The two smallest pieces are placed in the center of the larger, vertical pieces next to them. This arrangement creates an interesting overlap of space. The two pieces on either end are hung slightly farther away, to center the composition on the wall. Please notice that both of the portraits face into the grouping. If they were faced away from the composition, your eye would follow them away from the arrangement and it would look weird.
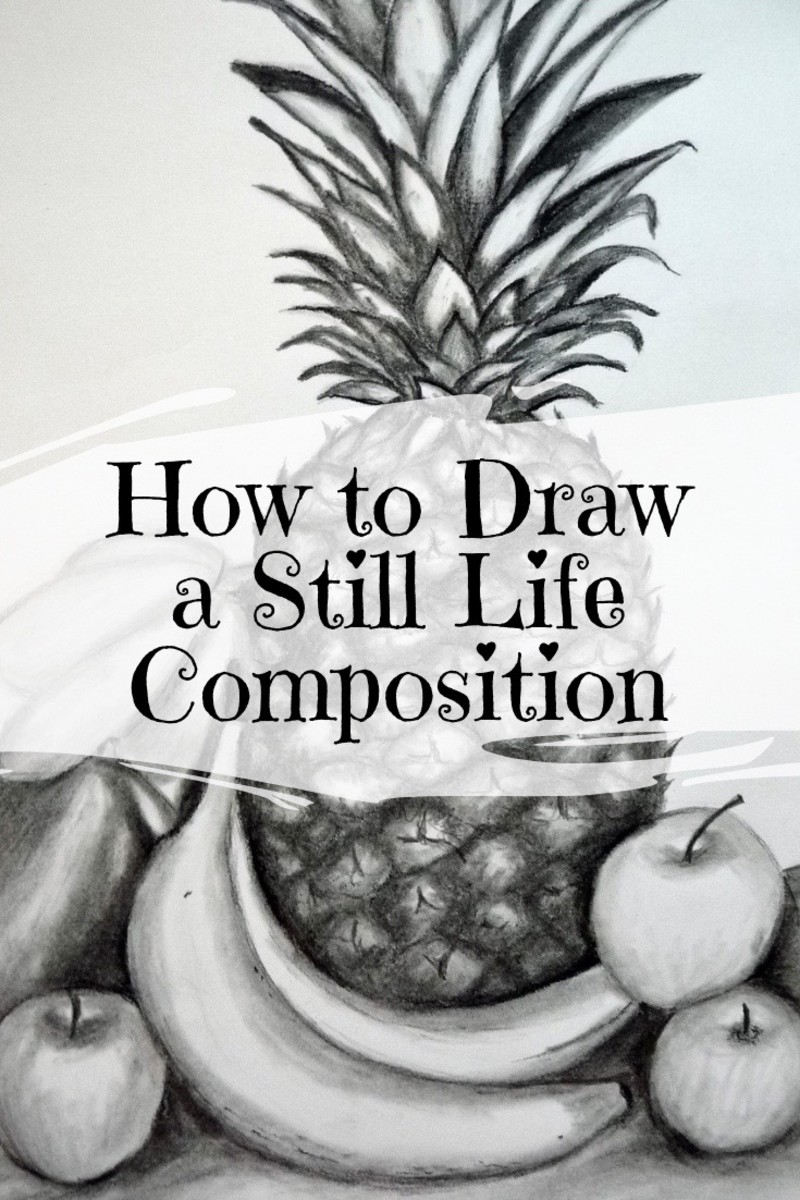
There is also a balanced composition in the arrangement directly above. Each piece is placed with some space around it. The small painting is placed along the center vertical line of the black framed piece below it. The large painting to the left is place along the center horizontal line created by the grouping of the other two paintings. Each piece is given its own place to be appreciated separately, but the artwork is hung close enough to form a composition that makes a larger design impact on the wall and in the room.
Layer for Interest
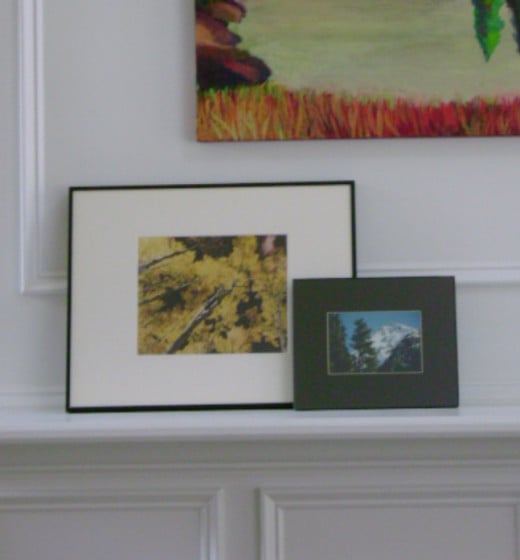
You can also use shelves or fireplace mantles to group your artwork. Here are some hints for creating an interesting grouping:
1. First, make sure your pieces are secure on the shelf or surface. Your art or frames should be placed a safe distance away from the edge to ensure they do not slip or fall. You can use foam tabs or some double stick tape to keep your artwork from slipping.
2. Group your pieces with larger items in back, smallest in the front. This rule of thumb always works.
3. Overlap the frames to create depth and interest, but don't cover up any of the image. You shouldn't detract from the artwork by covering up a part of it.
4. It helps if there is a common color present in each of your items. This will help move your eye from one piece to the next.
Work With What You Have
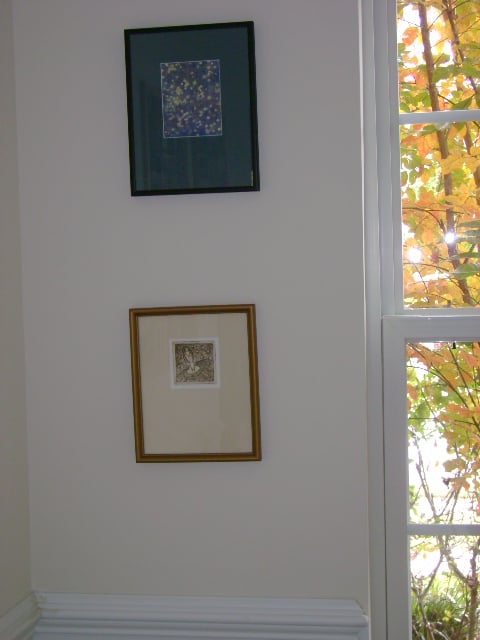
If you only have a few small pieces of art, don't spread them around your house. One small piece can seem lost on a large wall. It's best to group your smaller pieces in one area where you want to add color and interest. Next to a window (but away from the sunlight) or next to a piece of furniture is an unexpected place to create an arrangement that will attract the eye.
For ideas, you can look through your favorite design or home decorating magazines and websites. Their articles and photos are a great source of inspiration.
If you only have a few pieces of art, you may also want to make your own to add to your collection.
Easy Ideas To Create Inexpensive Art
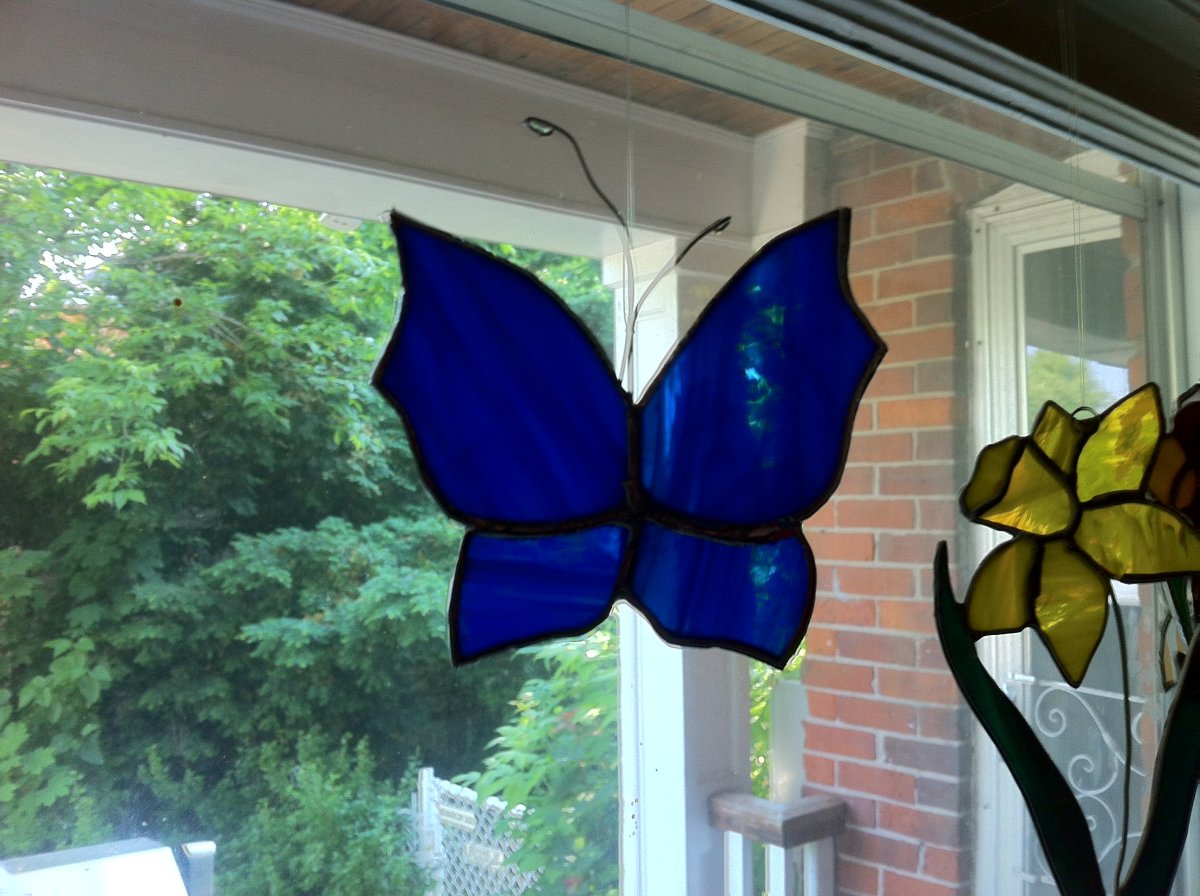
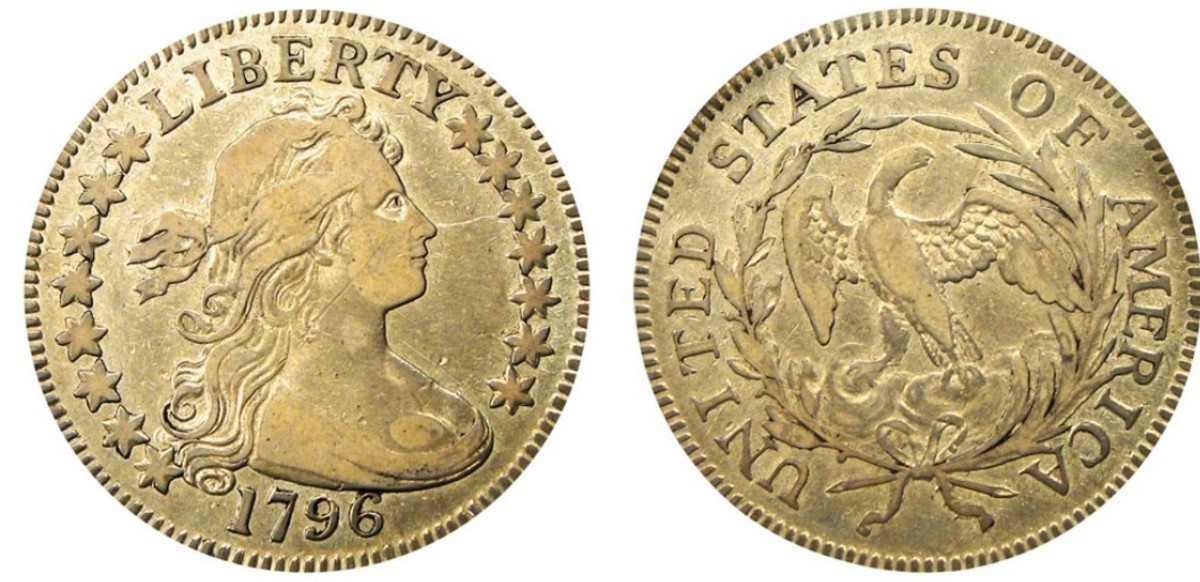
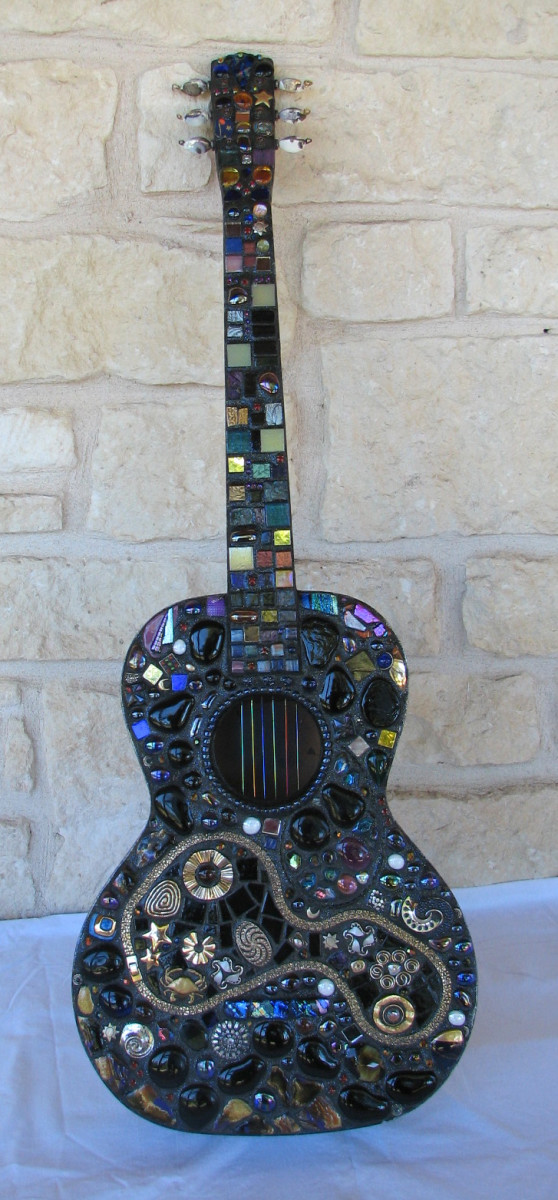
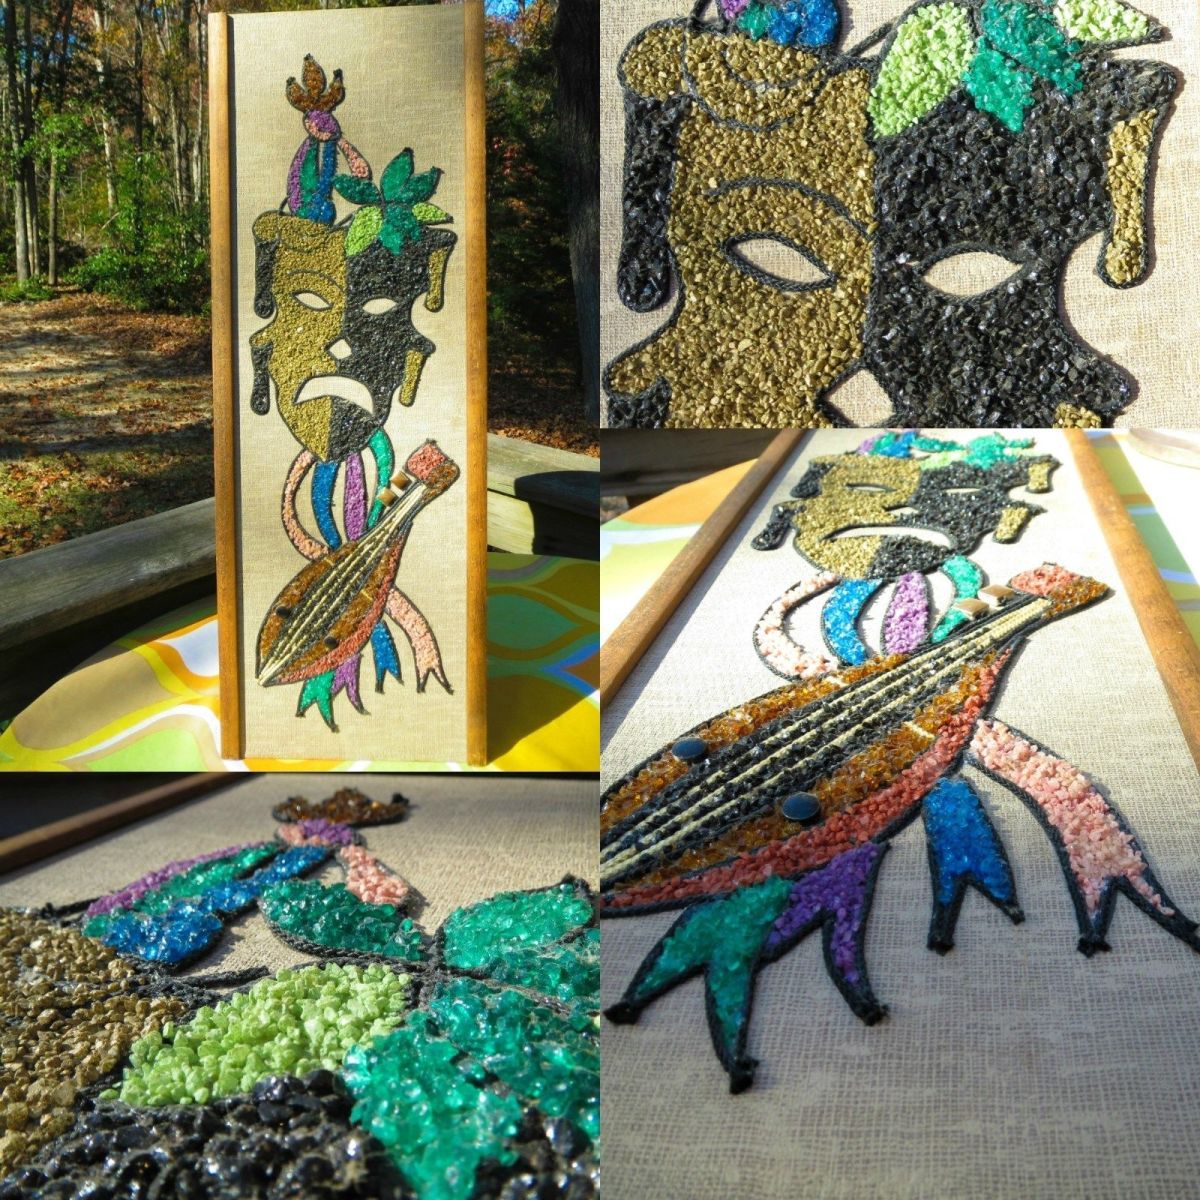
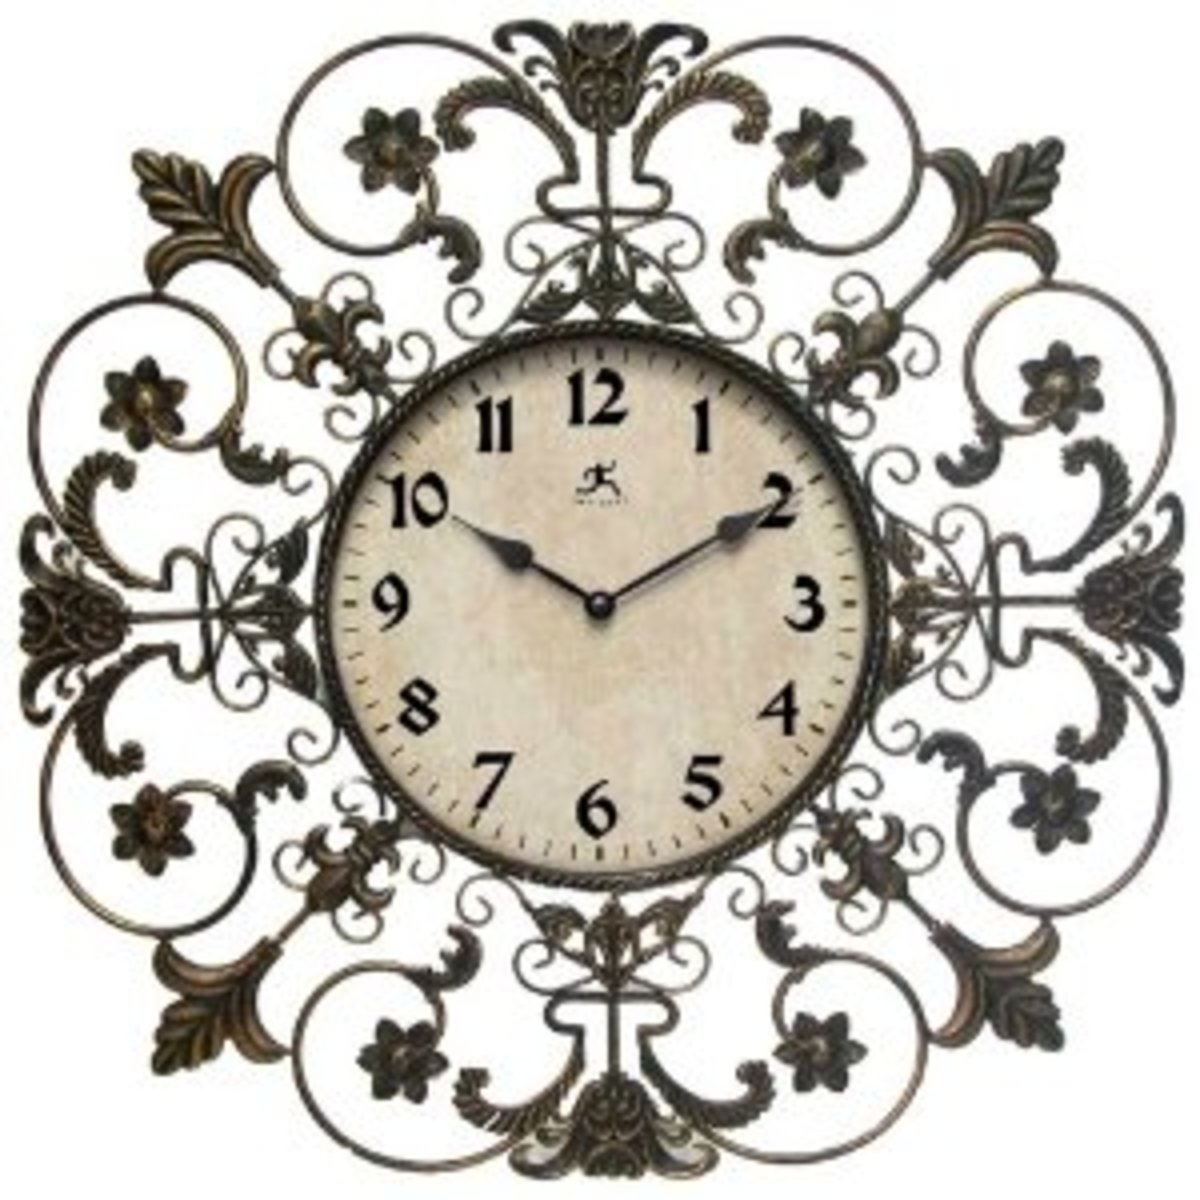
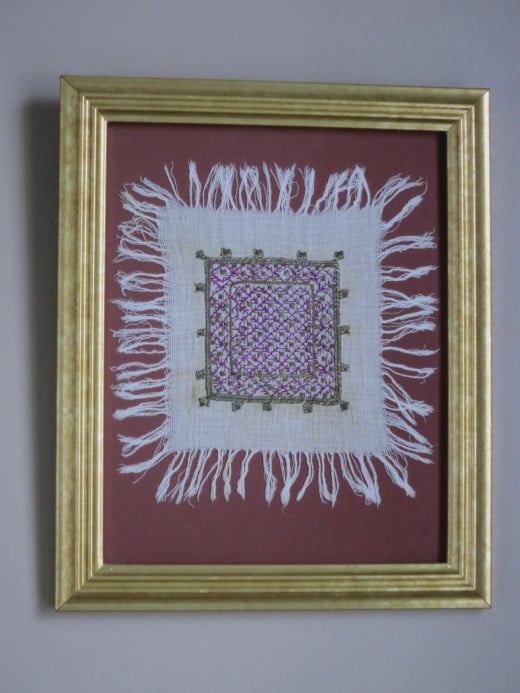
You don't have to spend a lot of money to find great art or other items to decorate your walls. Original artwork can be bought a local galleries, artist co-ops, or directly from artists on websites like etsy.com for reasonable prices. You can also create your own art or wall décor from things you probably already own. Decorative mirrors, beautiful plates, and painted tiles can all be hung for display. Greeting cards, personal photos, posters and pictures from magazines can all be framed to make instant art. Colorful fabric, wrapping or decorative paper and needle or lacework can also be framed or mounted to add interest or personality to a room. Any collection that can be framed or hung (stamps, coins, masks, postcards) is a great place to start to make your own wall art. Simple rule: if you like (better yet, love it) than it deserves to be displayed on your wall!
Frames Need Not Be Expensive
I don't believe (or have the money for) expensive frames. Great frames can be found for just a few dollars at thrift stores, discount stores, home improvement stores and dollar stores. Any frame looks better with something beautiful or interesting inside it. Here are some ideas for upcycling cheap frames:
1. Make sure whatever you put in your frame is straight in the frame. Doing a professional job of mounting your artwork in the frame will certainly make it look its best.
2. If you don't like the look of your frame, think about painting it or decoupaging it with decorative paper or wrapping paper. When I find the right sized frame at the right price, I don't let the color stop me from buying the frame. Any frame can be changed with a little paint or creativity.
3. Using a mat or colored backing board adds instant class. Mats or decorative backing always add another layer of interest to your artwork and make it look more professional and expensive. Even a magazine picture in a cheap frame will look great if you include a well-cut and coordinating mat.
I hope these tips and ideas take some of the fear out of hanging artwork in your home. I think you will find that adding art to your living space will make it feel truly like your home.
Looking for more decorating and craft ideas?
Check out my other tutorials and articles:
How to Make a Scrap Fabric Welcome Wreath
Garden-Inspired Wreath with Bird House and Flowers
How to Make a Folded Ribbon Door Wreath
Creative Bulletin Board or Jewelry Display Made from Garden Fence
How to Make an Interesting Photo Collage
Hording Stuff: A Creative Crafter's Best Tool
DIY Craft Project: Fall into the Holidays Wreath
Christmas Wall Hanging Using Vintage or Costume Jewelry
Creative Bulletin Board or Jewelry Display Made from Garden Fence
How to Decorate for the Holidays with Basic Frames
Easy Christmas Tree Ornaments Made with Oven Bake Clay
How to Make Christmas Ornaments from Recycled Greeting Cards
A Newbie's Guide to Needle Felting a Reindeer Christmas Ornament
Needle Felted Tree for Christmas or Everyday Decoration
Copyright © 2013 by Donna Herron. All rights reserved.

