How to Make a Storage Chest or Toy Box

Need Some More Storage?
What mother is not looking for more places to hide the endless mountain of toys slowly inhabiting her entire home? I can't name any. A toy box would be the perfect solution. However, you don't want to spend hundreds of dollars on a wooden chest, and you would like it to match the décor in your home. Why not try making one yourself? I did, and by no means do I have any real carpentry experience, and I am happy with the results. I needed to make some extra storage for toys, because I am turning our playroom into an office. I looked at already made storage chests, and they were too expensive. I also looked at toy boxes, and they would look nice in my child's bedroom, but they would probably look tacky in my living room. So I decided I was going to try to make my own and have it match the décor in my home, which is great, but I also wanted it to serve as a bench for extra seating as well. I will guide you through the process, and trust me, anyone can do it.
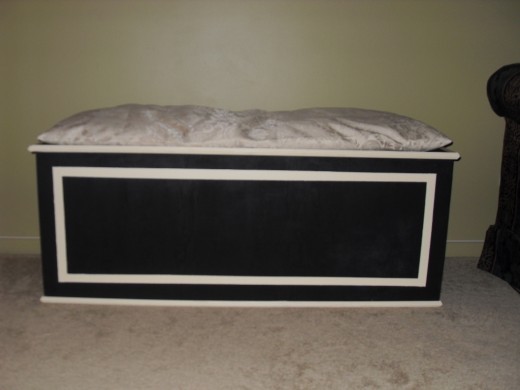
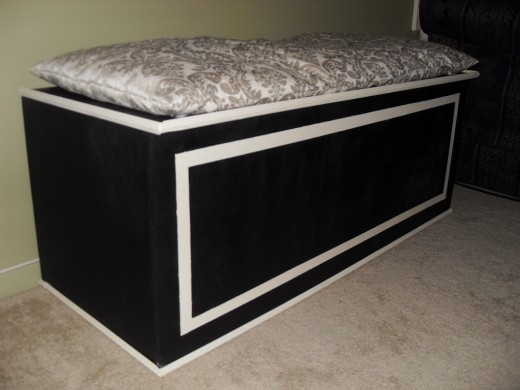
My Finished Chest
Materials Needed
Go to the hardware store and pick up the following.
-One ½ inch thick, 4' x 8' sheet of wood, I picked a douglas fir.
- Two ½ inch thick, 8' lengths of decorative trim, anything you like.
- Wood glue, 1 inch finishing nails, and 2 hinges with ½" screws.
*NOTE* If you are building a toy box, you may want to get the special hinges that keep little fingers from getting slammed when the lid drops down.
I had my sheet cut at the hardware store so I didn't have to to that work at home, here are the dimensions I used, feel free to build whatever size chest you like.
Have two 18" x 48" panels cut, these will be the front and back of the chest. Have a 19" x 48" piece cut, this will be the bottom, and have a 20" x 48" piece for the lid, the extra inch serves as a little lip at the front to lift the lid. Also you need two 18" x 18" panels cut for each side of the chest.
Tools Needed, and How to Assemble
You will need a hammer and a saw to assemble your chest.
Start by taking one of the 18" x 18" panels, and either the front or back of the box (18" x 48" panel). Apply wood glue to one edge of the 18" x 18" panel, and using about 8-10 finishing nails, hammer the front or back panel to the glued edge of the 18" x 18" panel. Repeat on the opposite side, then do the same to the other end of the chest using the second 18" x 18" panel.
Next, add wood glue along the entire bottom edge of the chest, then hammer the bottom panel (19" x 48") to it using as many finishing nails as you think necessary, I spaced mine about 2" apart.
Finally, you get to attach the lid. Attach the hinges to the back of the chest approximately 7" in from either end, then screw the hinges to the lid panel (20" x 48").
Now for the decorative trim, you will need to saw (2) 20" lengths, (2) 19" lengths, and (2) 48" lengths. Where the trim meets at the corners, you will need to cut at a 45° angle. See the images above for a little guidance. Apply trim to edges of chest with finishing nails and glue. I chose to use some crack filler on the corners of the trim, and then sanded them down because I didn't want sharp corners, but this is an option.
Now the fun part! You can paint and decorate your chest however you like. I used a can of spray paint, and a little white paint to decorate mine. I also know how to sew, so I made a seat pillow for the top. I hope this hub is a good guideline for making your own storage chest, and have fun with it.


