How to Replace Cracked or Broken Floor Tiles

Why Tiles Crack and Break
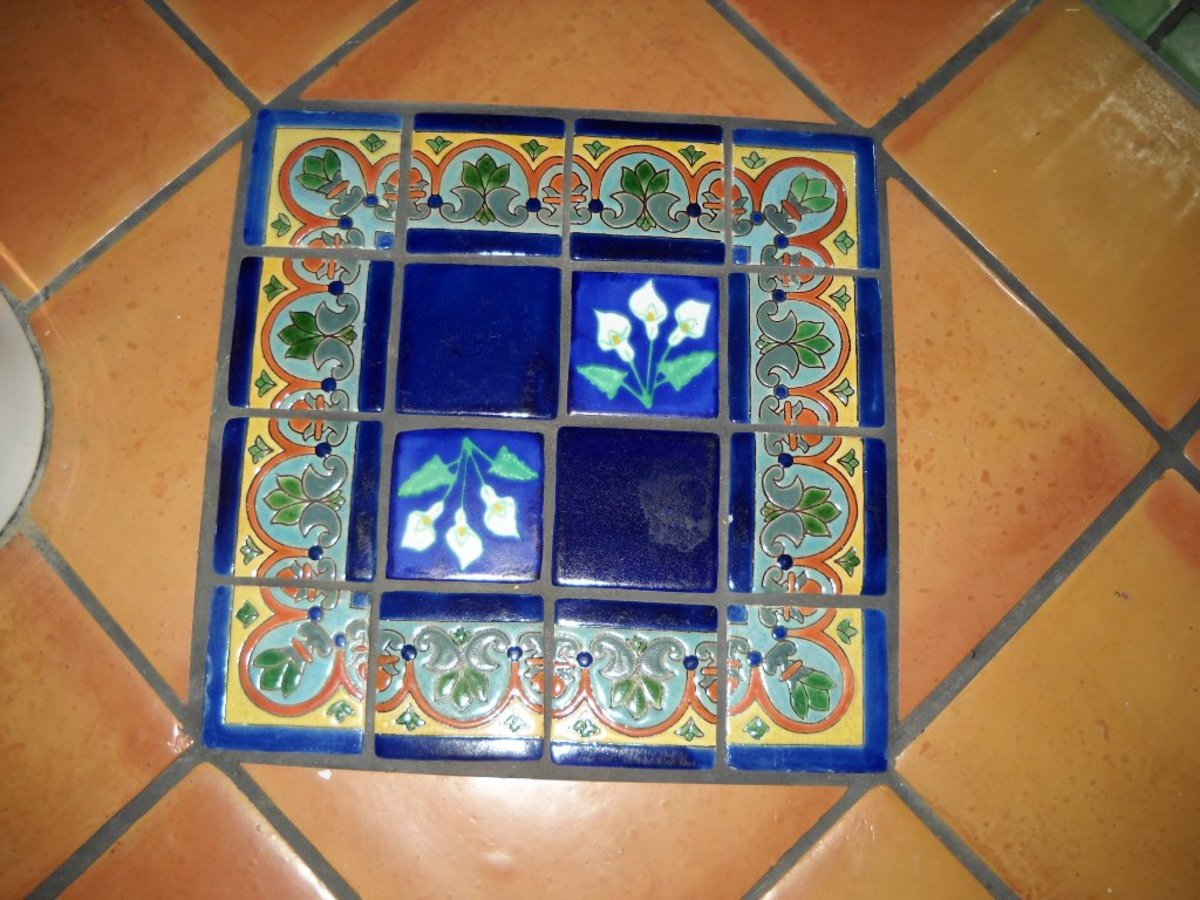
Tile floors can be beautiful, care-free and long lasting. There is huge variety of tile sizes and designs to choose from, so you can select floor tile that can suit almost any décor. Because it is easy to keep clean, and does not hold on to dirt and dust, tile floors are a boon to those that have trouble with dust, or who have asthma.
Tile rarely scratches or breaks if laid on the right foundation. However, even a little movement in the sub-flooring can cause problems. Because the grout is stronger than the tiles, the tiles will crack first if there is movement or stress. If you're considering tile flooring, then it is a smart move to keep several extra tiles stashed away -- just in case!
Step One: Remove the Broken Tile
How do you go about replacing a cracked, chipped or broken tile?
The first step, once you have checked to see if you've kept replacement tiles stored away, is to remove the damaged tile.
Start by carefully removing the grout surrounding the tile. Why start here? Grout is stronger than the tile, so if you try removing the tile first, you will likely crack the adjoining tiles as well.
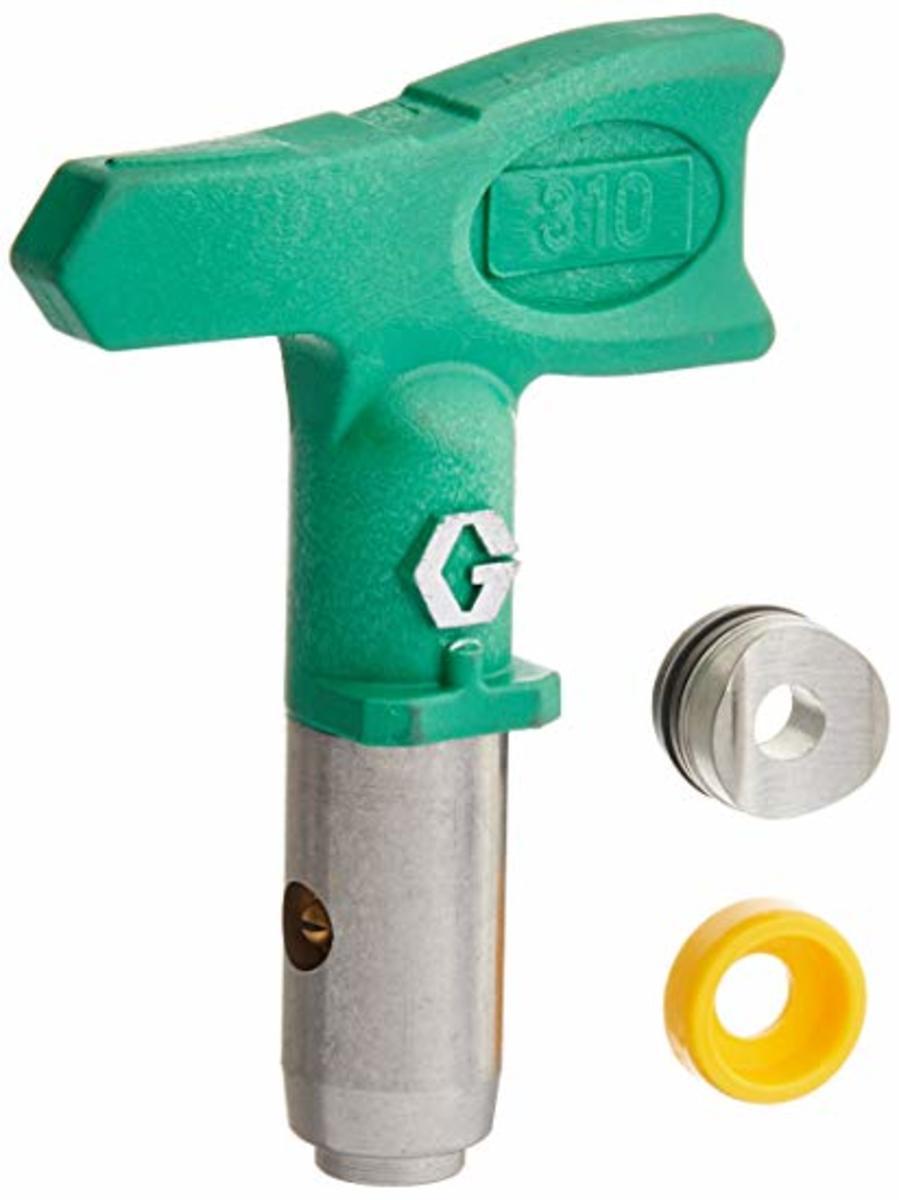
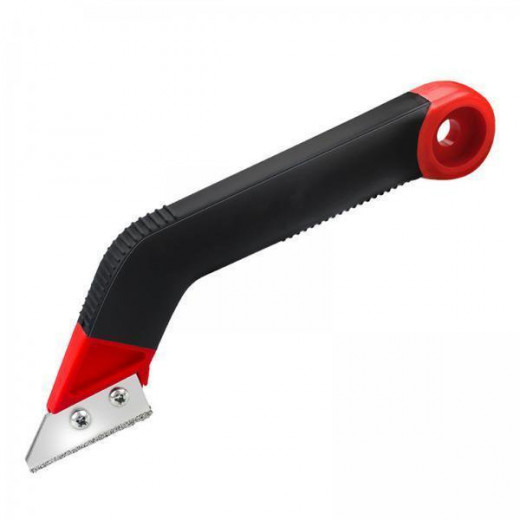
I have found that a laminate knife with a carbide tip is the best tool to use for grout removing. Its hard tip doesn't wear out, and you can clear away the grout from between the tiles quite quickly. Once all the grout has been removed, carefully pry away the offending tile. It will come out in pieces that can have sharp edges, so wear a pair of leather gloves for this part.
Once the tile bits are all removed, the next step is to clean away all the original cement or thin-set that held the tile in place. An old chisel works quite well for this, but again, be careful you don't damage the adjoining tiles. If you have a lot of tiles to remove, a local tile shop may be able to loan you a tool for this.
The Best Grout Pulling Tool
Help From the Experts
- How to Replace a Cracked Floor Tile | Ask This Old House - YouTube
Ask This Old House general contractor Tom Silva demonstrates the correct way to replace a cracked kitchen floor tile. SUBSCRIBE to This Old House: http://bit... - How to Repair Broken Floor Tile with Ron Hazelton; DIY Ideas & Projects
Learn how to replace loose or broken ceramic floor tiles from an expert.
Step Two: Replacing the Tile
Once the tile, grout and old cement are removed and you're down to clean sub-flooring, it's time to get ready to replace the tile. Hopefully you have a record of the grout color. but if you don't, take a sample to your tile shop and compare it to the available colors.
When you have the replacement tile, the grout, and thin-set mortar, you are ready to work.
First of all, clean the area by vacuuming up any loose bits. Mix the cement or thin-set as directed and apply it to the floor with a notched trowel. Flooring trowels should have a 1/4 or 3/8 inch notch.
Lay the new tile in place, taking care to align it with the surrounding tiles. Tap it in place with a rubber mallet (or something similar), and make sure it's the same level as the ones around it. Always use a level for this.
Alternatively, if your tiles are small, apply the thin-set to the back of a new tile. Carefully lay in place, ensuring the spacing around it is even with the surrounding tiles. Gently tap it in place.
Clean any cement from the space around it so there is sufficient room for the grout. Allow the cement to set for 24 to 48 hours.
Tips to Lay Tile Successfully
Step Three: Finishing the Job
Once the cement has cured, the next step is to grout around it. Hopefully, you've been able to match the original grout perfectly. Mix up enough grout for the job as directed on the packaging. Allow it to sit for 10 to 20 minutes, and you're ready to begin.
Scoop some of it out, and using a grout float, press the grout into the spaces. Use the float on a 45-degree angle, and clear away any excess. Once the space between the tiles is filled, scrape away as much excess grout as you can, using the float.
Wait 30 minutes for the grout to settle in place. Next, using a large just-damp sponge, wash away as much of the grout from the tile faces as possible, taking care not to disturb the grout between the tiles. Remember - it has not set yet.
Once the grout has hardened somewhat, polish the tile with a soft cloth. Allow it to harden over the next 36 hours, before thoroughly washing down the area.
This content is accurate and true to the best of the author’s knowledge and is not meant to substitute for formal and individualized advice from a qualified professional.
© 2011 Nicolette Goff


