How to Shabby Chic Furniture

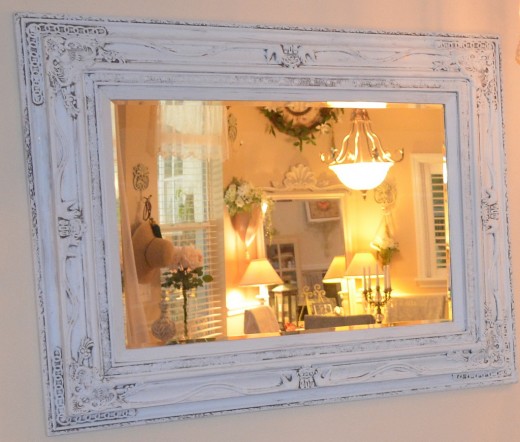
Reflections in a Shabby Chic Home
To Start a Shabby Chic Furniture Project
The great thing about shabby chic is that there is not a particular style of furniture or an exact color of finish needed to begin a project. You may use white or cream colored paint or even opt for a soft pastel like pink, sea foam green or baby blue. You can turn almost any piece of furniture or accessory into a shabby chic item for your home or as a gift for someone else. Some of the best pieces of shabby chic furniture come from garage sales, auctions, second hand stores, flea markets and salvage yards.
I think the popularity of shabby chic comes from the fact that it does not have to be expensive. You can find an old worn dresser at a flea market and with a little paint, elbow grease and new or vintage handles added, create a charming shabby chic decorator piece that looks like it cost a small fortune.
After finding a piece of furniture that you wish to shabby chic, check it for damage. Fill in any chips with wood filler. Follow the instructions carefully. Allow the wood filler to dry then move on to the next step of sanding your piece.
One of the myths about shabby chic furniture distressing is that you will spend a lot of time stripping of old paint or an old finish before you can distress a furniture item. This is not true. A bit of sanding with sand paper before painting is all it takes to shabby chic an item. Sand your furniture well in order to roughen the surface so that it will hold the paint that you will apply in the future. Use 120 grit sand paper. The old paint does not have to be removed because it will add to the overall look and feel of under paint and worn edges that you are striving to achieve with this look.
After sanding a piece it is necessary to wash it down in order to remove the dust and particles from the sanding process. If you do not wash the piece before painting, the paint won't adhere as well and the piece will not have a professional look to it. Wash your sanded piece of furniture with sugar soap which can be purchased at a home repair shop. It is a commercial cleaning product that mixes with water from your local home building store. You do not want a wash product that contains oil at this point since the paint may resist sticking to the furniture if it is coated with oil.
Watch this instructional video by Simon Powell about shabby chic furniture and doing it yourself. This is a 5 part series and Mr. Powell covers the instructions and includes necessary materials needed to shabby chic a piece of furniture.
How to Shabby Chic Furniture - Part 1 - with Simon Powell
The Next Steps
After you have sanded and washed your shabby chic piece and given it ample time to dry, you may begin the painting process. Again refer to Simon Powell's videos for the painting process. To sum it up; begin painting the back sides of a furniture piece so that you do not smudge the paint while working. Painting from the back to the front will help you avoid errors and painting with the grain will help to keep the look professional.
Once you finish the first coat of paint you must allow it to dry. If you are using oil paint the drying time will be a lot longer than that of a water based paint. Once the piece is dry apply the second coat. Follow the same process as above by painting from the back to the front and painting in the direction of the grain. Give the second coat time to dry and lightly sand it with fine sand paper to smooth out bumps and to remove paint from the furniture from areas that would receive wear and tear over time.
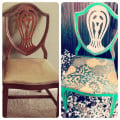
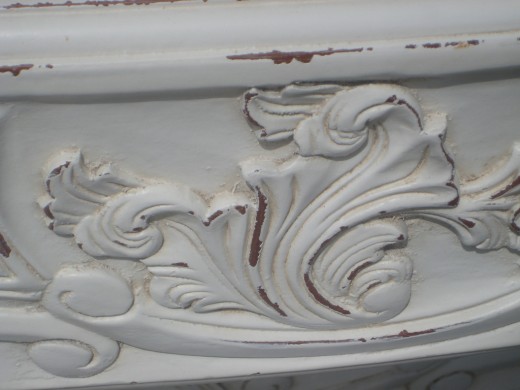
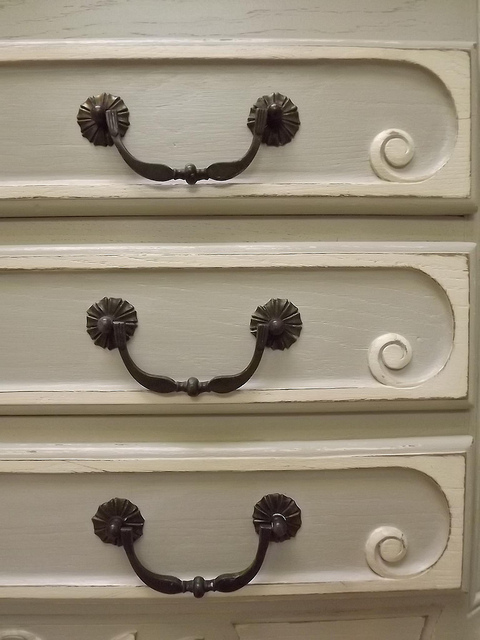
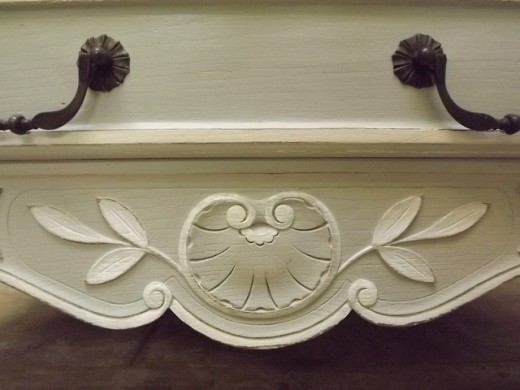
The look you are trying to achieve is one of wear and use. The parts of a dresser that would wear first would be areas around the drawer pulls or on corners, for example. On a chair the legs and detail areas would get worn first. You are pulling off paint in these areas to expose the under paint or finish of the furniture piece. That is what gives shabby chic its appeal. The furniture looks worn and well used or loved.
The next step after exposing parts and creating wear on your shabby chic item is to apply wax. Use a commercial furniture wax not the spray on stuff. Apply in small areas and let dry for a small amount of time and then buff it. If you allow the wax to dry too long, you will have a very hard time buffing the wax. Move on to the next section of the piece that needs to be waxed. Apply wax, let dry a bit and buff. Complete this process until the entire shabby chic piece if covered and waxed well. If you need more detailed instruction watch the rest of Simon Powell's videos found on You Tube about a shabby chic dresser. The waxing part is covered well in the last video in the series of five.
Now you are ready to display your item in your home. If you would like to add roses to your shabby chic piece of furniture, I have included a video by Kathryn Bangs at the bottom of this hub.
How to Shabby Chic a Dresser - Part Two - Simon Powell
What Else Can You Shabby Chic?
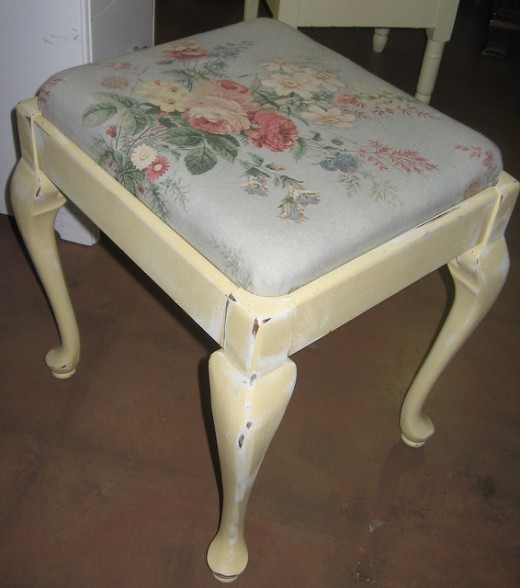
Just about anything can be shabby chic. Old lamps just paint white and add some silk roses to the base. An old chandelier (Check out Shabby Chic Chandeliers), a bird house or doll house, a vintage mannequin, an old chair, foot stool, head board, coat rack, book case, or end table. The options are unlimited.
Because you do not have to use the same color when creating a shabby chic piece of furniture, you can take advantage of paint sales and buy up the discontinued pale pastel colors and off whites or whites that are so common in this decorating style.
Chenille bed throws and pillows add to the shabby chic look as well as tea roses and vintage linens. Victorian dolls and old toys are charming and tea cups and saucers add flair, too.
It was Rachel Ashwell who coined the shabby chic look. She uses crisp cotton linens, old throw pillows, refurbished farm furniture and worn mirrors to complete the look. The look is simple yet fun and easy to achieve. Have fun creating a shabby chic furniture piece and pulling your room together with the fun elements that make shabby chic so eclectic.
How to Paint Shabby Chic Roses by Kathryn Bangs
- Pretty Miss Vintage - A Plethora of Collectibles
If it is vintage and collectible you will want to know about it. Vintage items are reviewed, discussed, defined, and displayed just for you! Vintage is hot. You won't miss a vintage beat with Pretty Miss Vintage.
© 2014 Corey