How to Store Seeds
Saving Seeds for Next Year's Garden
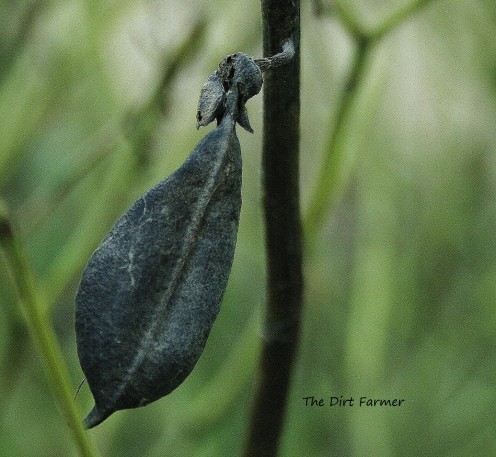
Hyacinth bean vines—wild tangles of dark green leaves, dangling purple flowers and aubergine pods. My grandmother grew them by her back stoop every year.
Recently, Mom passed along a bag of dried hyacinth bean pods from Grandma's plant to me. Next year, I intend to grow them by our back door.
A sentimental reason to save seeds?
Definitely.
BEFORE YOU STORE ...
Make sure seeds are dry.
Moisture decreases the viability of seed, making it less likely to germinate.
Remove chaff & other debris.
Not only does dirt and chaff hold moisture, but it may also harbor disease & insects. Besides, it's not seed, so ... why save it?
Label the container, including the plant's name as well as the date seed was collected.
Most seed only keeps for about a year. After that, germination rates dramatically decline.
Reasons to Save Seed
Like collecting seashells, picking up small stones and pressing flowers, seed collecting can be a way to remember a fun vacation, honor the past and commemorate important events.
But sentiment and tradition aren't the only good reasons to collect seed.
Saving seeds that you collect is also a great way to learn more about gardening. And it's a self-sufficent method for preserving heirloom fruits, vegetables and flowers; easily growing your favorite annuals, biennials and even some perennial plants; expanding your garden at no cost; and enlarging the gardens of your family and friends.
What You'll Need for Saving Seed
Once you harvest it, seed is fairly simple to store. In fact, in most cases, you can complete the seed storage process using ordinary objects in your home, such as
- empty food jars or tubs (for seed from fleshy vegetables);
- paper towels, paper plates or newspaper for drying seeds;
- kitchen strainers, window screens & tweezers for eliminating chaff from seeds; &
- paper bags, glass jars, empty spice containers, envelopes & other repurposed sealable containers for housing seeds until planting time.
Although I've enjoyed gardening for many years, I've only begun to collect seed seriously during the last 10. In that time, I've found that certain materials and seed-saving methods work best for me. I have outlined them below in the hope that some of them—or your own unique version of them—will work well for you, too.
COLLECTING, DRYING, CLEANING & STORING SEEDS
COLLECTING FLOWER SEED
When to Collect Flower Seed
When the growing season comes to an end, it's seed-collecting time. Choose a clear, dry day after the dew has evaporated. If the seed heads are waterlogged by rain or damp with dew, they'll be that much harder to dry out before storing.
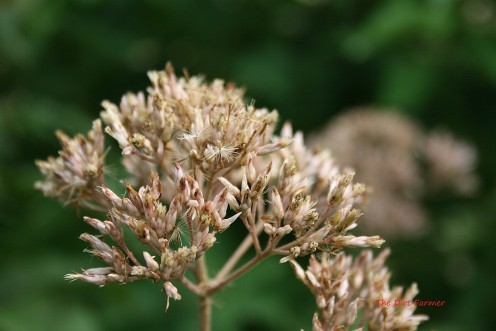
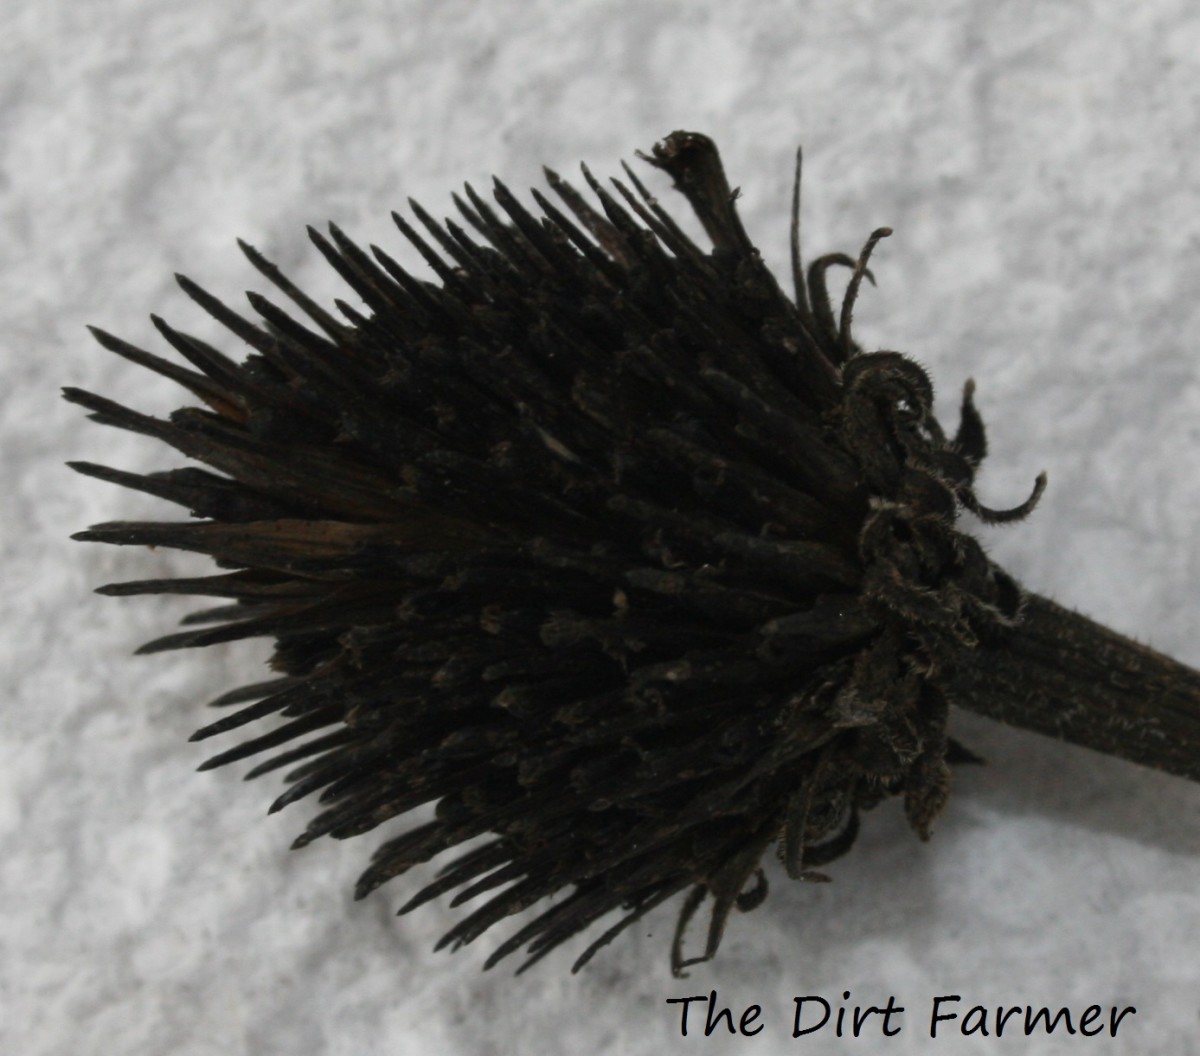
Collect seeds from annual or biennial flowers at the end of their growing season. If collecting seeds from perennial flowers, such as purple coneflower, do selective deadheading, allowing the prettiest flowers to go to seed. Letting all of them go to seed at once will reduce the plant's vigor, causing it to stop blooming earlier than you'd probably like.
COLLECTING SEEDS
Paper Bags
For me, paper bags are the best first stop for seed that I collect from flowers and vining plants that produce pods.
Paper bags are inexpensive, easy to use, easy to carry and, in the case of legumes, they are good containers for long-term storage as well.
Paper Bags for Short-Term Storage
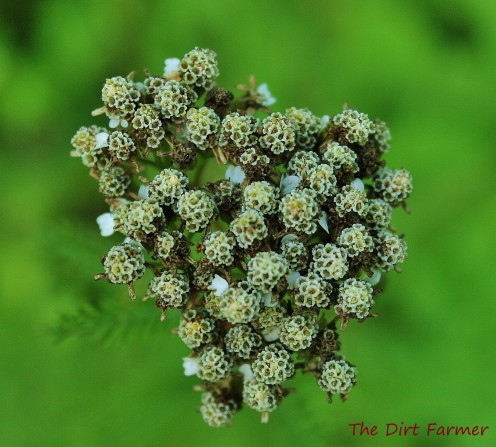
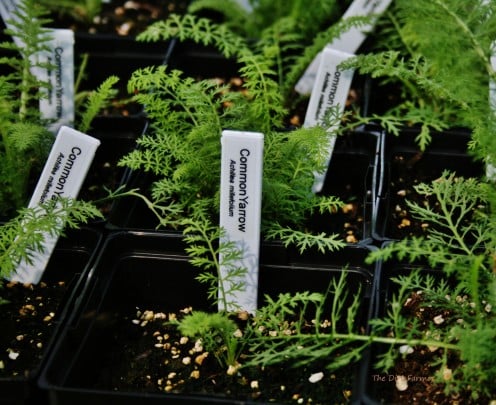
Paper bags are super easy containers to use when gathering very small seeds in the garden or during a nature walk. Rather than awkwardly negotiating lots of tiny seeds from a large dill flower or common yarrow head into an envelope, how much easier it is simply to stick the entire mess into a paper bag and break it off—or just give it a good shake!
Paper bags are also roomier than envelopes, which are often too small to hold large seed pods, such as milkweed and butterfly weed pods. And when collecting seed on the go, I've found that paper bags are less likely to leak.
COLLECTING VEGETABLE SEED
When to Collect Vegetable Seed
As with flowers, wait until the end of the growing season to collect the best overly ripe heirloom vegetables from your garden. With the exception of winter squash, pumpkins and melons, don't select fruit that is ripe for the table. Pick produce that's too ripe to use. It will contain mature seed, and the seed will easily separate from the flesh.
When collecting seed from legumes, allow pods dry on the vine. When they're ready to pluck, they'll rattle when you shake them. To prevent birds and other animals from getting seed before you do, try covering the podded section with a paper bag tied off with string. Or, easier still, pull up the entire plant when the pods are nearly dry and insert all of it, upside down, into a large paper bag. As the pods continue to dry, they'll expel their seeds into the bottom of the bag.
I prefer paper bags that are about 5 x 3 x 10 inches in size, the kind used for brown-bag lunches. They have flat bottoms, so they stand up on their own. And I can write the names of the plants and the date on them with either a pen or a pencil.
Once I've finished collecting seed for the day, I bring the bags of seeds indoors. Usually, I leave them for a few days before prepping them for storage.
Some seed collectors prefer larger or smaller paper bags. Others use plastic bags or envelopes as containers when initially collecting seeds.
Experiment to see what works best for you. And if you come up with a really handy seed-gathering trick, be sure to share it with others. As one who's had paper bags skitter across the lawn in a high wind, I'm always looking for a newer, better method.
PREPARING SEED FOR STORAGE
Prepping Seeds for Storage
DRYING & CLEANING SEED
Before storing the seed that you harvested for next year's garden, you'll have to dry it and clean it. Doing so will increase its viability.
Although the drying and cleaning process takes a bit of time and a little bit of room, it doesn't require any special equipment.
Drying Seed
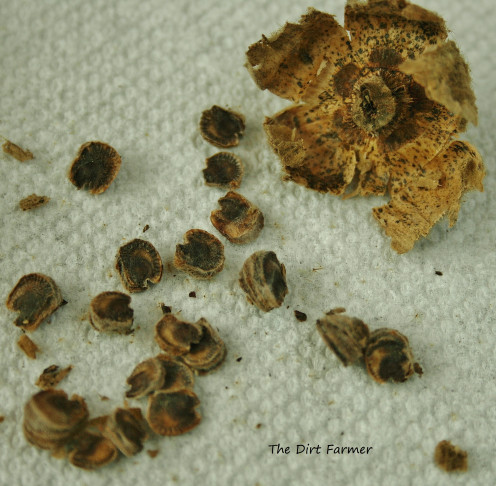
Seed may look completely dry when you collect it, but it isn't. Sometimes, once you break apart the seed heads and begin to separate the seed, you can feel the moisture that's still in them.
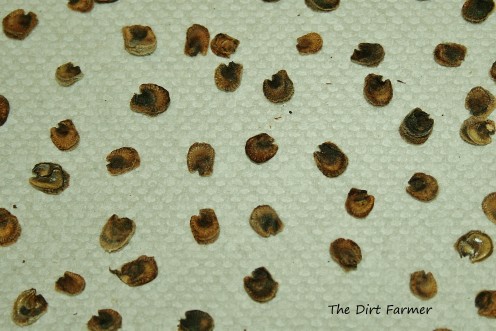
To get rid of that moisture, spread seed on newspaper, paper towels, paper plates, parchment paper, wax paper or old window screens to dry.
Although I used to use newspaper, these days I use paper towels almost exclusively. I always have it on hand. And against the white background of a paper towel, I can easily see large bits of chaff and remove it, either with my fingers or with tweezers.
Depending upon the size of the seed, it takes anywhere from a week to several weeks to dry it sufficiently before placing it in storage containers.
Drying Seed from Fleshy Fruits
Drying seeds from fleshy fruits like melons and squash is a slightly longer process.
First, scoop or squeeze out the seeds and place them, pulpy goo and all, in a bowl of lukewarm water. Let the mixture sit at room temperature for several days, stirring occasionally. Eventually, the "good" seed will sink to the bottom while the inviable seed and goo will float to the top. Pour that off, reserving the good seeds. Then set them out to dry.
Taking Seed from Tomatoes

CLEANING SEED
Removing Chaff
Winnowing, the process by which chaff is removed from seed, can be performed in a variety of ways.
Winnowing Large Seeds
For large seeds, some seed savers pour seed that they've collected from one container into another again and again, blowing on it as they do so or letting the breeze carry away the chaff, which weighs much less than seed.
I've made the mistake of winnowing in this manner with small seeds—and ended up with plants in the oddest locations (like giant dill growing in a downspout).
When setting large seed out to dry, chaff can also easily be removed with your fingers or tweezers.
Winnowing Small Seeds
A kitchen seive or an old window screen are both good tools for winnowing small seeds. Never having had a window screen to spare, I've always used a small metal kitchen strainer with a handle.
Simply place the dried seed in the strainer and shake it back and forth over a paper plate or paper towel. The seed will fall through the seive, leaving the chaff behind.
STORING SEEDS LONG TERM
If you clean and dry seed well, and store it someplace cool and dry, most will keep for at least a year.
The refrigerator is the ideal place to store seed, so long as it's consistently cool. If the seed is thoroughly dry, it will last even longer in the freezer.
Glass Jars, Envelopes & Other Repurposed Containers
Sealable containers that keep pests out but still allow the exchange of gases are ideal for seed storage.
I prefer herb jars and other small containers for storing seeds in the side door of the refrigerator. I also like to store envelopes of seed in large Mason jars and place them in the back of the refrigerator, out of the way until needed.
Once you've selected your containers and marked them, noting the plant name and the date, place them somewhere cool and dry. Again, the refrigerator is ideal.
About the Author
The Dirt Farmer has been an active gardener for over 30 years.
She first began gardening as a child alongside her grandfather on her parents' farm. Together, they would plant acres of vegetables, setting tomato, eggplant and bell pepper plants; sowing row after row of beans, corn and squash; and building up mounds of soil for pumpkin, cantaloupe and potatoes.
Today, The Dirt Farmer gardens at home, volunteers at community gardens and continues to learn about gardening through the MD Master Gardener program.
