How to build a small indoor greenhouse
Small Indoor Greenhouse
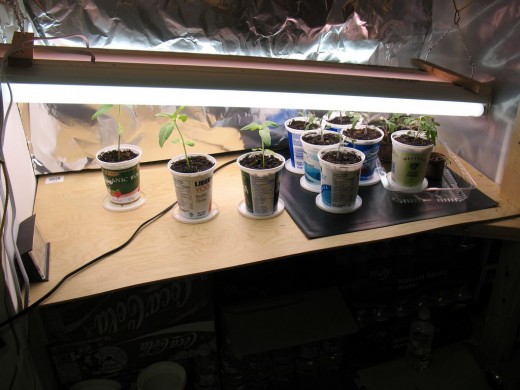
My garden outside does not get a lot of sun, perhaps only 4 hours or so of full sunlight per day, so I need to get as much of a head start in the growing season as possible if I am to have any success. I do not have a lot of room in my house for a big green house setup, so what I did was build a shelf that would contain it. Mind you, any shelving unit would do the trick - we'll be turning one shelf into a mini green house.
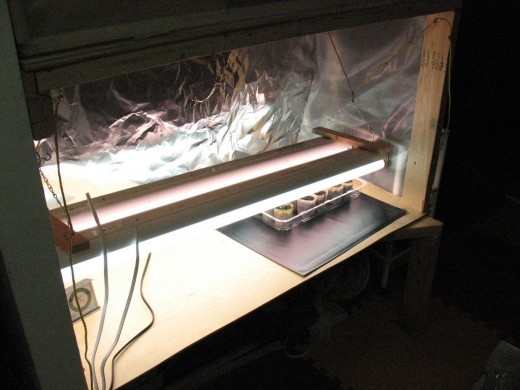
Enclosing the Greenhouse
As you can see, the shelves that were used for my greenhouse were built in to the wall, but any freestanding shelving unit could work too. In my case I put some aluminum foil on the back side to reflect light back towards the plants. The front and right side are covered with some plastic sheet while the left side is just the wall. In a free standing shelving unit, some cardbard with aluminum foil attached to it could be fixed to the left, back and right sides to act as the enclosure.
Heat pad or not?
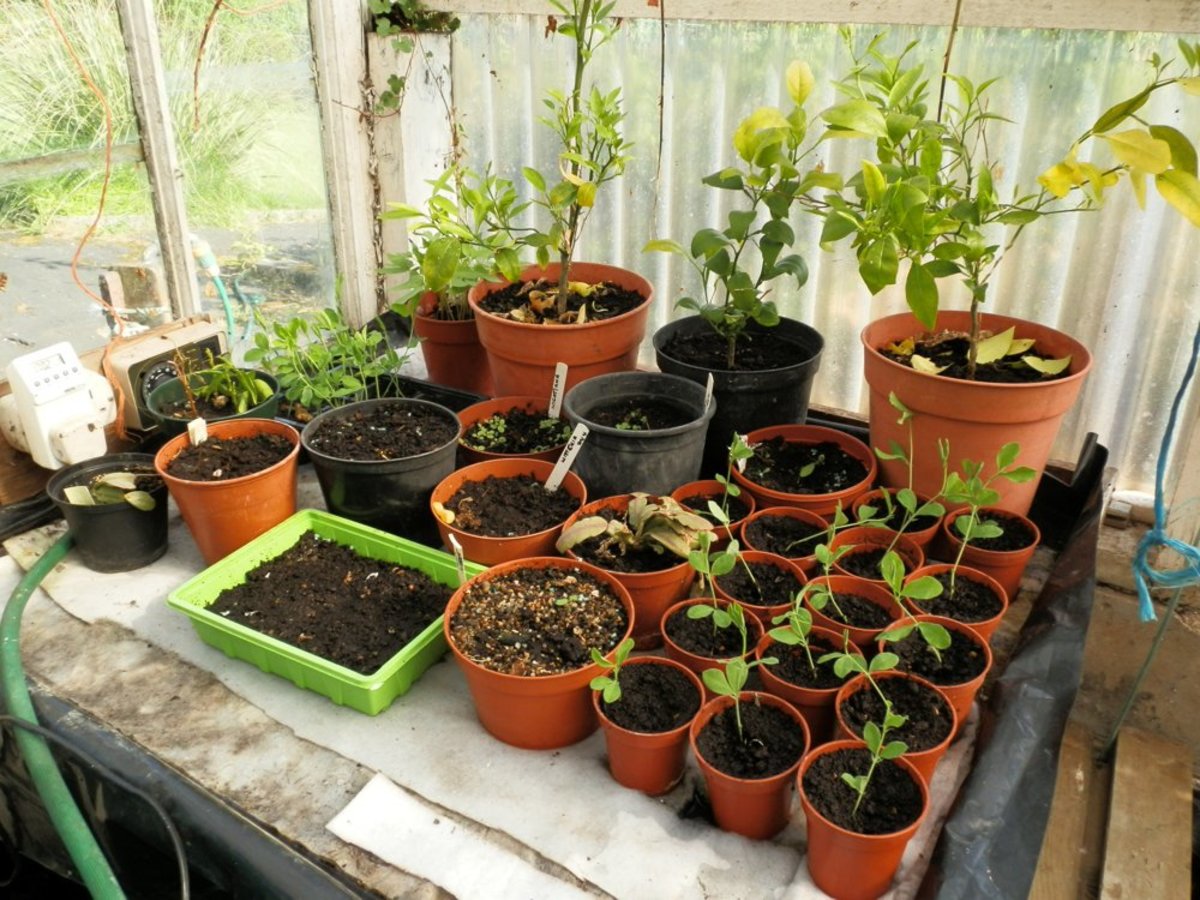
My mini-green house is in my basement where it drops down to 16C (60F) in the winter. Since I am starting some of my seedlings as early as March or early April, I needed to provide some supplementary heating so I purchased the heat pad you see in the photo. If you build your mini-green house on a main floor, or in an area where it is always a comfortably warm temperature, a heat pad would not be necessary.
Access Door
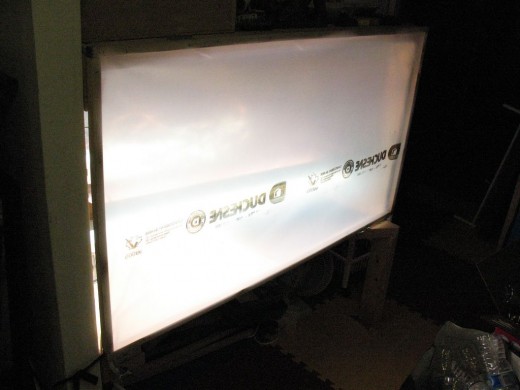
In my case I had the wood handy to build a frame and use hinges to mount the door to the top part of the shelf. In a free standing shelving unit there are any number of possibilities - use velcro to affix a cardboard panel, use plastic ties as a loose hinge or use hooks affixed to the upper shelf from which your access door is hung. It is very helpful to have the panel be the full size of the opening for the shelf as this gives you really easy access to the plants inside.
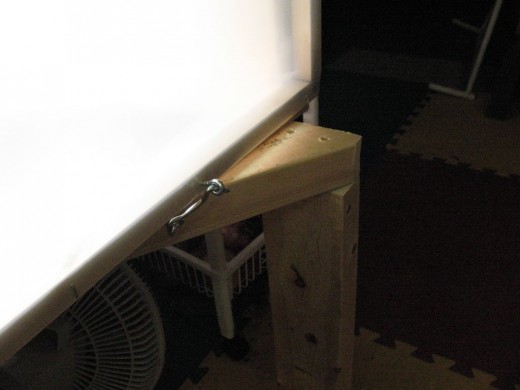
Due to a renovation job in another part of the house I had some vapour barrier plastic left over that I used to cover the door on both sides, and to envelope the right side of the greenhouse. I did as good a job as I could to seal up the greenhouse so that any humidity and heat stay inside. The lock you see in the picture is to keep the door snug against the shelf, I found this necessary to improve the seal.
Hanging Lights
The lights are the only part of the project that I spent money on - I bought the two fixtures and the four bulbs. Using some scrap wood I connected to the two fixtures together and added hooks to the scrap wood. This allowed me to add the chain/link/rope combination you see in the photo. With a fixed attachment on the back side and with knots tied in the front side of the rope, the lights can be lowered and raised as needed. From reading online about this and from the experience of others I learned that the lights should be as close to but not touching the plants as possible to give them the brightest light possible. This is to do the best job of simulating the outdoors where the intensity of sunlight is so superior even to these low hanging lights.
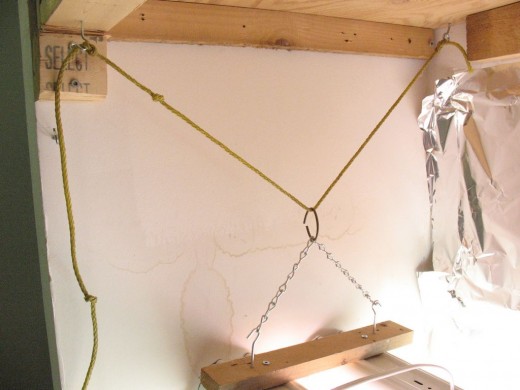
As some of the plants grow and new seedlings are added, one side of the light fixture can be raised while the other side is kept low and the plants can be arranged accordingly.
Freecycle
For any of the items you may need to build this mini green house I would recommend putting a wanted ad in your local Freecycle group. Though for this project I did not do this, I have for other projects with reasonable success.

