- HubPages»
- Home and Garden»
- Home Appliances»
- Kitchen Appliances»
- Stoves & Ranges
How to Change an Electric Range Heating Element
So it's two days before Thanksgiving and I'm preheating my electric range oven to heat up a frozen pizza when suddenly I hear a sound reminiscent of a bug light zapping a mosquito or something only it's much louder and coming from my oven. This can not be good, right?
Electric ranges have two heating elements, a bake element on the bottom and a broil element at the top. These two elements work together to maintain even heat throughout the oven. If one of the elements fails the oven will not heat evenly.
A quick visual inspection of my oven showed that the the bottom bake element was glowing red, as it should, in all but a small area in the back right. This area was now clearly damaged. When I turned the oven off and then back on the bottom element did not work at all. Thanksgiving is my favorite meal to cook and I was very disappointed that it wasn't going to be possible now. Still, it was obvious what the problem was and seemed a fairly easy project to do provided I could find the correct part.
A relatively quick internet search found the bake element I needed from a few sources. But since I am not rich I am always willing to take the time to find the best deal I can on whatever I am looking for. RepairClinic.com turned out to be the best deal. It would take about a week or so to get the part. In the meantime I researched how to change an electric range heating element. Ain't the internet great? You can learn how to do just about anything.
Once I received the new bake element I was ready to go. The first step in any job involving an electric appliance is to make sure the power to the appliance is shut off. You can accomplish this by shutting off the breaker that feeds the circuit. But an even better way is to unplug the appliance.
With the power off I was now ready to remove the damaged element. The heating element is fastened to the back wall of the oven with two screws. I was somewhat concerned that these might be difficult to get out since they appeared very rusty, but luckily they came right out. And since the new element came with new screws the old ones could be discarded. Once the screws were removed the element can be easily pulled out from the wall.
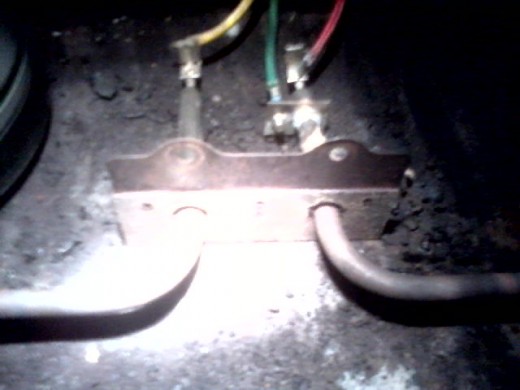
In the first photo below you can see that the old element had three wires. I was able to remove the wires from the terminals by pulling them off with a pair of pliers. You may want to tape the wires to the back wall of the oven before removing them from the element to avoid having them fall back in the hole behind the wall. The instructions that came with the new element said that the green wire was no longer needed and could simply be pushed back into the cavity behind the back wall. For my own peace of mind I placed a wire nut on the end of the green wire.
As a quick side note, with the old bake element removed this seemed a perfect time to clean the oven. This is something I don't do near often enough so I took this opportunity to give it a thorough scrubbing.
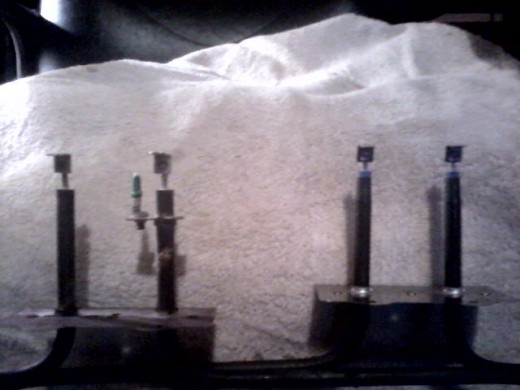
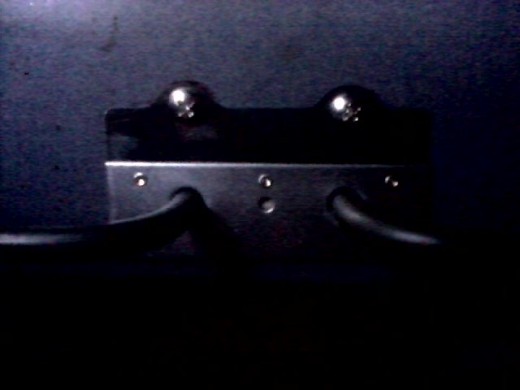
The second photo shows a comparison between the old element on the left and the new one on the right. After attaching the wires to the correct terminals I was ready to attach it to the back wall of the oven. Using the included screws I accomplished this in about two minutes. The final photo below shows the new bake element installed.
This was a quick and easy job requiring nothing more than a Philips screwdriver, a pair of pliers and about hour of time, including cleaning the oven. And it was certainly much cheaper than buying a new range! Thanksgiving dinner might have been a loss last year, but I'll be ready to do it again this year.
Job Images
