How to fix a P trap under the Tub or Shower


How to Replace Leaking P Trap under the Shower
This shower had not ever been used since they customer had moved into the house. It was bought as a Bank Repossession. When he decided to use it they found out that the shower drain was leaking. When he found the leak it was leaking thru the kitchen cabinet. We didn’t know for sure where it was located so we measured from the bathtub drain and found the exact location of where it was.
Materials and tools needed
Tape measure
Battery Drill with Philips attachment
Philips Screwdriver
Straight Screwdriver
Knife
Drywall saw
Big Pliers
Pipe Cleaner
Pipe Glue
A P Trap
2" Flex Coupling
Saws All or Hacksaw
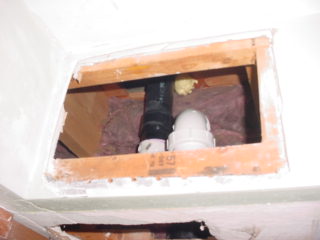
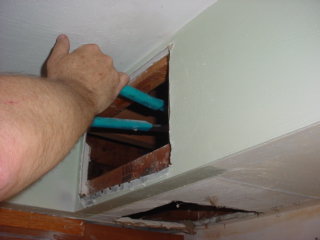
1. Find where the pipe is located. In this case it was under the Cabinet. See Photo A Remover the Cabinet and with the saw cut out a small piece of drywall large enough to see the trap. See Photo B If you see the trap then make the hole bigger so that you can get both hands up in there.
2. Run some water to determine where the broken piece is at if you can’t see it. Put a bucket under the P Trap to catch the water.
3. Because of the location of the P Trap we decided to make an opening in the front of the bulkhead to be able to access the hole better, See Photo C
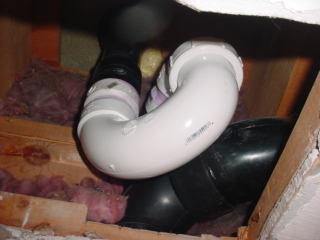
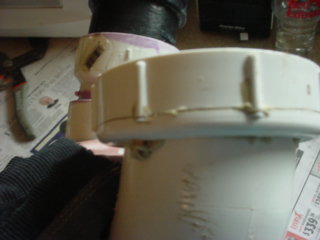
4. In this case the ring that you tighten up on the P trap was cracked. See Photo D
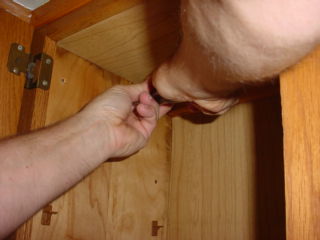
5. I then removed the ring with a large set of pliers See Photo E and reach up inside an with a Saws All cut the pipe where it went into the shower and had a nice straight piece that could be joined into later. See Photo F
6. My original plan was to buy a new P Trap and screw a new one on and re-connect it. But I found out that there are different suppliers of P traps and all the threads are different sizes.
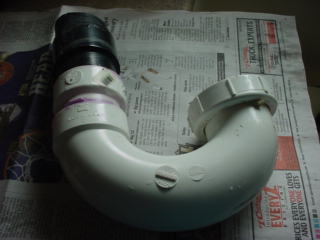
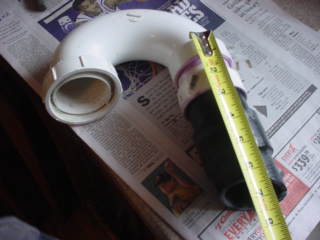
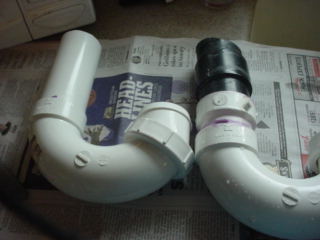
7. After sorting out the size problem, I Then measured the length on the old one and cut a piece of 2” pipe the correct length. See Photo G
8. I then used Primer where I was going to connect the 2 piece together. After the Primer dried I Glued and then checked to see it the 2 pieces were the same length.
9. I then used a Flex Fitting and attached it to the pipe and pushed it up in where it belonged.
10. Then screwed the two pieces together and then tightened up the Flex Fitting. Refer to Photo C Then tested the shower pipe for leaks.


