- HubPages»
- Home and Garden»
- Gardening»
- Landscaping
How to make a small water garden or fish pond.
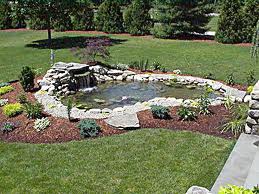
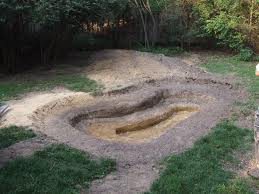
How to make a water garden or fish pond
Firstly I suggest you grab a ball of wool or some string and place it in the shape you want your water feature to be. You may need to place a few stones upon it to keep it in place. If you want this to hold fish you will want it somewhere that gets some shade in the afternoon otherwise your water will overheat and kill your fish.
Once your happy with your design grab a spade and mark out your design in a more permanent way. I would suggest marking the edges first following your string. Once this is completed take off the remaining top grass inside your design. You may need to throw this top layer away unless you need grass elsewhere as if it is put in the compost it will just spread grass seeds throughout it. You may not want that if your compost is for your flower beds.
Once you’re happy with your water feature shape it is time to dig it deeper so you can place water lilies, water plants and fish into it. You may wish to create a couple of levels so you can place some pots onto the side ledge. Then dig a deeper area in the middle for larger pots and floating water lilies. This also gives your fish safe places to get away from fishing cats. As you can tell all this water feature has cost you so far is time in labour.
Please note you also need to be aware at this point you will lose a little bit of depth in the end as you also need to place pavers or rocks around the sides of your pond to keep the polythene in place and to make the water feature look more natural. You don’t want to be left with polythene looking at you every time you go sit near your water feature. Also at this time please make sure there are no stones etc. that could put a hole in your polythene when you place it into your hole. I normally brush the area and check for anything sharp very carefully. You don’t want to have to rebuy your polythene next week due to missing a sharp edged stone that creates a hole in your polythene due to the weight of the added water when you fill your pond.
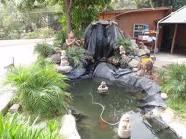
Time to spend some money on Polythene
You want to buy your polythene twice as wide and twice as long as the water feature you have created.
Why?
The reason for this is simply because the polythene needs to not only fit across your pond but down into the hole you created to make your pond. The last pond I created cost me about 64 dollars New Zealand. However I put two layers of polythene into the pond to make sure there would be no tiny holes anywhere. Most large hardware stores have rolls of polythene and this is the cheapest place to buy it.
You need to make sure there are no creases sticking up that a fish can swim into and get stuck in. I learnt this the hard way by losing an expensive black Google eyed fish I had brought. Once the first layer is in the pond and your happy with the results add the second layer. You don't have to do two layers but I did and never had any hole problems.
Please note - You want to use the thick polythene as this will be less susceptible to holes. Also don’t try to get the polythene in to tightly as the weight of the water will push the polythene downwards so allow some give.
Filling your pond with water
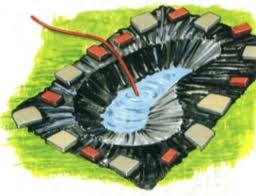
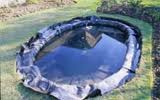
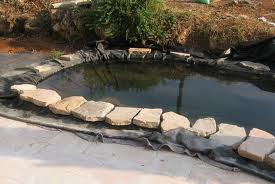
It is finally time to grab the garden hose and begin filling your pond with water. You will need to jump into the pond a few times as it is filling to smooth out the wrinkles and to make sure the polythene is resting nicely along all sides. You may also need to stop the water a few times to give you enough time to realign the polythene as the weight of the water will compact the dirt in the bottom slightly so If you use stones or pavers to hold the polythene in place you will need to relax these also a few times as needed.
Once the pond is full of water it is time to decide which direction you want the runoff to go. You will need to add some water about once every week to keep the pond clean enough to be able to watch your fish. When you have decided which direction to make the runoff water go then it is time to dig your edge down to place your paving stones or stones to edge your pond. At this point you will need to make one side of the pond slightly lower than the other. This will create the run off effect I was speaking of. I personally always made my runoff go towards the tree that was giving afternoon shade to my pond. This waters the tree at the same time as cleaning your pond. You also don't want to have the runoff heading to the area you want to place your benches.
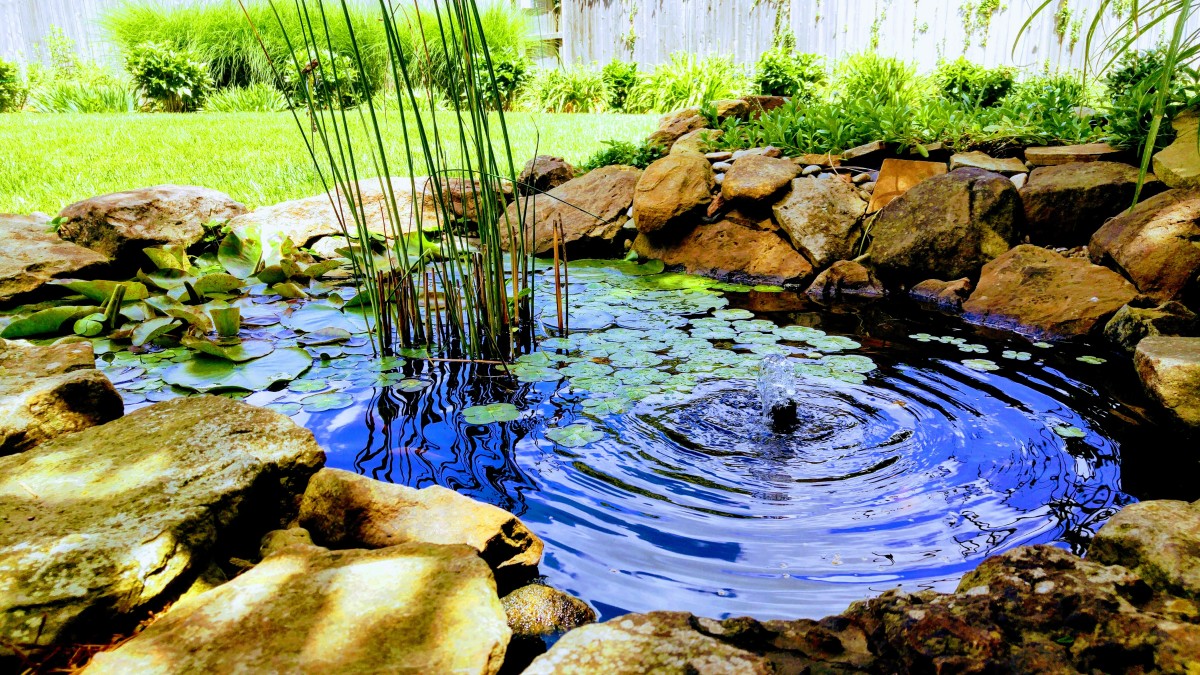
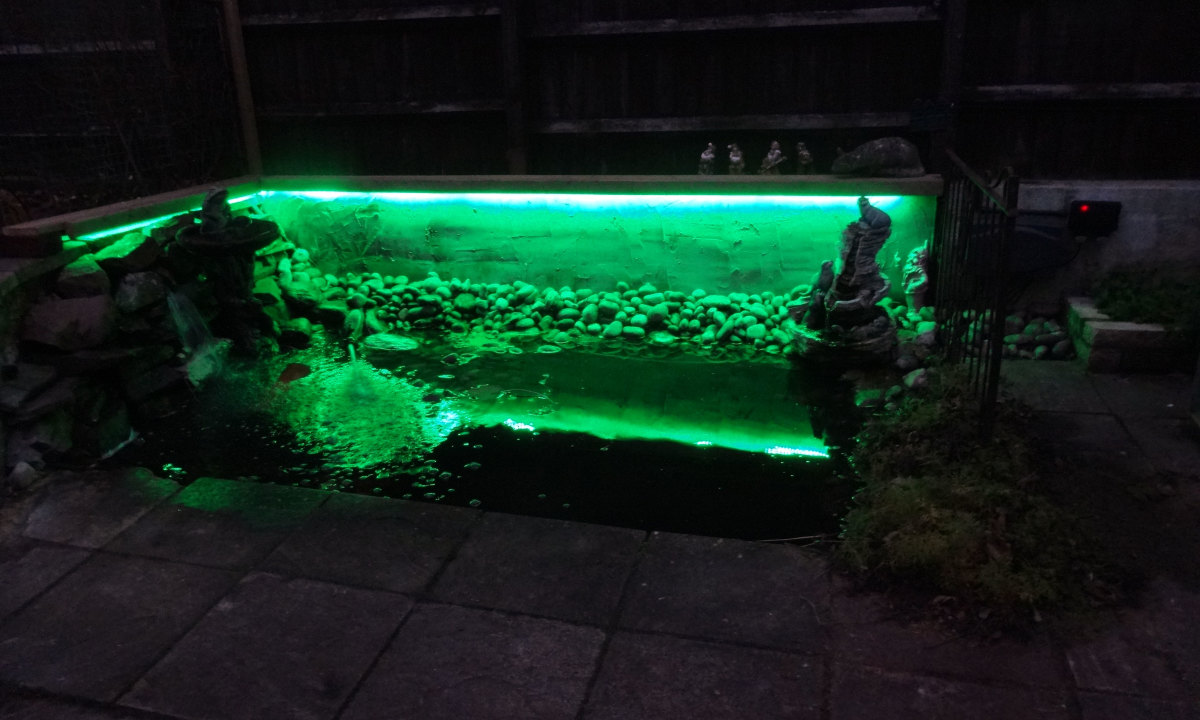
Place your paving stones or stones, rocks that you have chosen for a border around your pond and trim off the excess polythene. Now your pond is starting to look like a great water feature or fish pond.
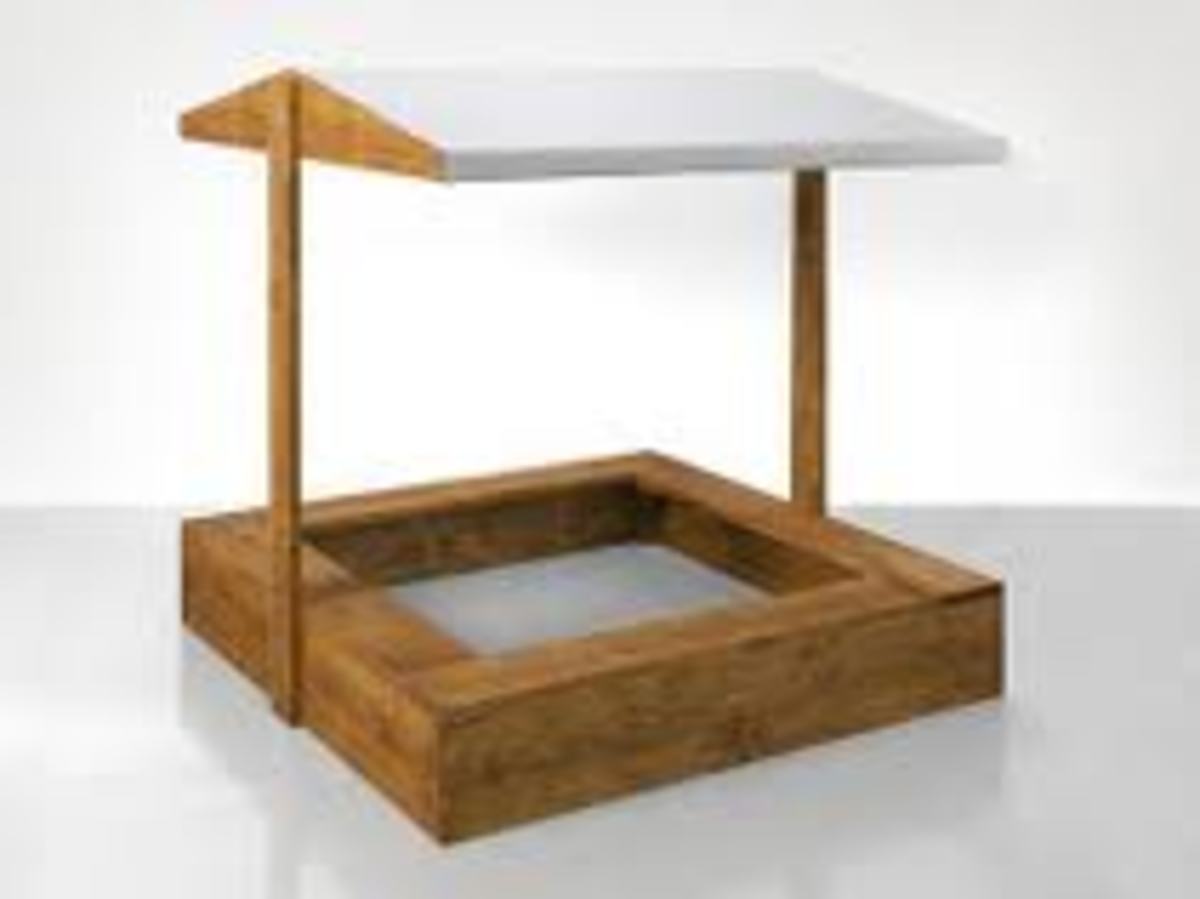
To find out how to change your children’s old sandbox or sand pit into a fish pond please click here
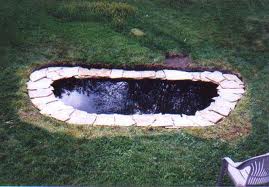
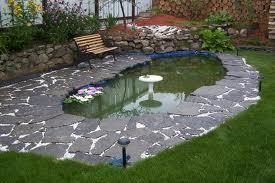
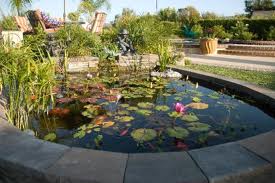
Time to get some water plants
Alright if you know someone who already has a pond you can ask them for some baby plants. You can also ask at gardens etc. if they have any water plants you can have.
If you have to buy some plants I would suggest you but a long grassy one for in the bottom of the pond. This will give your baby fish somewhere to hide so they don't get eaten. Also buy a water lily. Take it out of its pot and let it float around. I have found this will stop the water lilies from dying. It also gives fish the root systems to hide and play in.
Remember water lilies die off every winter and then you will get new leaves every spring so don’t throw them away thinking there dead. You will need to remove the dead leaves from your pond so they don’t rot in it
Place some benches around for people to sit on
It is always nice to have somewhere to both sit and watch your fish or to just have some time and space in a pleasing environment. Put something to sit upon around your water feature. Depending on whether your water feature is rustic or if it is more modern you will need to place the right sort of bench or chair to truly bring your area to life. If you have created a formal pond and you place a bench made from tree branches near it you won’t get the same effect as you would have by placing a nice modern bench. Same goes the other way around if you’re creating an area with lots of rocks don’t place a really modern bench next to it as it will take away part of the effect you’re aiming for.
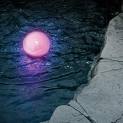

Solar powered fountain and solar powered lights
Solar powered fountain
I would suggest getting a solar powered floating fountain. There are many different types but I found the best are the ones with no cables. I like the fact the fountain can float around the pond. You just pop it into your pond and leave it. Once the solar panels have enough power in them the fountain will start to work. Depending on what size your water feature is will of course depend on what size solar powered fountain you get. Look around and don’t buy the first one you see. I prefer solar powered as they are environmentally friendly and safe to run. These can cost up to around 60 dollars again this depends on what size fountain you desire and where you buy it so check prices before buying anything.
Placing a fountain in your pond will help it in a couple of different ways. Firstly it will keep the water moving and therefore you won’t get mosquitoes laying eggs in your pond. Secondly it will help to aerate the water giving your fish a better supply of oxygen. Thirdly it will stop slime forming in your pond as it forms in non-moving water.
Solar powered floating lights
Again you can buy these from 5 dollars to 60 dollars for sets depending on what type you want to have and if you want coloured ones or hearts or whatever. So I again suggest you look around before buying any of these. I got mine cheaply and they are still going strong after 6 years. Solar lights make your water feature stand out in the evenings especially if you’re having a barbeque or friends over for a meal during summer.
Adding Goldfish to your water feature
Please allow the water to sit in your pond for at least two days before placing any goldfish into it as this allows the water to age naturally.
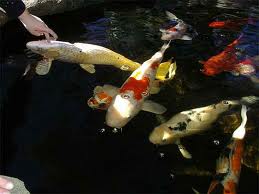
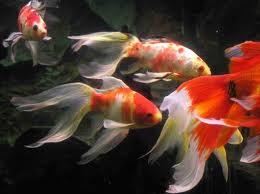
If you have a friend who has a fish pond you may be able to get some free fish off them which is always nice. If not it means a trip down to the local pet store I’m afraid. Look for the best looking fish, they don’t need to be big just look for even sized fins and nice colourings. You want some bright colours so the fish stand out more in the pond.
Check to make sure the fish you’re choosing don’t have any white spots on them as this is a sign of a disease called white spot and that they look healthy (top fins up is a good sign). Also check to make sure the fish don’t have a fine film like cobwebs on them at all as this is another sign of a diseased fish. One other sign is tatty looking fins as if they have been torn. If you notice any of these things on any of the fish go elsewhere to buy your fish.
You may notice some of the fish look fat and others look skinny. Just so you know the fat ones are "twits" (pregnant fish) so these are females. The more streamline ones are males.
One more thing to consider when buying fish for your pond is that you should have about three times as many females as males due to the fact that in springtime the males will chase the females around the pond until they lay eggs so you don’t want the females getting chased to death which can happen if there are too many males present. Also females won’t lay their eggs unless there is somewhere to do so. If you wish to have baby fish that you can sell to your pet shop or swap for fish food then you will need to put a bit of willow root or something similar into your pond for the fish to breed on.
Did you know? Goldfish grow to fit the size of their environment so if you have a large pond you will end up with rather large goldfish unless you put to many into the pond.
Adding a Second level for a waterfall
Doing this will most probably put you over the 200 dollars for the water feature.
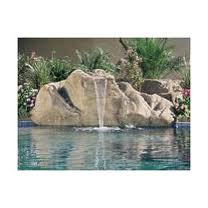
If you prefer you could buy a top pond that looks like rocks but is in fact extremely light weight. Please be aware that this is very expensive and could cost anywhere between 400 - 900 dollars.
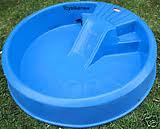
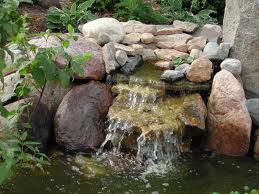
However you can save some money by using your toddler’s old hard plastic pool if they have grown out of it. Place some rocks at one end of the pond then place the pool so it will overfill into the bottom pool. Now place rocks around it to make it look more natural.
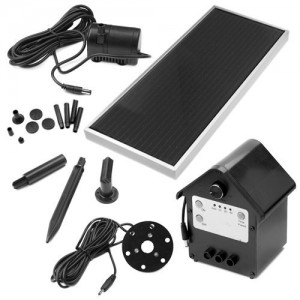
Next you need a solar powered pump
A solar powered pump will be the best because after the initial layout of money to buy the pump there will be no extra costs for power. Solar power also means there is no need for power cables going out to your pond. This means you don't have to dig a power cable line or buy a special outdoor power cord which is always a good thing.
Solar powered pumps can cost around 60 dollars or more depending on what size pump you wish to get. It is always best to ring around to get the best deal once you decide which pump is the one that is right for you.
If you decide to buy a second hand pump you will need to make sure it works before handing over your hard earned money.
