Stop Leaks in Roof Tiles: Fit Ice Shields or De-Icing Cable
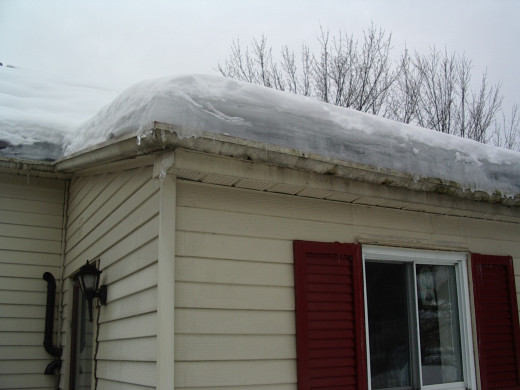
During severe winters, your ceiling can either start leaking or it can come crashing down on top of you. To stop this from happening, you need to be aware of a number of things.
When it snows, it usually snows in beautiful, fluffy snowflakes. These minuscule, seemingly harmless flakes can build up until the snow is anywhere from 1 foot to 4 feet deep – and that is if the snow falls lazily straight down. If there is a high wind as the snow falls, it is usually classified as a blizzard, and the wind can cause the snow to drift up to 12 feet deep.
The snowfall, even a lazy snowfall, does not just build up in depth on the ground; it builds up on roofs, even sloping roofs. As the snow falls, or immediately afterwards, when it is still fluffy and powdery, would be the ideal time to brush the snow off your roof, but it is rare for anyone to venture out onto a roof in a snowstorm, and it isn’t the kind of thing that you’ll find on anybody’s bucket list.
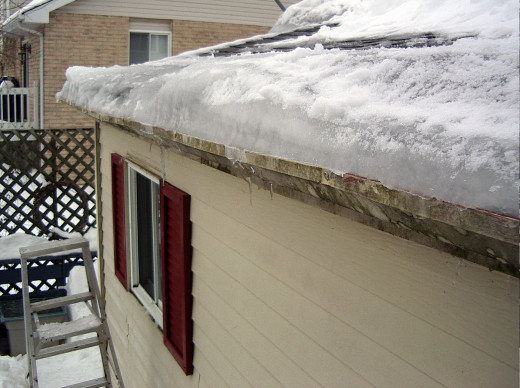
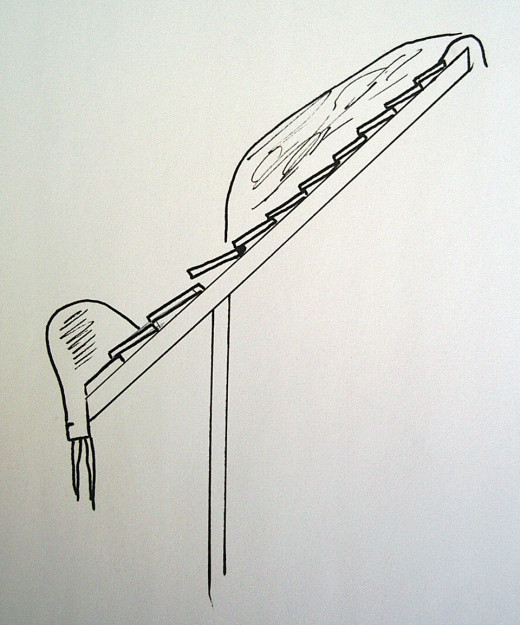
What happens with all that snow on the roof?
A thawing/freezing cycle begins. First of all, some of the heat from inside your home escapes via a badly insulated loft area, and begins to melt the snow on the roof. The melted snow from the heated part of the roof flows down towards the eavestrough. The eaves are not above a heated part of your home, so the flowing water freezes when it gets there.
Also, the sunshine melts some of the roof snow, causing the same flow of water. The sunshine can cause even more snow on the eaves to melt and flow over the edge of the eavestrough, beginning icicle formation. In the evenings the temperature drops even further below freezing point, causing even more frozen ice and snow.
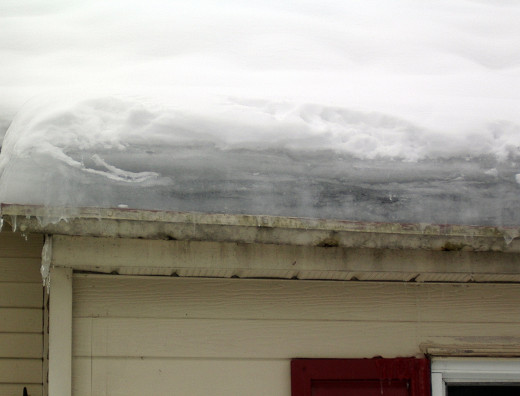
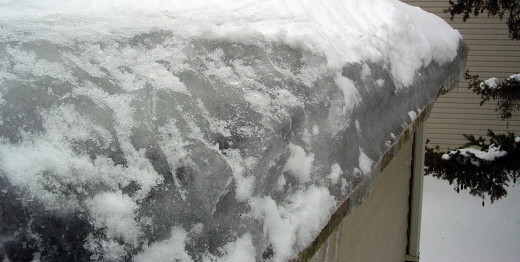
At the next day’s thaw and freeze, the ice on the eaves becomes thicker. Depending on the temperature and snowfall, this daily/nightly cycle can continue until the ice on the eaves and eavestrough (gutter) can be 2 to 3 feet deep
If you’re lucky, the gutter will collapse under the weight, allowing the ice to fall off the roof. In fact, it has been known for some home owners to take the gutters off on purpose, to prevent them collapsing, thus enabling the thawing snow to run off.
If the gutters take the weight, more water flows down the roof and freezes. That is when the ice really becomes a problem. Roof tiles are made and laid so that water takes the path of least resistance, and flows downward, and it can’t possibly find its way under the tiles and into your house, except in the case of driving rain….But, with the ice build up on your eaves, the thawing water can’t find a way around or over the dam of ice, and has no other option but to flow up and under your roof tiles. When this water freezes, the ice forces the tiles further apart, allowing more water to flow up and under the tiles and collect above your ceiling.
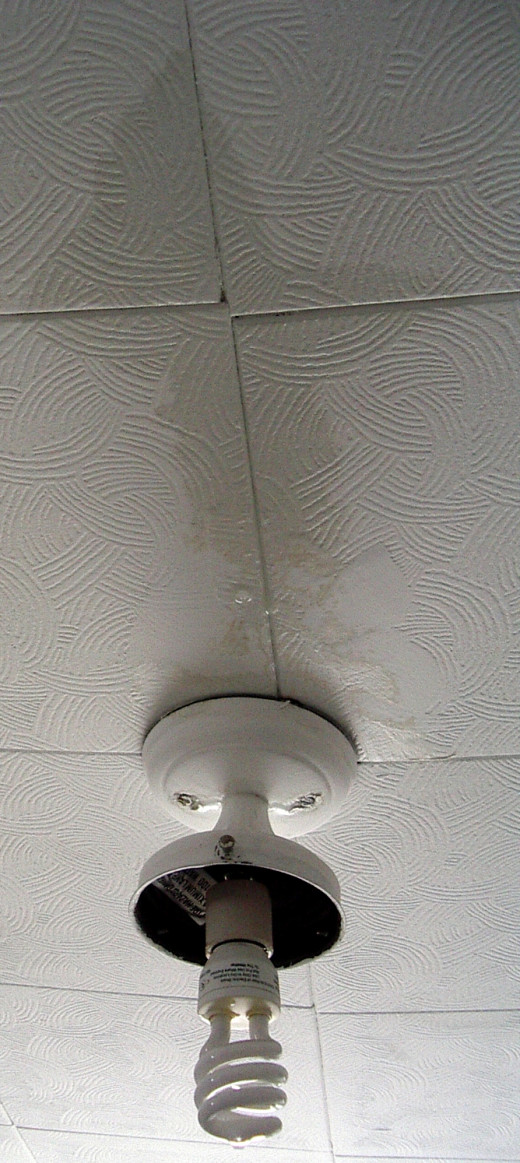
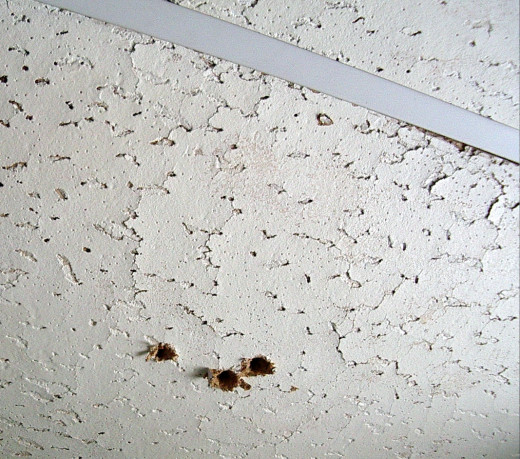
The water has two choices
1) It can seep through the ceiling drip by drip if there is a slow thaw.
2) It can crash through the ceiling during a fast thaw - the January thaw maybe?
If you see the evidence of a spreading water stain on the ceiling, before the water starts seeping through, or just as it begins to seep through, grab a basin or bucket, and a screwdriver. Hold the bucket under the drips and ram the screwdriver up into the ceiling. Yes it’s drastic and aggressive, but it will ensure that the water flows into the bucket (and up your arm). If you don’t make a hole, the water could spread all over your ceiling and the weight might make the whole ceiling collapse.
An alternative problem arises if the water begins flowing down through an electric light fixture. The first thing you MUST do is switch off the light and duct tape the switch to make sure nobody uses it; and it shouldn’t be used again until it dries out – around April.
After attending to the ceiling leak, is when most people attempt to go up on the roof and brush / shovel the snow away. As for the frozen snow on the eaves? You can try to chop it up with an axe, or a hammer and chisel, but although you will get rid of a lot of ice, there comes a point when you are too near the tiles to attempt any chopping or chiselling – and you’ll have to accept the fact that the ice may end up in your living room.
Rather than go through the rigmarole of drying out soaking wet furniture and carpets, and dealing with insurance company paperwork, you can PREVENT the ice build up.
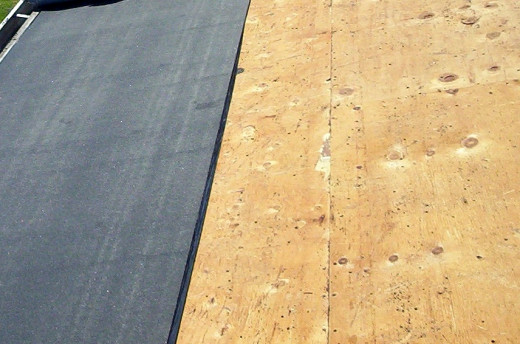
Prevent the Ice Dams
1) You can have an ice/water shield fitted.
An ice shield is a relatively simple idea; it is a 3 foot wide rubberized membrane that does not dry or crack and seals itself around nails and other fasteners. It is fitted under the tiles or shingles, and acts as a secondary protection. The membrane is fitted from the eaves back up the roof for 3 feet, as that is the area that is most likely to flood and leak.
Some homeowners fit the ice shield over the whole roof, before fitting the tiles; however this practice is decried by most professional roofers, as being a pointless waste of energy and time. Also, if you are of a cynical frame of mind, you might ask – ‘If the membrane is going to cover the whole roof, why bother with tiles?’ But what you need to bear in mind is the ice shield is going to have the manufacturer’s name plastered all over it; tiles will look much more attractive.
The best practice is to cover the 3 feet nearest the eaves, where the ice dams build up. Yet another rason for fitting the shield for only 3 feet above the eaves? The shield only comes in 3 feet widths.
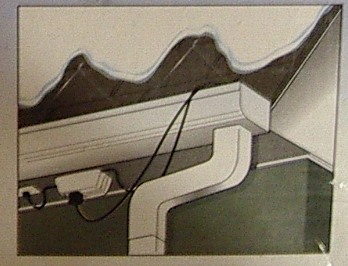
Heater Elements
2) Fit heater elements to the roof.
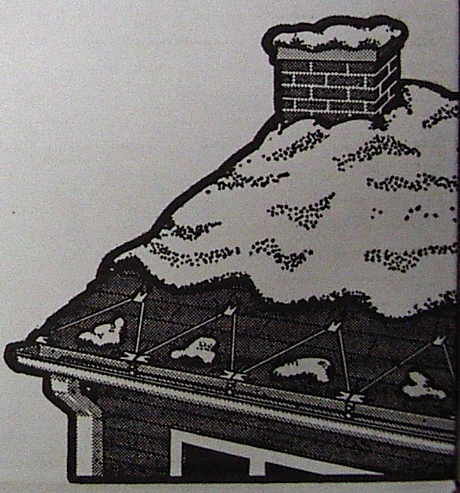
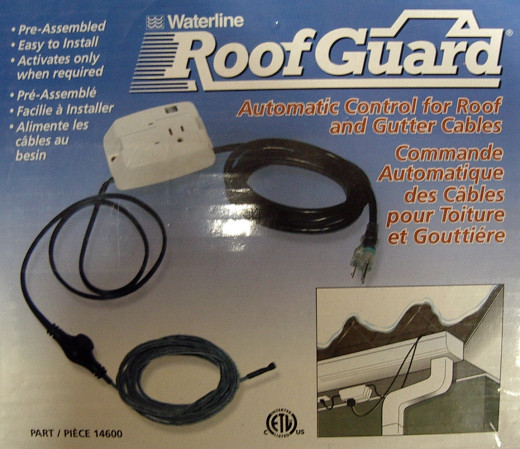
You can do as a friend has just done, and fit de-icing cable to the roof. It is a bizarre concept, and it takes some getting used to the idea, but it works. There are a number of different systems that can be used, from electric cable that can be fitted over the shingles, bronze metal screens that fit under the shingles, and insulated heat tape that fits into the gutters and down pipes to keep the water flowing.
Compared to a flooded house,the price of the different systems is negligible. Needless to say, all the systems will be safe on shingles, metal roofs, or tiles, and what they do is prevent the ice dam from forming near the eavestrough. All you have to do is plug the cable in and sit back, sure in the knowledge that leaks have had their death sentence signed. You could say it is a positive way to PREVENT leaks.
The cable only takes cents a day to operate, and of course you only need to use it during the freezing/thawing cycle.
There is another plus when it comes to ice shields or heating elements on roofs – it stops the growth of icicles. And we’ve all seen how deadly large icicles can be. Think about it. By fitting a heated element on your roof you could save a life – yours!
Most hardware stores carry these arrangements - although you may have trouble finding them in Southern California or Florida.
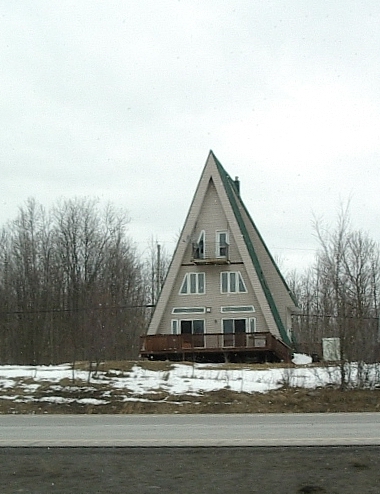
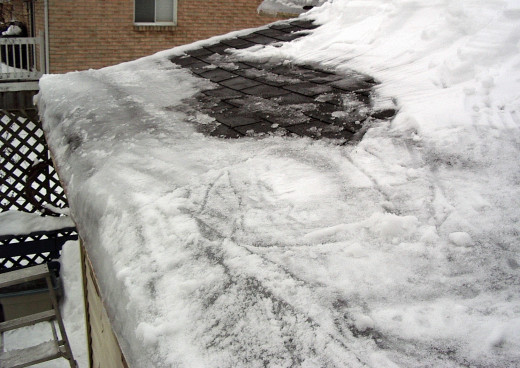
Ice will NEVER build up on this roof.
This is another way to ensure that there are no ice dams on your roof; in fact it will ensure you never, ever, have any snow on your roof.
This home was seen alongside the 401 in Ontario; perfectly designed for Canadian winters.


