Home Science: How to Make a Worm Farm
Make Your Own Worm Farm:
Kids Get to Dig Deep and Make Soil
Introduction
Taking a walk in the woods with other home-schoolers last Friday was both fun and productive. The children enjoyed their time discovering the forest surrounding the home of the Hands-On Science program leader, and collected critters. The critters collected included worms, salamanders, and a spring peeper frog. The frog and salamanders were set free after the children studied them under a magnifying glass and drew a picture of them.
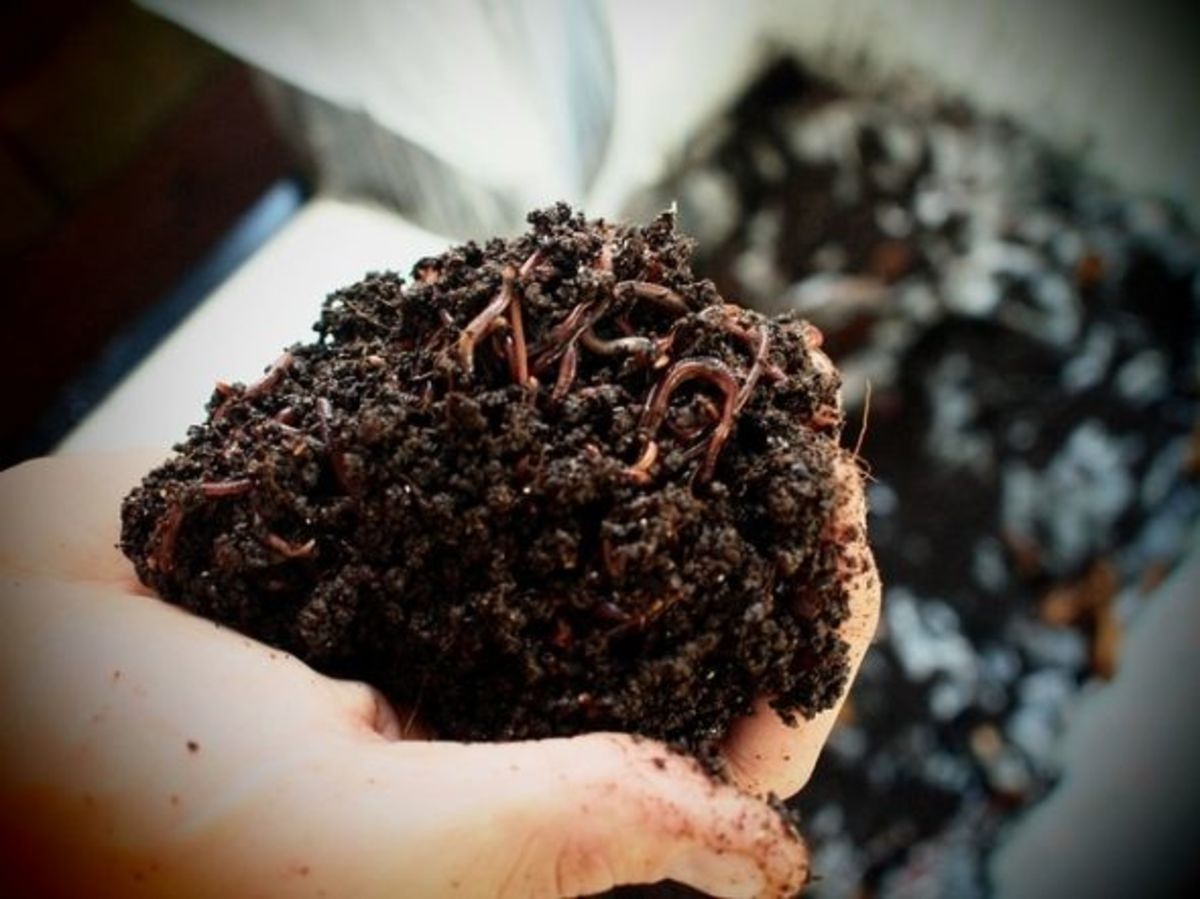
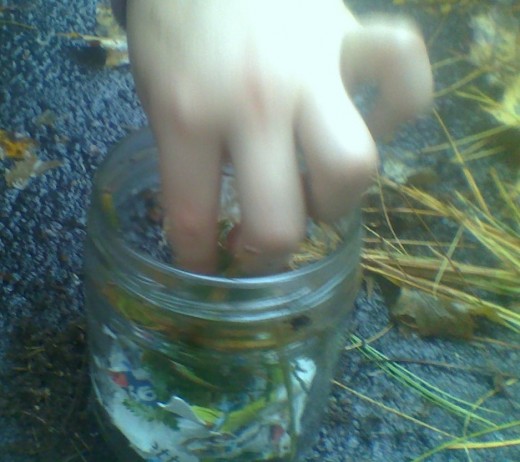
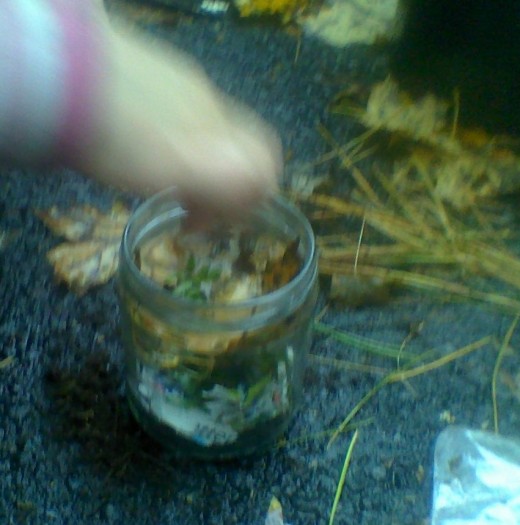
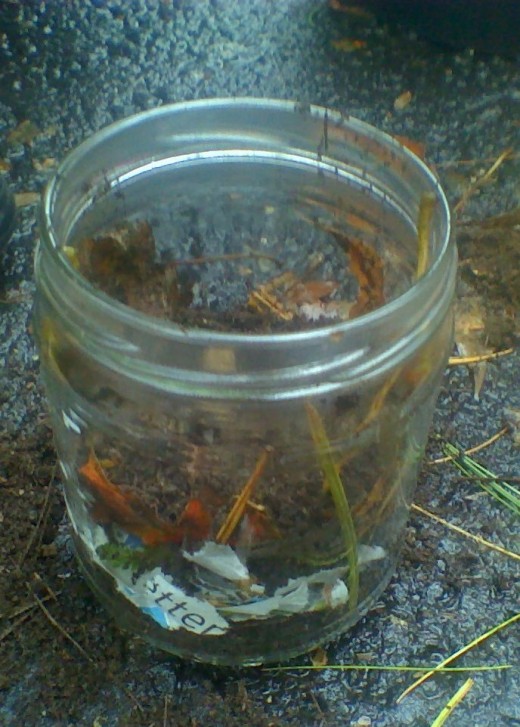
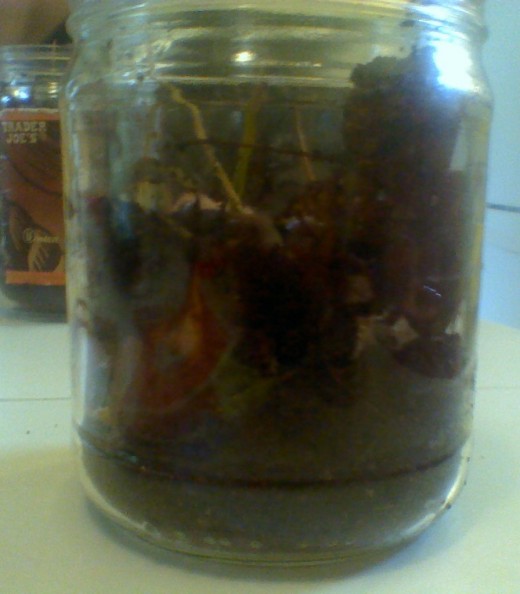
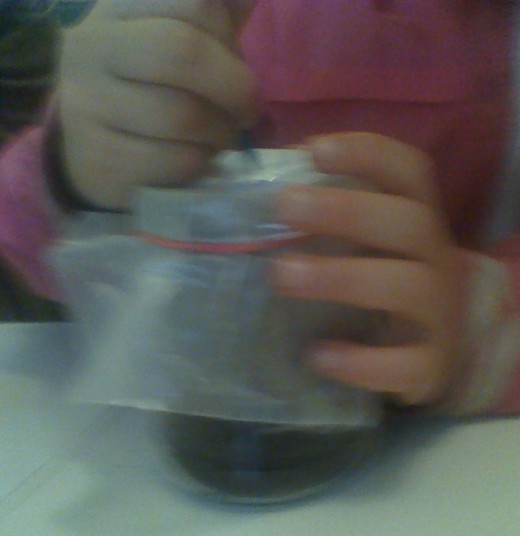
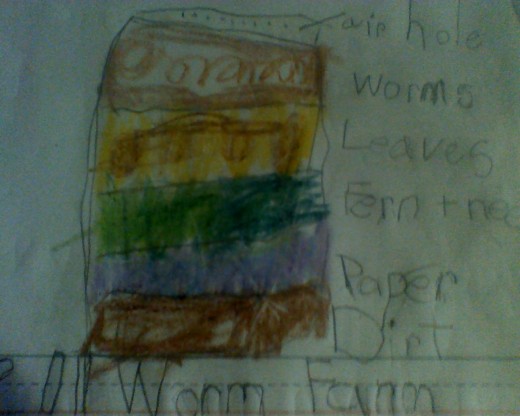
The children also collected the ingredients they would need to make a worm farm in a jar. The pictures to the right illustrate the process for filling the jar once you arrive home with all of the needed natural resources.
Supplies
You and your young scientist can make your own worm farm with a few simple household supplies:
wax paper
knife or pen to poke air holes
rubber band
glass jar
soil
newspaper (not glossy)
fern branches and pine needles
fallen leaves
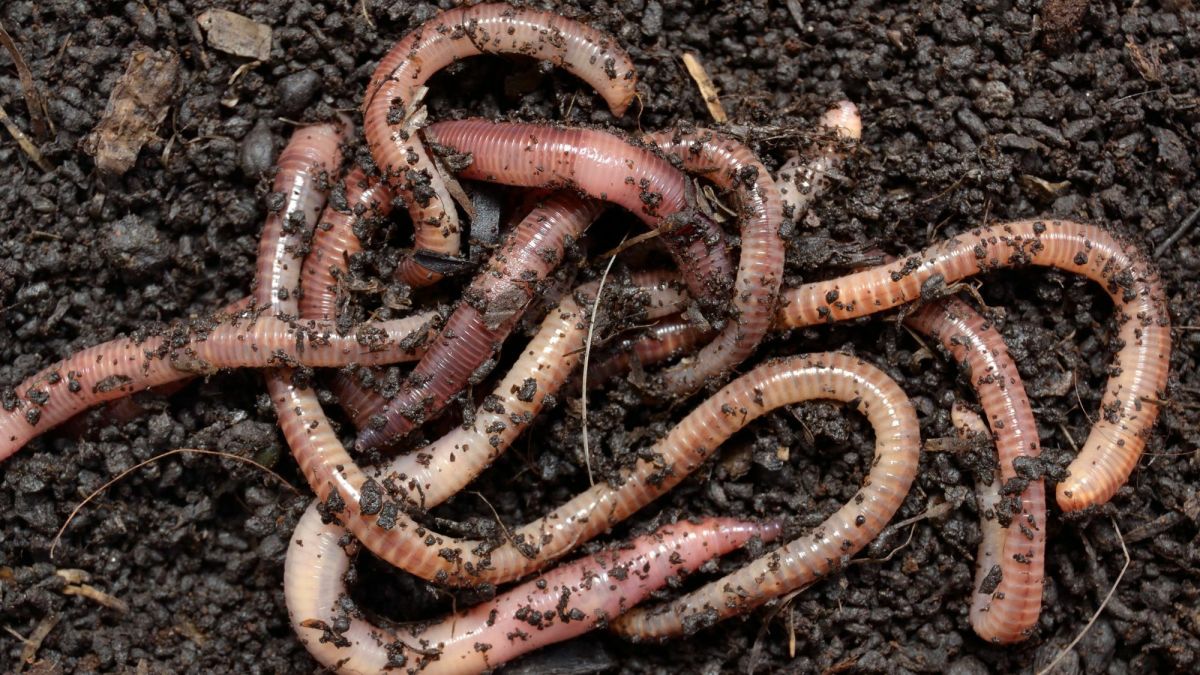
live worms
The Steps to Creating Your Own Worm Farm
The steps below describe the entire process for creating your worm farm. The pictures on the right illustrate the process of assembling your worm farm once you arrive home with all of the supplies that you found in the woods.
Step #1: Have ready the jar, wax paper, and rubber bands on a table.
Step 2: Bring with you on your walk a bucket of gardening trowels (one for each child involved), some plastic containers with air holes, and plastic sandwich bags to fill with fallen leaves. A separate plastic bag should be used for collecting the fern fronds and pine needles.
Step 3: Wear clothing appropriate for the weather. We walked on a damp day, so we wore boots and rain jackets.
Step 4: Walk through the woods and collect the worms (under rocks and logs), fallen leaves, fern, and pine needs. Make sure there is ample time for children to also discover other features on the forest floor, such as mushrooms with varying shapes, jelly fungus, a natural jungle gym, or an abandoned fort.
Step 5: When you return home, assemble your worm farm:
A. Scoop in the bottom layer of soil for the worms to burrow through.
B. Tear up newspaper (non-glossy) into shreds and place a layer on top of the soil. This is their bedding. It helps the worms keep breathing.
C. On top of the paper you will place the fern and pine needles (green layer).
D. The next layer up will be the fallen leaves (brown layer)
E. The final, top layer will be an extra layer of soil.
F. Now you have completed a new home for your worms and it is time to introduce them to it. Each child should have 3 or 4 worms.
Step 6: Place a square of wax paper over the top of the jar and secure it with a rubber band.
Step 7: Poke air holes in the wax paper with a pen.
Step 8: Keep your worm farm in a cool, dark place in your home and keep the ingredients inside moist by sprinkling the farm with water every other day or so. If the adults in your family drink coffee, the grounds are great to give the worms to eat.
Kids Get Together to Re-discover Nature
- Worm Facts
A colorful, child-friendly description of all worms have to offer us from the worm's point of view. - Hands-On Nature program
The home page for a local program in Berlin, MA that introduces children to nature in a fun and interactive manner. The program leaders offer classes to both school groups, home-schooling groups, after-school groups, and scouts.
Yum! Worms eat our leftovers ~

A Note about Composting
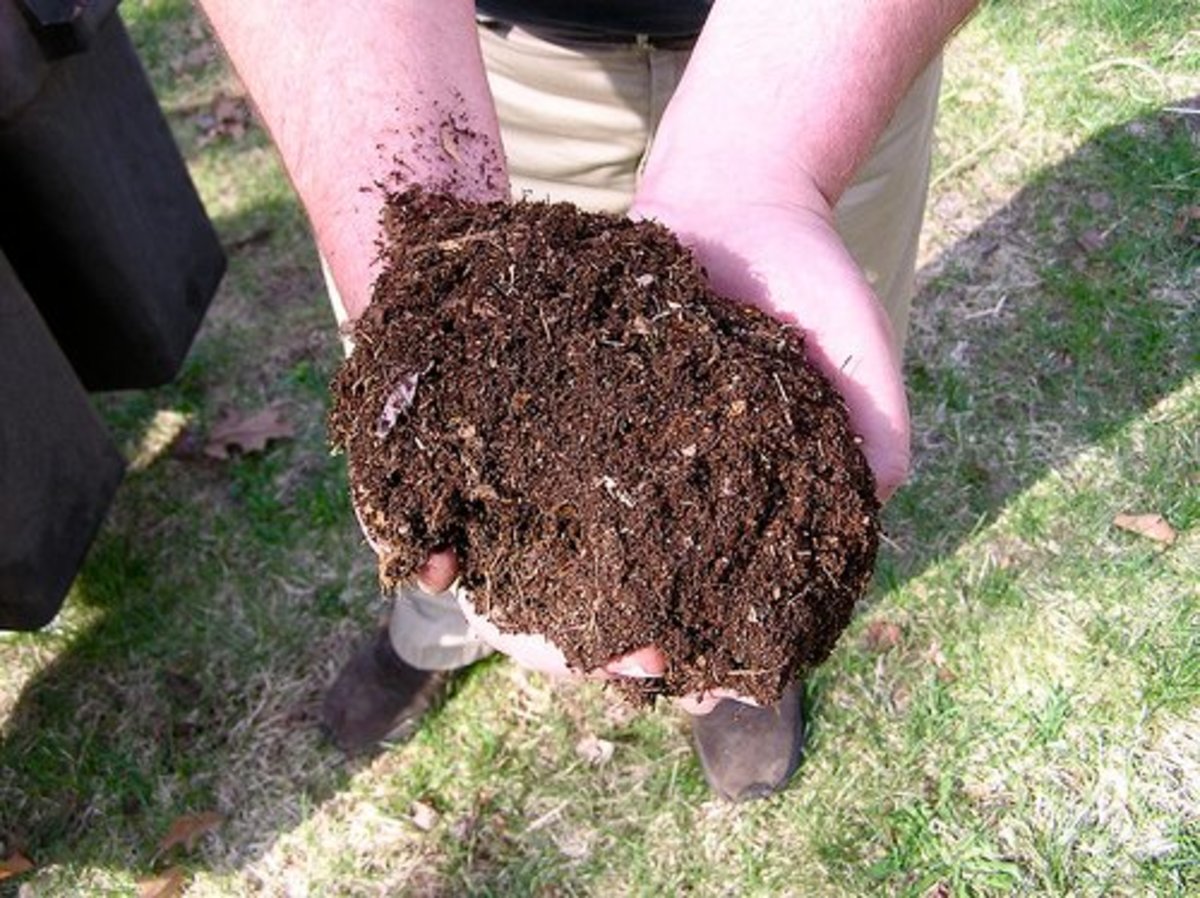
The worms will eat the paper and leaves that you give them. Keeping them moist will keep them alive. In return for your care and feeding, they will give you their castings , which is a type of nutrient-rich soil that will make all of your plants grow strong and healthy. The excess water will be turned into "worm tea" or "worm soup," which is also good for your plants.
If you or your children enjoy maintaining your worm farm, and have some basement space or a mud room, you may want to eventually graduate to keeping more worms in a bin. Worms procreate, so they will provide you with the babies to feed and fill up the plastic or rubber bin that you use. The more castings they generate, the more nutrient-rich soil you will have to put in a veggie garden or fruit tree bed.
In effect, you are composting with these worms. You can feed the worms bits of eggshell, coffee grounds, lettuce, and carrot peels for food, too. Watch carefully and have fun!
This content is accurate and true to the best of the author’s knowledge and is not meant to substitute for formal and individualized advice from a qualified professional.
© 2011 Karen A Szklany

