How to Give Your Walls a Facelift
The Facelift
The type of finish you give to your wall depends on the type of walls you are living within. We either live behind stone walls, metallic walls or wooden walls. A house can appear to be drab when left unattended for a long period of time. With Christmas festivities around the corner, it is time to give your walls a face lift. Remember, a well painted wall makes the heart merry.
Protective Finishes
There are many types of protective finishes we are likely to opt for depending on the location of the wall. Certain finishes (i.e. paint) suit both external walls and internal ones. Most coatings are chosen to protect and preserve the wall, ensure cleanliness or enhance the appearance by providing an aesthetic touch to the wall. A painted wall looks appealing to one’s eye. Wooden walls have a wide variety of finish to choose from. They include; creosote, paint, varnish, wax polish, French polish and clear lacquer. We will concentrate on paint.
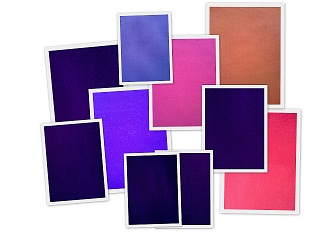
Collage of Soft Colours
Surface Preparation
There is a need to prepare the surface prior to applying paint. Wood is generally beautiful, but some types of wood lack the beauty of grain thereby requiring a coat of paint. If you have to paint the wall, then surface preparation is essential to ensure lumps, scars and blemishes do not mar the surface of the wood. A variety of colours are available in shops and help in warding off monotonous tones or shades of colour. Remove protruding nails, plug gaping holes with wooden pellets, use glass paper to scour the wooden surface to a smooth attractive finish.
Good Painting Practices;
- Remove all old flaky paint using a paint scrapper
- Try to ensure you are working on a clean surface
- Label all containers to clearly show their contents
- Use clean brushes during and also clean them after the job
- Spray painting is more preferable for finer finishes than hand brush jobs
- Ensure free passage of air (good aeration)
- Work in a dust free area. Dust settles quickly on wet paint spoiling your work
- Ensure initial coats of paint dry first before applying second or third coats
- Avoid applying too much paint than is necessary
- Do not allow water to spray onto your painted surfaces
- Correct sequence of painting should be adhered to
- Cover the floor beneath with old newspapers in case of spillage
- Cover cans that are not in use to arrest thickening or evaporation of paints
- Remember not to touch a wet painted surface lest you ruin your job
Procedure;
- Apply the initial coat of priming paint ensuring it sinks deep into the wood’s grains
- Allow to dry then use a fine grade of glass paper to smoothen the surface more
- Apply two coats of undercoat paint using a paint of your choice allowing good drying period between the coats.
- Use glass paper between the coats for finer finish
- Finish off your painting with a coat of high gloss paint to crown the job
- Allow to dry completely
Employment Opportunity
Good mastery of the skills above might earn you a job when witnessed by aesthetically conscious neighbours. This is a chance to commercialize your skills as a professional painter. A carefully done job is profitable in the long run. Moreover, a do-it-yourself task gives a lot of personal satisfaction and a sense of achievement.
YouTube video on painting walls
Sign up and start making money now
- HubPages
HubPages is your online space to share your advice, reviews, useful tips, opinions and insights with hundreds of other authors. HubPages is completely free, and you can even earn online ad revenue! - Improving Your HubPages Earnings
Here is my advice and recommendations for boosting the earning potential of your Hubs and how to earn with AdSense, eBay, Amazon and Kontera.


