Painting A Retro Focal Wall - easy instructions, tips & tricks plus how to's for a dual color wall paint pattern/stripe
RETRO FOCAL WALL PATTERN
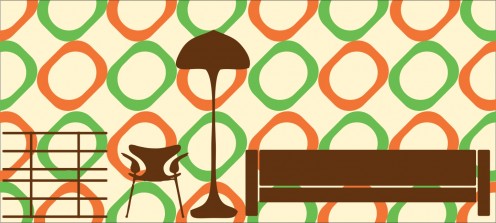
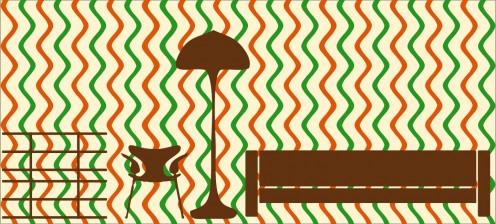

PAINTING A RETRO FOCAL WALL PATTERN
It was brought to my attention that some people wanted an easy wall painting idea. I have put together the instructions for an easy, basic pattern that does not look easy at first glance. If you take your time and do not rush through this project people will think you paid a professional to paint your wall.
CHOOSING YOUR SHAPE
For your shape, you should choose either a rectangle/square with corners rounded or circle. Look on line for retro designs to get some inspiration. Alternatively you can choose a symmetrical wavy line. Both require you to make a template on paper.
Remember this is for a beginner, do not try something layered or multiple shapes/patterns until you are comfortable with having done the procedures listed here a time or two.
TOOLS
Click thumbnail to view full-size


WHAT YOU WILL NEED
Ok, now that you have chosen your shape and hopefully your color scheme it is time to get your tools together. You will need:
- Two colors of paint; for a 20ft wide wall I would purchase two quarts of each color for a two color design. Save the left over paint to use on small accent pieces later (like book shelves or footstools).
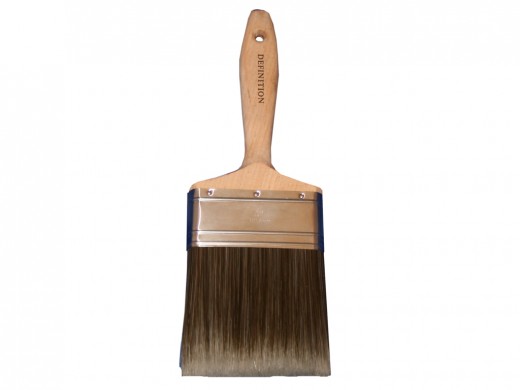
- A 3" or 4" paint brush.
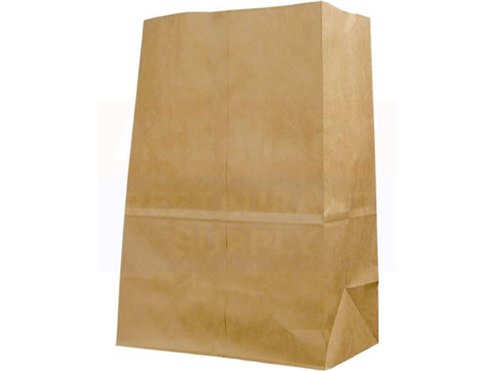
- A brown paper bag, butcher paper or brown shipping paper to make your template(s). For stripes it will need to be as tall as the wall, but also narrow so you can cut up your paper and tape pieces together if necessary . If your store does not use paper bags any more you can get them from Aldi's for about 5¢ ea.
- Rubber cement, any brand (available at Wal Mart and crafting stores).
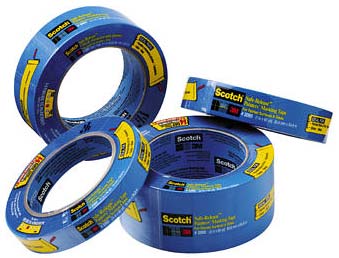
- Painters tape (usually blue and available in the paint department). Not required, but very helpful to keep from getting paint on ceiling and opposite walls.
- Scissors.
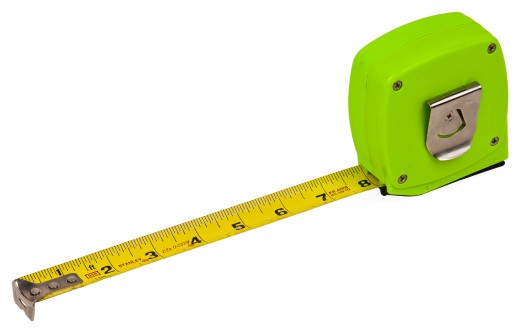
- Measuring tape.
- Pencil.
- Cellophane tape. (like Scotch brand)
- Two pieces of string (one piece will be the width of the wall and one will be the height)
- Drop cloth or some rags to put on the floor. Not required, but nice.
BASIC SHAPE & TEMPLATE

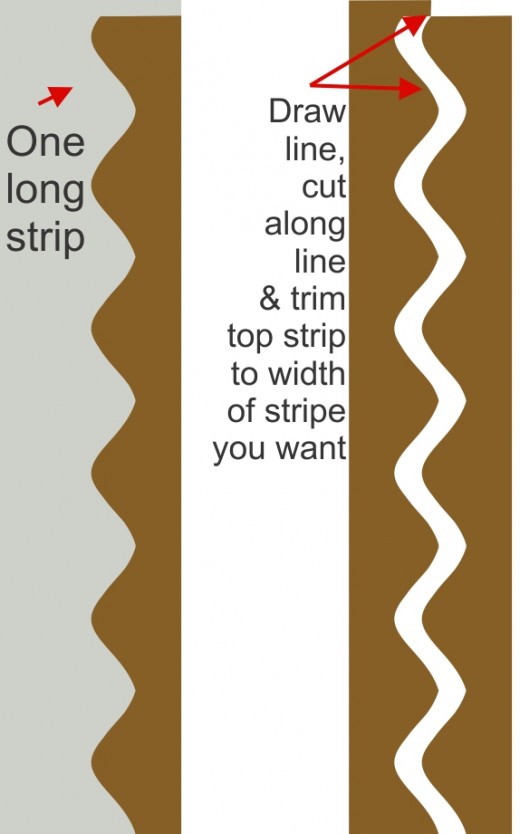
YOUR PAINTNG TEMPLATE
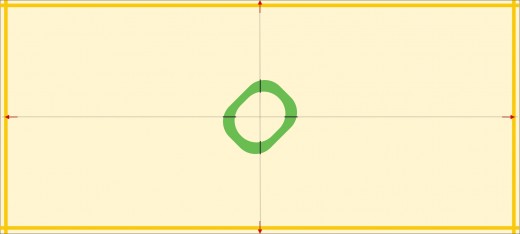
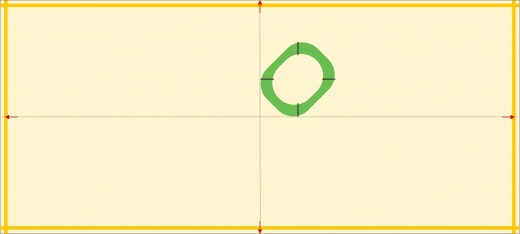
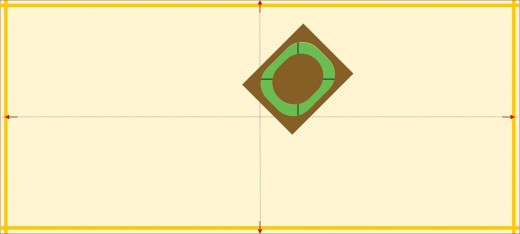
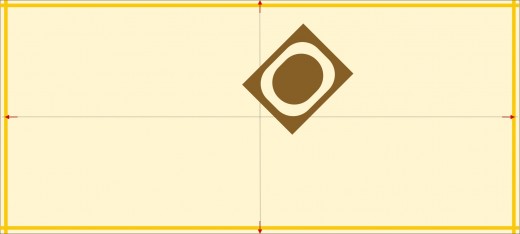
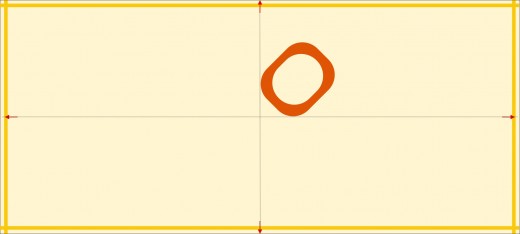
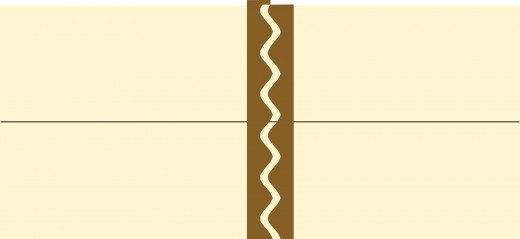
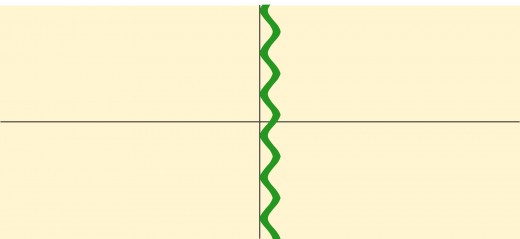
Whichever design you choose; the shapes can be cut out of paper. I recommend cutting two sets, one for each color you will be painting. The examples to the right are for your basic shape or stripe
For the basic shape:
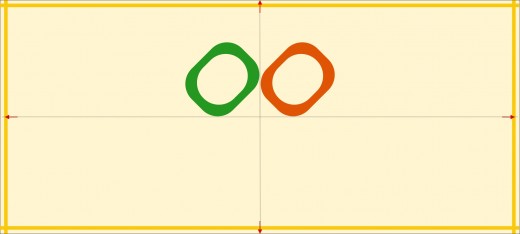
- Cut out the shape in the size you want it to be on the wall. (This example is 9'h by 20'w for the wall & the shapes will be approximately 27"h x 33"w to make the proportions as shown for the top example. You will need to measure your wall and decide what size you want your shapes to be. The bigger they are the less times you will need to re-position, but you should not make them bigger than 1/4 of the wall height x 1/3 of the wall height in width.)
- Use the shape to cut a two piece painting template. See example to right. Do not discard the shape template as you will be using it also.
For the stripe shape:
- Make a piece of paper that is tall enough to reach from the ceiling to floor and exactly three times the width of the stripe pattern before cutting. If the shape is 4"w from outer edge to outer edge(before cutting) the paper should also be 4" wide from edge of pattern to edge of paper on each side(see example). Remember that you can tape pieces together to achieve the length you need. Use very sticky wide tape to tape them together so they do not separate during use. Use a straight edge and a ruler to line up the stripe design.
You will be using two pieces for the stripe pattern or three pieces for the shape pattern. If the pieces have folds or wrinkles you can iron them prior to painting.
Final preparation:
- Use the brush inside rubber cement bottle to put some cement on one side of the template pieces. You do not need to cover every inch, a one inch spot every couple of inches should be sufficient for our purposes.
- Lay the pieces down with cement side up and allow to air dry for a few minutes. You will be using this to stick your template to the wall then pulling it away and replacing it in another location.
- During painting if paper becomes less tacky you can renew it with another application and allow it to dry a few minutes before continuing.
PLACING YOUR STRINGS
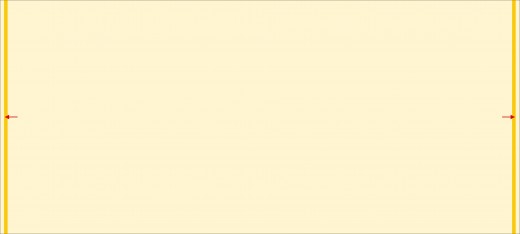
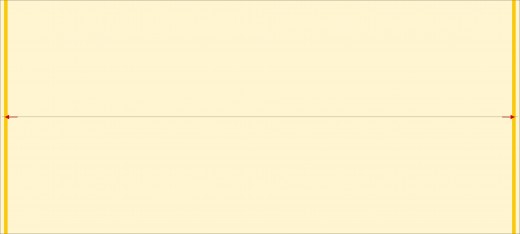
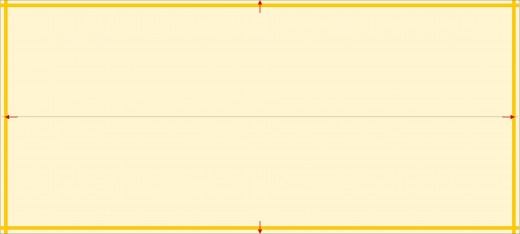
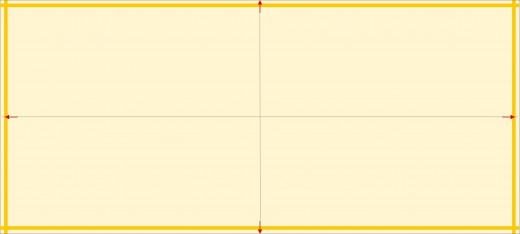
READY TO START PAINTING
- Make sure your wall is clean. Wipe it with a Swiffer or dust rag prior to painting. If you are a smoker you should clean the wall thoroughly before painting (see my tips on using baking soda on one of my other hubs & let wall dry overnight).
- Measure from top to bottom at one end of the wall and make a mark in the center.
- Do the same for the other end of the wall.
- Tape a length of string between the marks making as tight as possible use a couple of small pieces along the length. Hint: leave one corner of each piece turned under and taped to itself for easy removal later.
- Using the measuring tape, measure the length of the wall putting a small mark in the center at top and bottom.
- Tape a length of string between the marks making as tight as possible and also place a small piece in center taping both strings together and to center of wall.
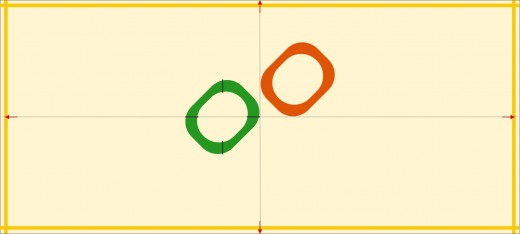
STEPS TO PAINT PATTERN
Click thumbnail to view full-size


REPEAT STEPS TILL DONE
Click thumbnail to view full-size


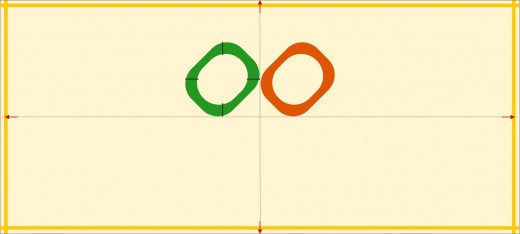
PLACING THE PATTERN
Start at the center point for basic shape pattern or center wall for vertical stripe pattern.
For the pattern:
- Center shape on wall and put marks on template to show center points of template.
- Move the shape to right above the horizontal string and just to right of vertical string.
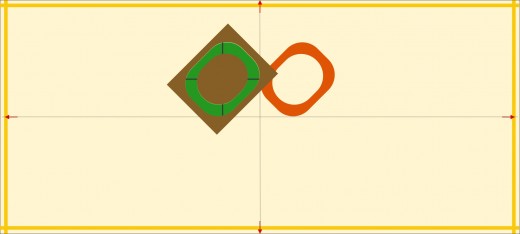
- Press lightly to hold in place. Fit the paint template pieces out side and in center then press to hold.
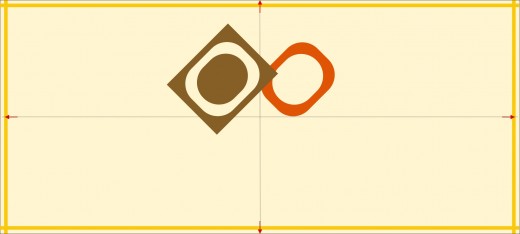
- Remove the shape piece.
- Paint in the space left between the two paint pieces. Remove them to see the shape you painted.
REPEATING TILL DONE
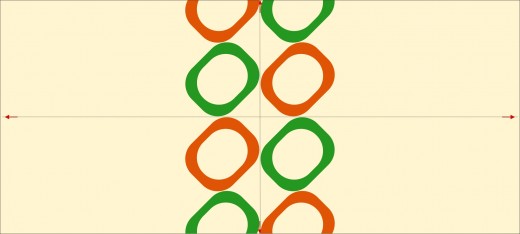
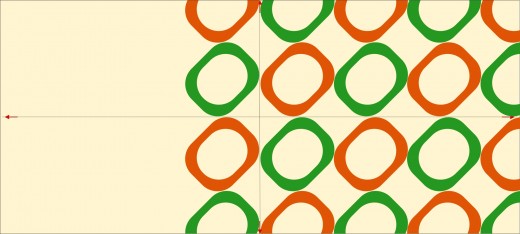
- You will repeat the placement first to top and bottom then to one side and finally to the other side.
- When you have finished painting all the shapes, remove the string and erase the marks.
- If you run into an area where you have tape that coincides with a painted area just remove the tape prior to painting that area.
STRIPE PATTERN
Click thumbnail to view full-size


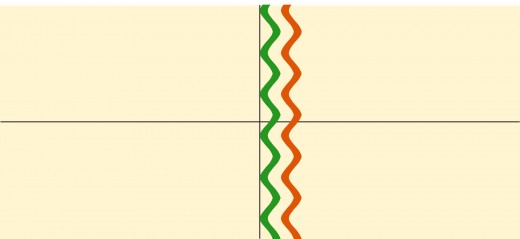
STRIPED EXAMPLE
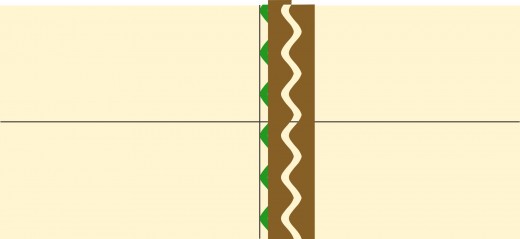
- Follow the directions for painting the shape pattern, but place the left side of the pattern along the string and the right piece as far away from it as you plan to paint. You will have cut the left shape to have a guide tab at top to help with placement. You can also make a tab at bottom if you choose for assistance in lining it up. This will keep all the stripes the same shape.
- After painting the first stripe you will place the left side of the template along the inner edge of line you just painted.
- Place the right piece at end of tab as before to ensure same size stripe and paint next color.
- Repeat procedure until you reach far right side of wall. If you can only paint a small portion of the stripe for the last one then save it till the end.
- Repeat same procedure on left side of wall till you reach far left edge.
- For the partial stripe along edge make sure you use painters tape to get a clean edge. You will probably only have to use one of the temp pieces at edge of wall.

