Pull Out Scanner Shelf for A Rolltop Desk
Step by Step

Clearing the Desktop
My rolltop desk was getting crowded what with the printer, a 22 inch long scanner, a monitor and a pile of assorted debris. The scanner had the largest footprint so it was the obvious device to remove from the top of the desk.
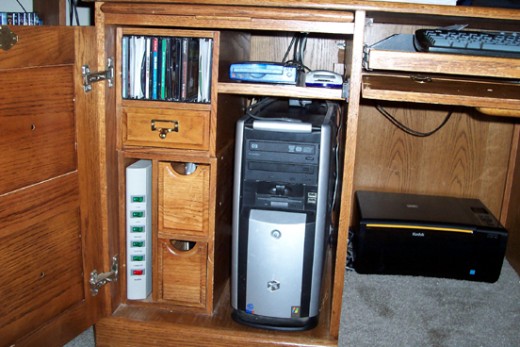
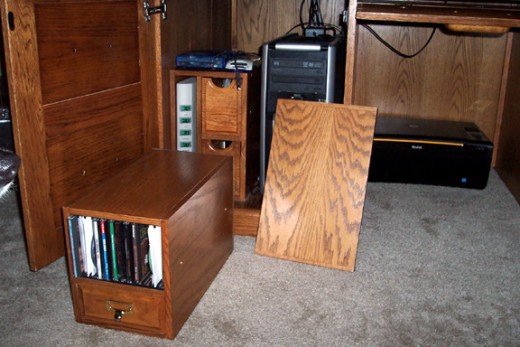
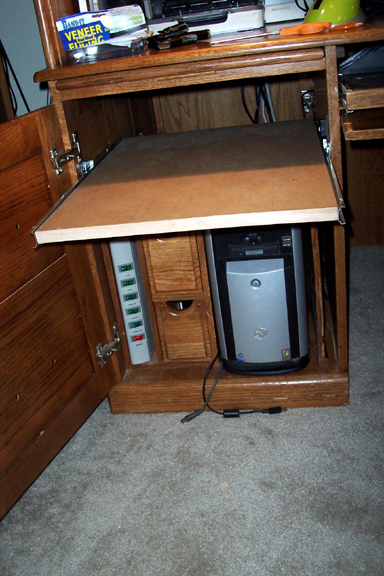
The first step was to find a place to move the scanner. Fortunately, the shelves and drawers in the bottom of the desk are modular and removable. I removed the shelf and top drawer module as shown and moved the drawer module with the CD rack to the desktop. That allowed me to move my inbox up on top of the drawer/CD module and get that off the desk too.
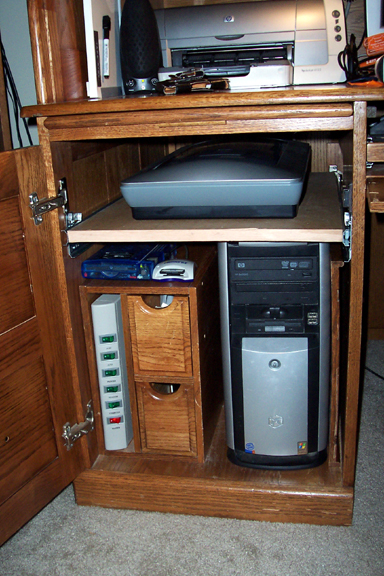
Removing the module and shelf, I was able to clear enough space to install a pull out drawer above the CPU.
Once you've cleared the space you're using for the drawer, you need to measure the height of the scanner or whatever you're putting on the pullout shelf. Add at least an inch clearance. Here are the materials you'll need to build the shelf.
Materials:
- Drawer guides - 22 to 24 inches long.
- 1/2 inch wood screws
- 5/8 inch wood screws
- 5/8 inch plywood or solid oak shelf - cut to fit your drawer space
- 5/8 inch wide oak veneer strip
- Oak veneer (if you use plywood)
- Clothes Iron
- Wiping oil stain
- Polyurethane varnish
Step 1:
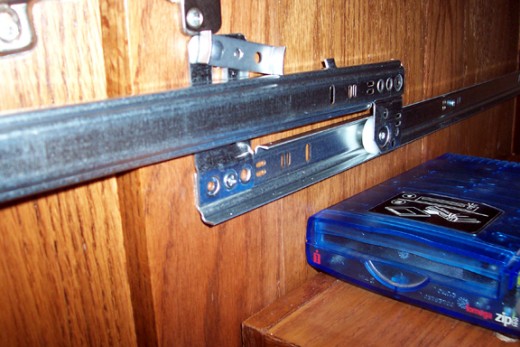
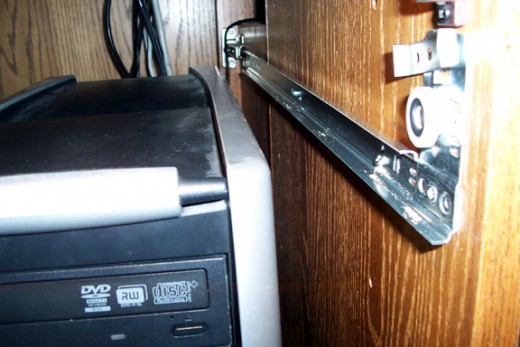
Mount the rails on either side of the compartment where you are installing the shelf. Test fit the guide rails so that the slides that attach to the shelf will allow the amount of clearance you need for the scanner or other device. Screw the rail guides to the inside of the compartment. Use the longer screws where the sides are 5/8 inch or thicker and the shorter screws where the sides are thinner so you don't screw through the sides.
Step 2
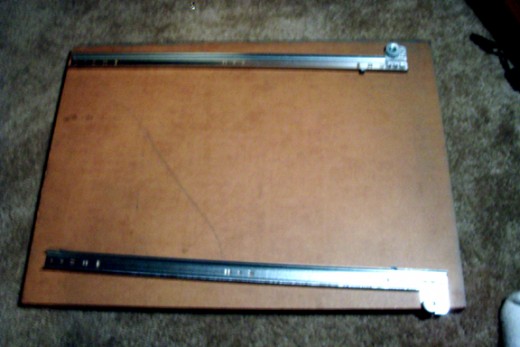
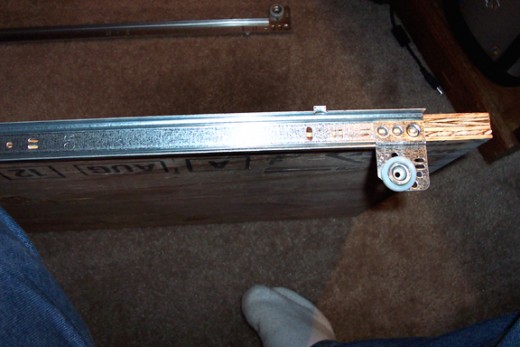
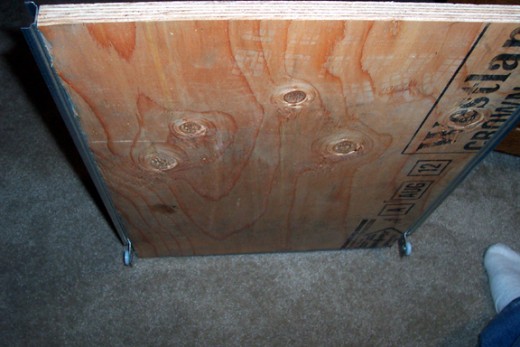
Test mount the slides in the guide rails and measure the distance between them. This gives you the width of the shelf. Measure the length and then cut the shelf the correct dimensions. Screw the slides to the edges of long sides of the shelf.
Step 3
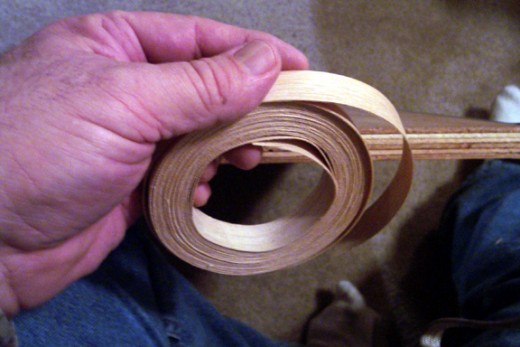
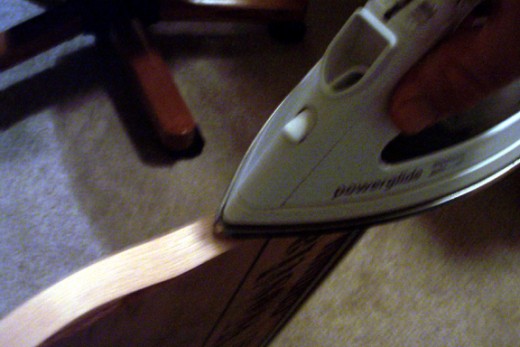
If the shelf is plywood, attach the oak veneer strips to the front edge of the shelf by ironing it over edge as shown. The back of the veneer has glue on it and a hot clothes iron melts the glue sticking it to the board and making it look like solid wood. Iron the sheet veneer over the top of the shelf and allow it to cool.
Step 4
Lightly sand the shelf and apply an oil stain that matches the rest of the rolltop. Wipe the stain off and allow it to dry for an hour or two. Apply at least three thin coats of clear polyurethane. Lightly sand the dry finish coats with 00 steel wool between coats. I use a new wipe on polyurethane I found at Lowe's. It's thin and applied with a soft cloth rather than sprayed or brushed on. It's great. I usually have to do more coats, but the finish is really nice.
Step 5
Once the shelf is finished, slide the shelf slides onto the guide rails and slide the drawer all the way closed. Test the drawer to insure that the drawer works properly. Set the scanner on the shelf and plug it in and it's ready to go.
Looks great, I have tons more space on my desk and my wife can dust the rolltop without moving all my junk. Harmony once again reins in the King household. My next project is a secret compartment behind the upper drawers.
Tom King - Puyallup, WA


