Replacing the Fill Valve on your toilet
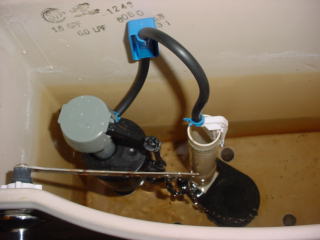
Step by Step Directions to Install a New Fill Valve
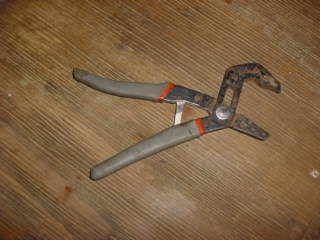
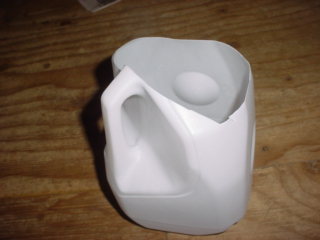
The Fill valve is a very simple less than 30 min repair on your toilet that requires on a wrench and a can or in this case I used an old milk jug with the top cut off.
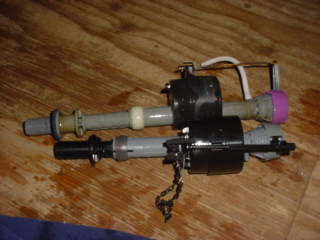
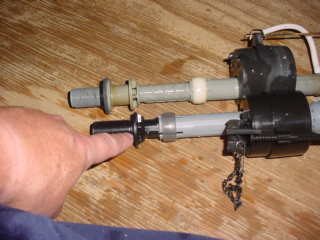
Tools Needed See Photo A and B
A Large pair of Pliers
A Can or jug that fits under toilet valve.
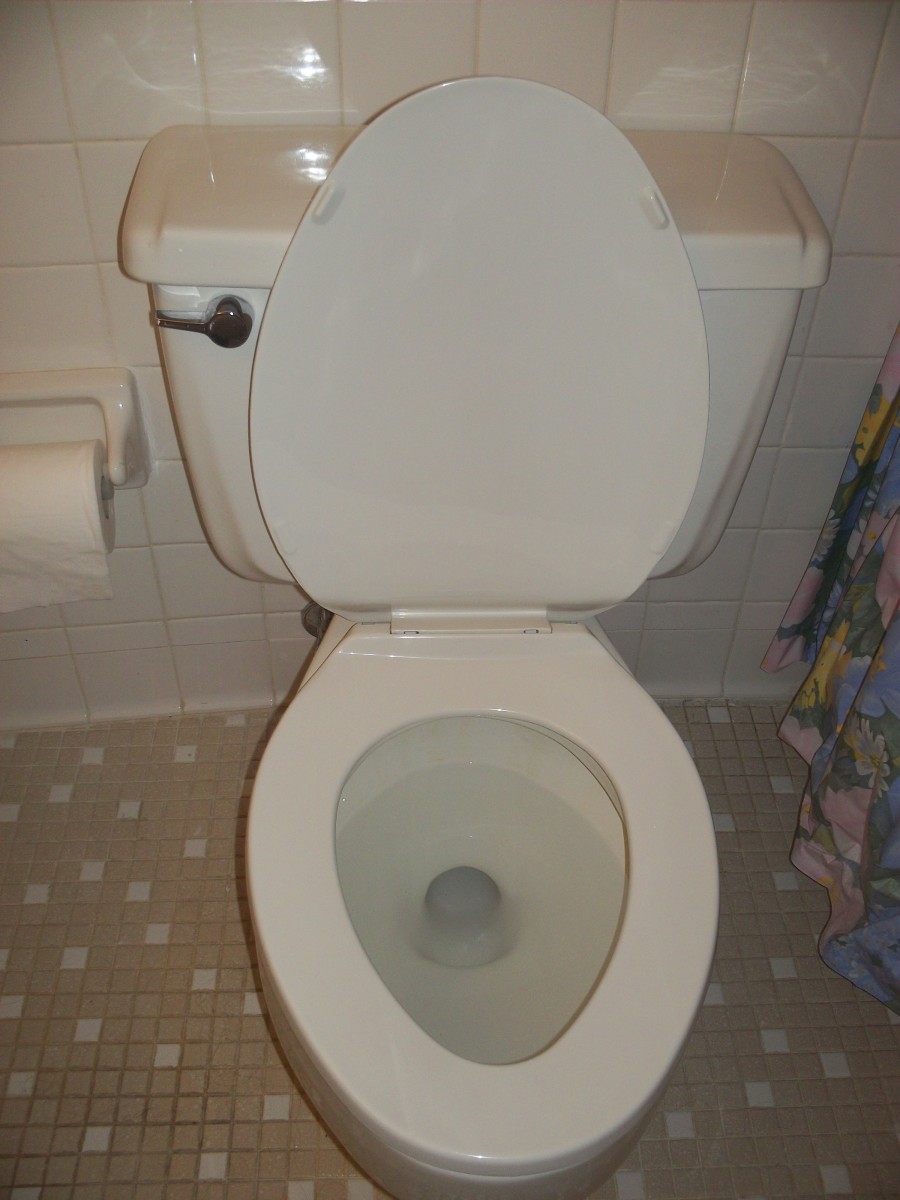
1. Remove toilet lid and put in a safe spot Turn off water supply to toilet. Flush handle to remove water from tank.
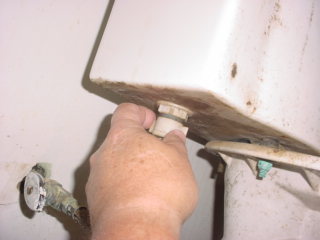
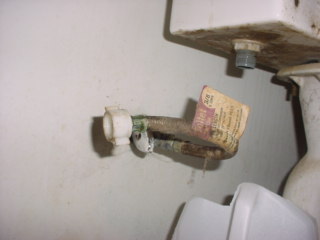
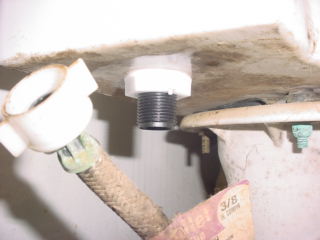
2. Remove the Lower Nut and position Can or jug under line to capture water. Line See Photo C and D
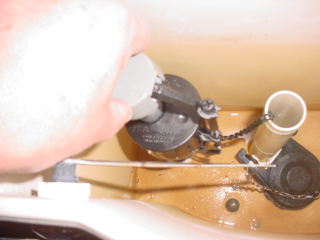
3. Note: before removing the last nut, note the position of the valve. Remove the upper nut to valve, and remove valve. see photo D
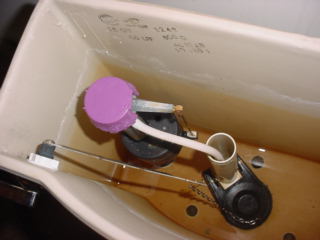
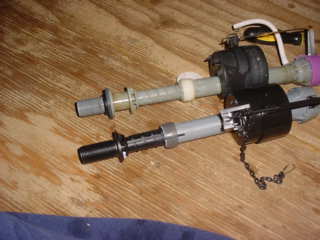
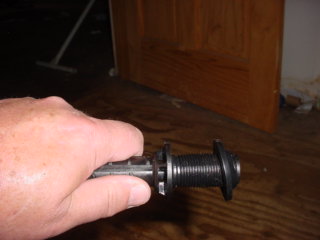
4. Remove the new Valve from the box, Note: these are adjustable in Height/length. Place new one beside old one to get the right length. See photo E .There is a ring that you pull up and twist the tube to make it the same size. See Photo E This varies due to the tank size as to how high it sits inside of toilet. Also how high the water level gets in your toilet. See Photo F and G
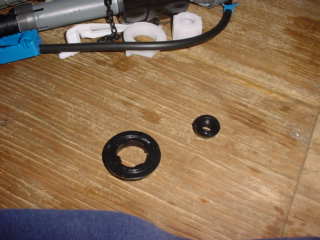
5. Take the rubber Sloped O ring and pull it apart from the small O ring the install the Large O ring onto the fill valve with the slopped side pointing down. See Photo H, The small O ring is used if the fill line is bad other then that discard it.
6. Install the Valve into the toilet and position the same way as old one that you removed, having noted in step 3
Tighten the first nut then install the line and tighten the line nut. DO not over tighten these nuts. If it leaks a little bit then you can tighten them more after it is in. Photo J and K
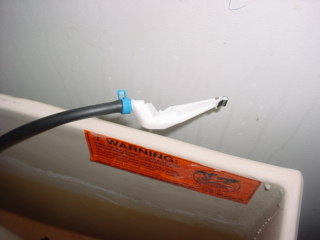
7. Next connect the fill tube up to the valve you will see a nipple sticking out of the side. Connect the line up to the fill tube as shown in Photo L and M.
8. Slowly turn on water. After filling check for leaks. If you did not adjust the fill valve to the right height then it will either keep running or the depth of the water in the tank will be to low causing you to not get a good flush. If this happen then start at step 1 and adjust the length accordingly. See Photo K


