Cheap And Simple Plan For Building A Beautiful Raised Vegetable Or Flower Garden
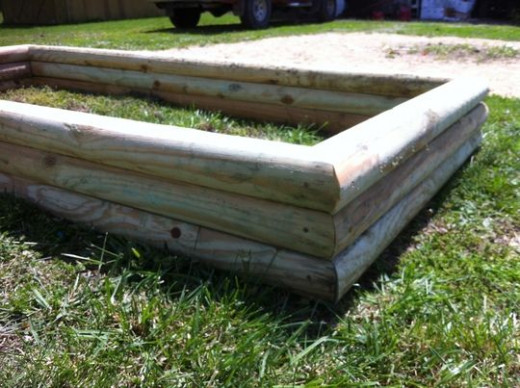
There are many reasons to use a raised garden bed in the place of a traditional garden design. Lack of space of usable soil are only a percentage of the reasons many people are switching to this style of gardening.Today I will give you the instructions to build a very cheap, yet beautiful and long lasting raised garden of your very own.
A raised garden can be built to practically any size that you want in a couple of hours time if you own or have access to the few tools the job requires. Aside from the convenience of being able to place a raised garden almost anywhere it also has the benefit of better water drainage than a traditional garden. Rabbits and other garden rodents can not access a raised garden nearly as easy as a ground level garden either.
This particular garden built for this article is an 8' by 4' design that tops off at around 11 inches tall. All of the tools were already on site and the only purchases that needed to be made was for the building materials , they came up to less than 50 dollars total. So, if you are ready lets go ahead and build us a garden.
The Tools That We Used And Common Alternatives
- Miter Saw (a circular or handsaw used in conjunction with a speed square will also work)
- Cordless Impact Driver (replaceable with a cordless drill preferably at least 14 volts or a corded electric drill)
- Electric Drill with a 1/2 ” Wood Bit a minimum and at least 12″ long.
- 8 lb. Sledgehammer (a smaller hammer may be used in its place)
- Crumb Shovel or Spade Shovel
- Tape Measure
-
Pencil or Pen
Building Materials
Supplies You Can Buy At Just About Any Lumberyard Or Hardware Store
-
8′ Landscape Timbers
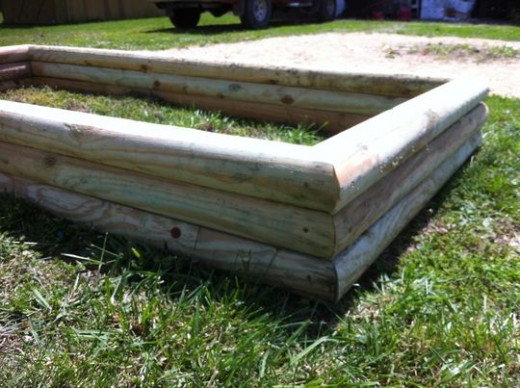
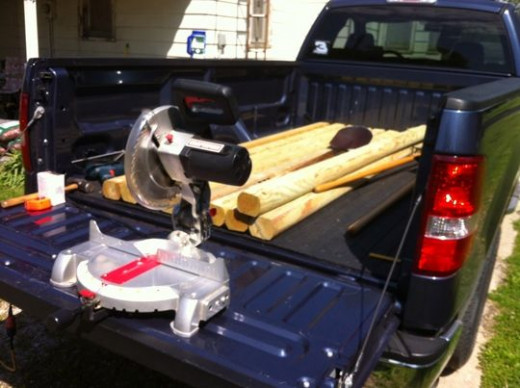
(as seen in photo) our project required a total of 9 at less than $4.00 a piece.
-
2′ sections of re-bar or steel stakes
we used 8 of them but more can be used if necessary
-
3-1/2 ” ceramic coated or galvanized decking screws
(you will need around 50 of them)
That should cover the tools and materials needed. When the job was complete we had around $50.00 invested in the entire project.
Building The First Level And Prepping The Ground
Normally, with just about any project that requires prep work, you would want to do the prepping first. In this case though, since our ground surface was already fairly level, we have decided to layout the bottom level first and then put a level on the timbers to decide how much digging or sod scraping is necessary.
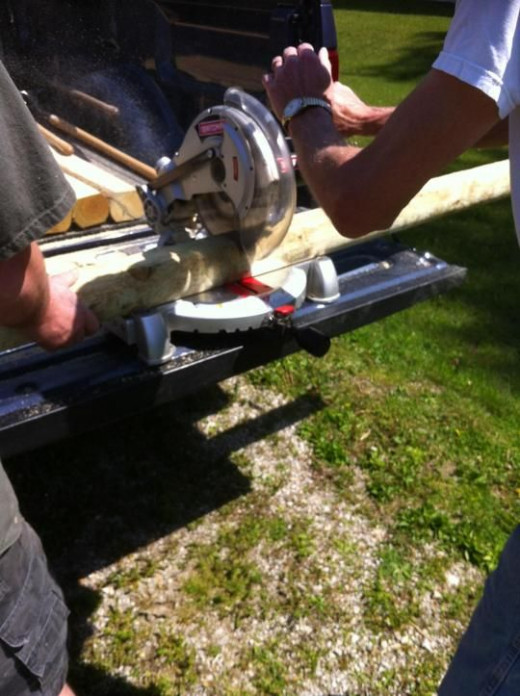
When cutting the timbers be sure to have at least one other person there to help hold it while cutting. Whenever I do a project such as this I usually like to do all of my cutting at once, instead of going back and forth from building to cutting. You will find it saves you a lot of time in the long run.
Step one measure 6 of your timbers to make sure they are the same length, if they are not be sure to cut them all to the length of the shortest one. Next set your miter saw to cut at a 45 degree angle. The goal is to cut both ends of the timber into 45 degree corners. In the case of our project we will be cutting 6 of the timbers , to form the 8′ sections of our garden.
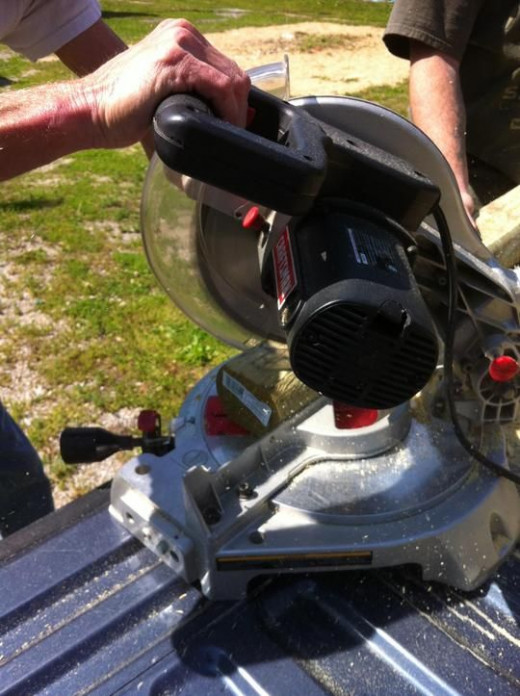
With the remaining 3 timbers you will want to repeat the first step in measuring them and making sure they are of equal length. Once that is done cut the 3 timbers in half giving you 6 timbers at around 4′ lengths. Now cut each one of those ends into matching 45 degree corners like you previously did with the others.
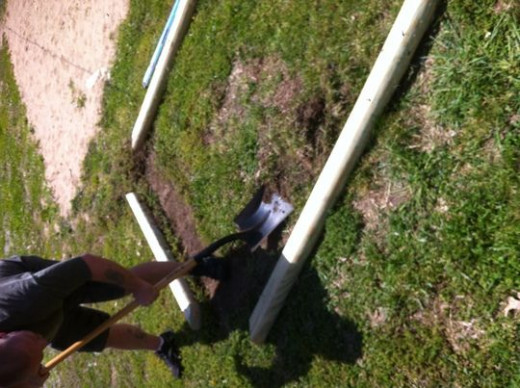
Now we will lay our timbers out, checking each timber with the level. After the timbers were laid out we found we needed to remove around 1/2′ of soil and sod from one end, to give us a nice level surface to build on.
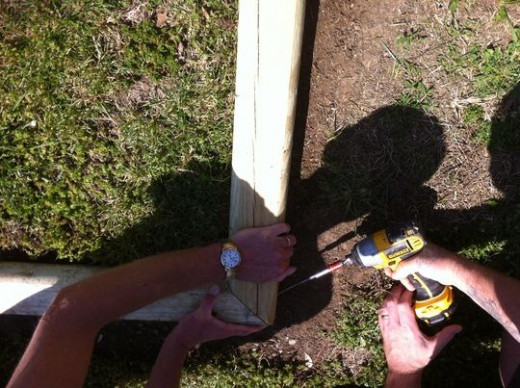
Next have your coworker hold the angled ends of the 4′ to 8′ timbers together so you can place 2 screws into each side of the newly formed corners. When its finished it should look like a rectangle with the flat sides of the timbers facing up and down.Go ahead and check the frame with your level again and make any adjustments necessary.
What is your favorite garden vegetable?
setting the second and third level
Your frame is level, all the corners are screwed together, now it’s time to start adding the next levels simply by repeating the steps you have just completed. There is no reason to connect the layers together at this time, that will come later.
OK, now we are ready to install the re-bar into the timbers for stability. Take your electric drill and 1/2′ wood bit and bore 2 holes into each 8′ side around 2′ in from the corners, making sure to go through all 3 three timbers. Then do the same to the 4′ sides only around 1′ from the corners. As you are drilling each hole you will want to place the re-bar into the holes to keep the timbers from sliding.

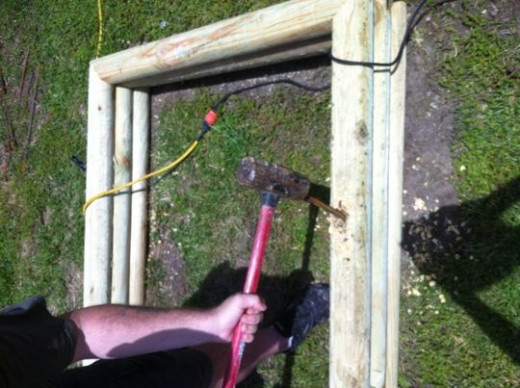
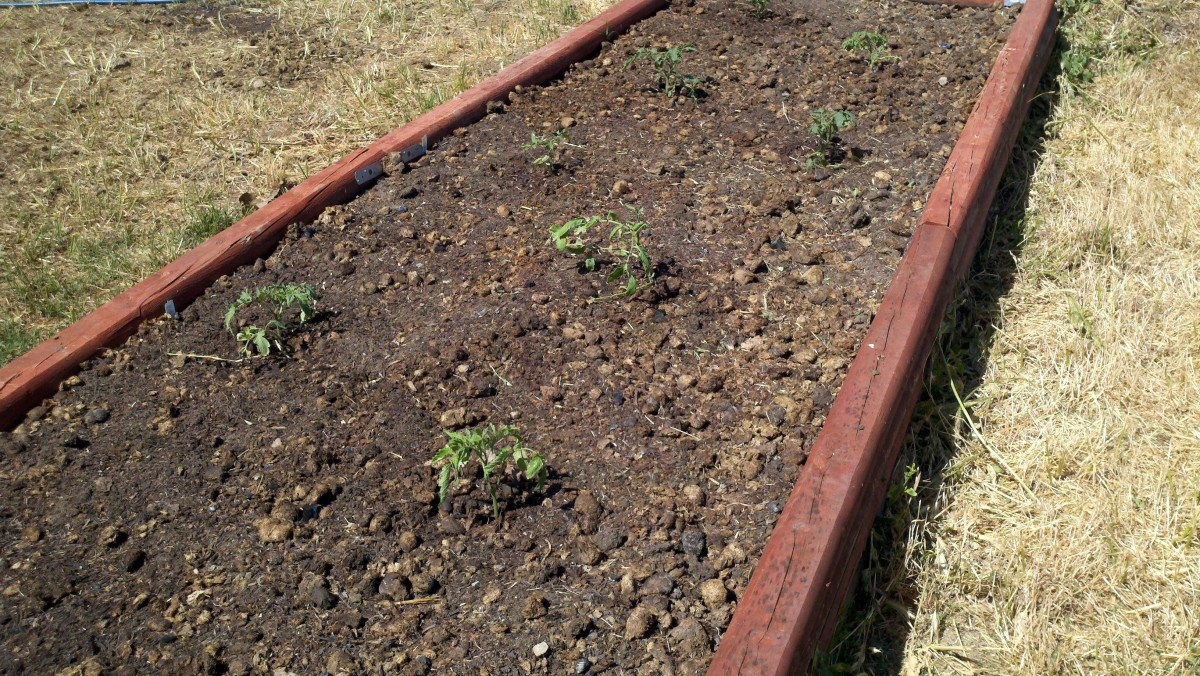
Once all of the holes are drilled, you can take your sledge hammer and tap the re-bar down until it is flush or just below the surface of the top timber. So there you have it a beautiful 8′ by 4′ raised garden for less than 50 bucks and only a few hours invested, all you need to do now is add the soil, fertilizer and seeds and you will be eating fresh vegetables from your own little garden in no time at all. Good luck and happy gardening.
DS Duby
