Starting Your Own Pineapple
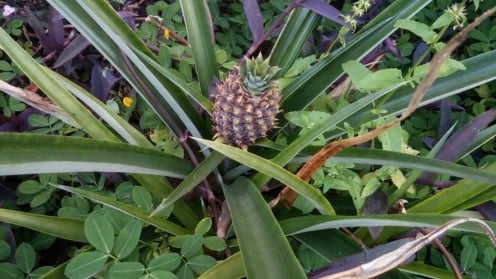
Let's talk Pineapple.....
You saw that cool link too, huh? It didnt work out as implied, did it? You're not alone. They kinda left a few steps out. I can help you out here, but first I gotta warn ya......pineapple plants get BIG. Fair warning, that's all..... my "baby" took up three square feet of space....
I was drawn to this meme too. Grow your own food from kitchen scraps, it said. Most of the items on that list I already grow in my garden, but not the pineapple. And I like pineapple. I wanted one. Nevermind that it will take optimal conditions and more than three years until my pineapple will give me a pineapple, I still wanted one.
Pineapple
Click thumbnail to view full-size
Getting Started
What you'll need
Sandy top soil mixed subtrate
Top of a pineapple
Large wide pot
Drip pan for large pot
This is not a do it today project so you don't need all your items right this second. But it is good to have a plan in order to be successful.
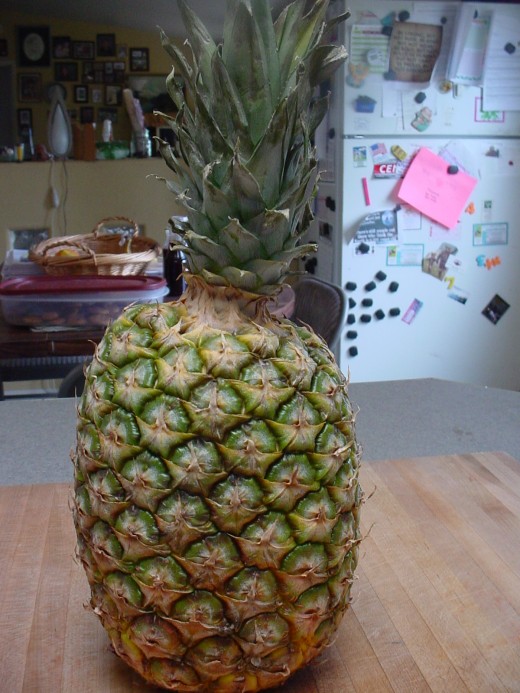
Starting this project is easy enough. Go to the store, pick your Pineapple, choose a ripe sweet smelling one. Gently squeeze your pineapple. It should be firm yet soft, not mushy. There are different varieties out there so give it the sniff test from the base where it was cut from the plant. Some people say to look for a yellow tinge at the base signifying ripeness.
There are tons of ways to enjoy Pineapple. It can be dried, canned, made into jelly or ice cream toppings, added to pizza, smoothies, or my favorite, fresh. There's pineapple upside down cake too! So decide how your Pineapple will be used and we can get started.
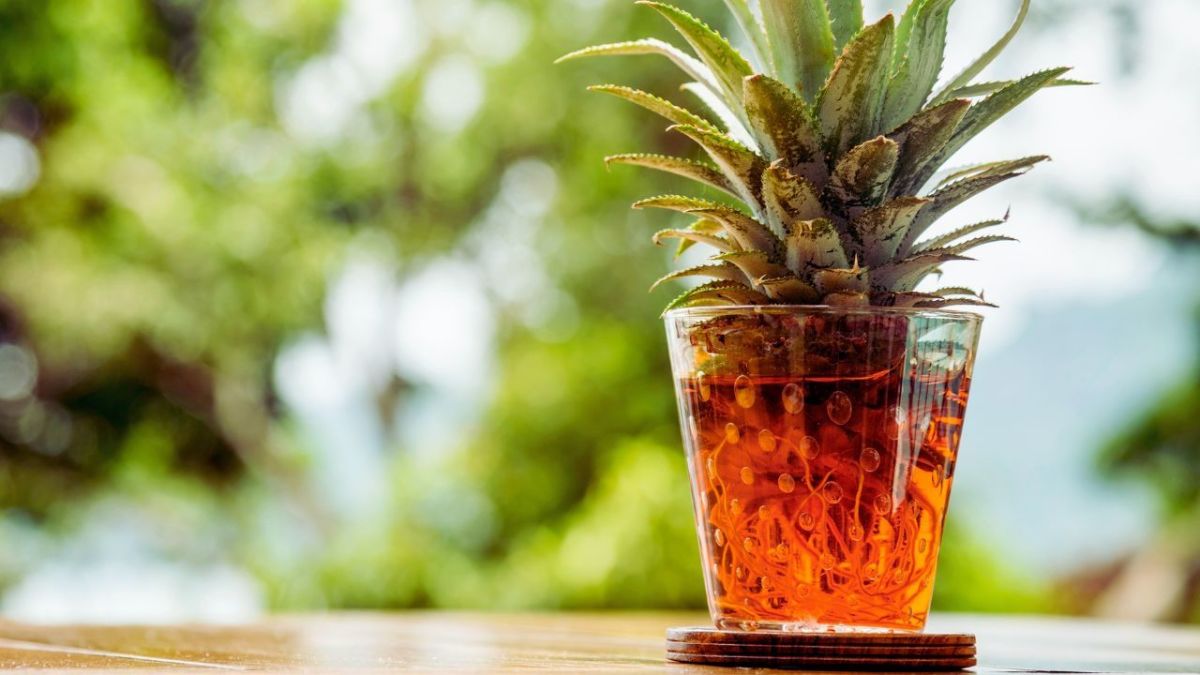
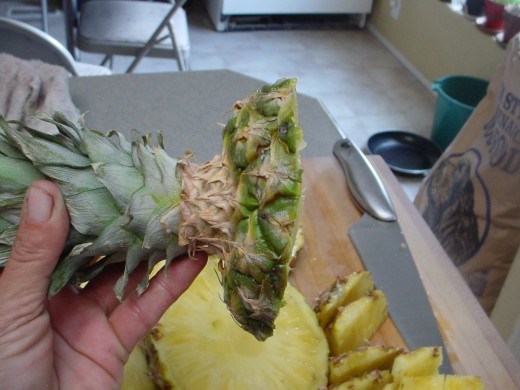
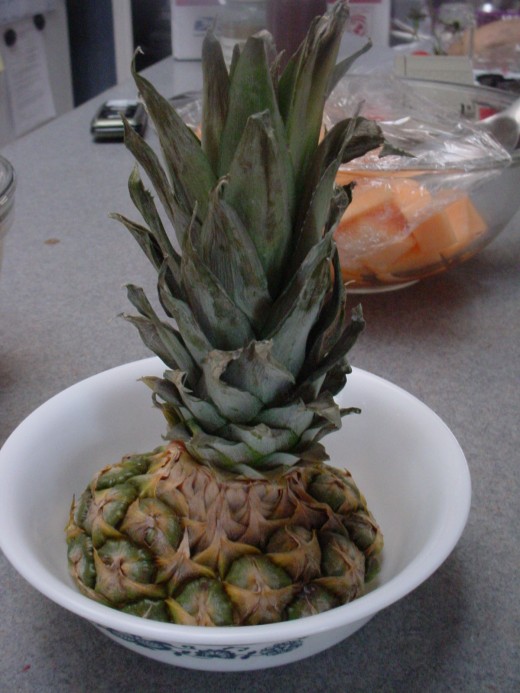
Cut the top off your pineapple and set aside in a bowl. Your "stump" needs to heal before you plant it. If you plant it right now it will rot instead of grow. As the stump is exposed to air it will dry and that is good. The stump wont die, as long as the fronds are green or some of the fronds are green, it is alive. Put your stump somewhere you wont forget about it, you'll need it in about a week.
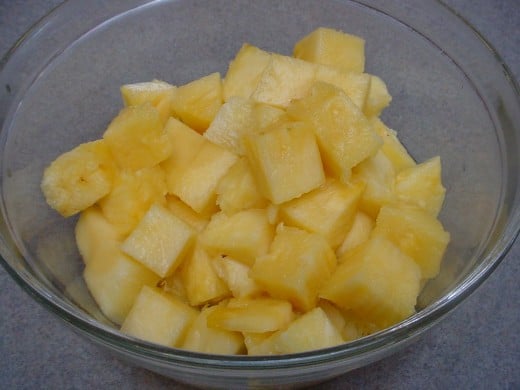
Enjoy your pineapple.
How pineapples grow
My mom lives in Florida, zone 9. She planted pineapples under her windows and around her air conditioner. According to her, this discourages theft and break ins. I, on the other hand, live in Montana, zone 4 (5). So before I attempted this project I asked her, about Pineapples.
If you have never been South, Florida, is very sandy. It's one giant beach surrounded on three sides by water. Sand drains quickly, yet can stay moist if the right conditions are met. Sand in Florida supports species differently than sand in New Mexico which is arid and dry. It also rains at least once a day down there (Florida), and it is humid. It is worth knowing these things when attempting to propagate new houseplants.
After questioning my mother incessantly I finally settled on a subtrate made up of 3/4 sand and 1/4 organic material/soil mixture. I make my own subtrate. There are lots of reasons to do this, the main being that I can control the amounts of each soil type is in the mixture.
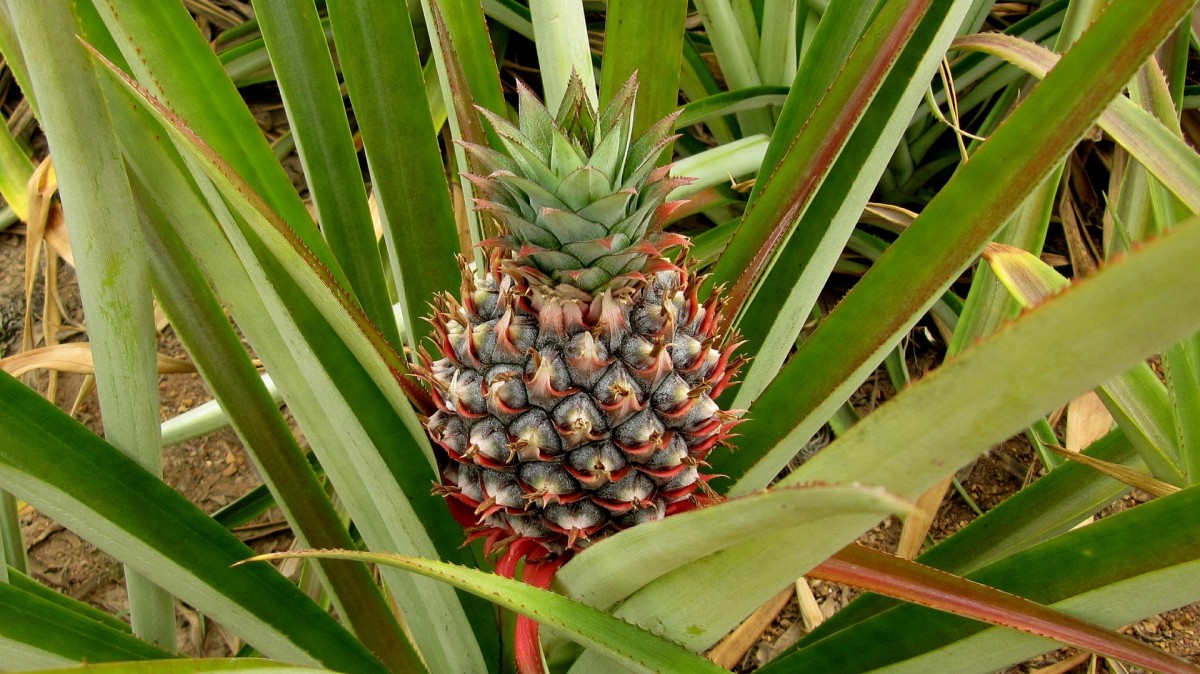
We are accustomed to thinking Pineapples come from Hawaii, but they originated from Brazil. They are a Bromeliad. And they contain Bromelain. Which is good for you. If you like Pineapple.
Pineapples like Full Sun and average Moisture. My mother doesnt water hers, but mother nature and her air conditioner do. And it is humid down there, so even when there is no water from the sky.....there is water in the air.
Pineapples need space. When mom told me they were big I didnt really comprehend HOW big......my baby, was 3' in diameter at two years old!. That's a lot of living room window space during winter months......
Which brings us to permanent positions and choosing the correct pot. Pineapples need a large wide pot of medium depth. They need room to spread their roots laterally as well as vertically. They need the strength to hold up a 5# pineapple, which is difficult for them as it is growing in nature.
Plastic or Clay? While Clay pots are beautiful they are not always the best choice. Clay pots are Heavy and expire water through the clay. They have their place, but this project better suits a plastic pot, which are lighter and retain water longer.
Mixing your own Subtrate
What you will need
3/4 Sand
1/4-1/3 Potting mix or top soil
Dash or two Compost
Blend well.
Why make your own subtrate
The soil where you live is unique to your area. Your soil is made up of tiny particles, sand, minerals, clay, compost, loam. Your local DNRC or extension office can go into extreme detail on this subject, but it may bore you to tears. Different plant life requires different soils and different minerals. Which is why some plants grow better in one place than another, it s not just weather.
When you mix your own subtrate, you control how many parts of each type of soil are present in the final product. For our pineapple, we consider where it grows when we mix our soil to best recreate its preferred growing conditions.
Subtrates and soil types can get very technical which is why going to purchase potting soils can be so daunting. There's Potting mix for roses, tomatoes, cactus, bromelaids, and many more. There's organic and non organic, seed start or potting mix, perlites, and peats. It's easier to just mix your own. And it s really very simple. For this project you need three things, four if you include a wheel barrow or tub to mix it in.
- Sand
- Potting mix or top soil
- Compost or manure
Sand: any sand..I use sand from my area. There is a sand quarry nearby and the sand is soft, like beach sand. It is filled with minerals and nutrients. I fill a 5-gal bucket and use it as needed. I've never bought play sand, although I assume it would work just fine, the grains might be larger than beach sand, but for the purpose of mixing dirt, it should work. If you can get beach sand, go for it.
Top soil or Potting Mix: Top Soil has been scraped from the surface of the land, hence "Top Soil". The top 5-12" or so of soil in certain areas is primo. Full of nutrients and micro organisms. The soils is super soft and retains water well. Other areas, not so much. Before purchasing "top soil", know your areas soils and know what is being delivered. If the top layer of soil is clay or sand.....you don't want it.
Each "Potting Mix" is different. Potting Mix is pre-mixed soil for container growers. It has been formulated with nutrients to feed container grown plants. There are some cheap potting mixes that are bare bones material. They will do just fine for mixing your own soil.
Compost or Manure: compost is made up of biodegradable material which has been aged and turned to create an organic growing medium. Compost is not just food scraps, it is also leaf debris, grass clippings, sawdust, almost anything that can be returned to the earth can be composted to create compost. Avoid composts with chemicals added.
Manure comes from livestock. The benefits of manure vary by animal, as each animal digests food differently. Some animals return seeds to the garden that you don't want. A few of the most sought after manures are Cow dung, Chicken, and Rabbit droppings. Many manures need to be aged before using.
Find an old bowl or scoop to use as a measuring device. Take three scoops of sand and place it in your mixing container. Add one scoop of top soil or potting mix and a half a scoop of compost or manure. Mix everything together well. You want it sandy with dark brown flakes and pieces. Add a little more top soil and compost if you need too. Keep adding and mixing until you have enough soil to fill your chosen pot.
I mix my own soil for everything, not just houseplants. I try to use as much product as possible from my area. I want the minerals. Especially when I grow something I intend to eat. I avoid using anything with chemical additives.
Planting the Crown
Now that you have the lowdown on Pineapple and you've acquired everything you need, We are ready to plant the Crown!
Dig a hole in the center of your chosen pot big enough to fit the whole crown. Place the crown in the center of the hole. Completely cover the crown with soil. Water generously until water leaks out into the bottom tray. During watering, the soil will gently settle around the crown. You will need to add more soil to bring it back up above the crown. It will not be necessary to water twice. You will not need to water again for about a week. You can check your soil by sticking your finger in it. You want it moist but not dripping. Like a damp towel.
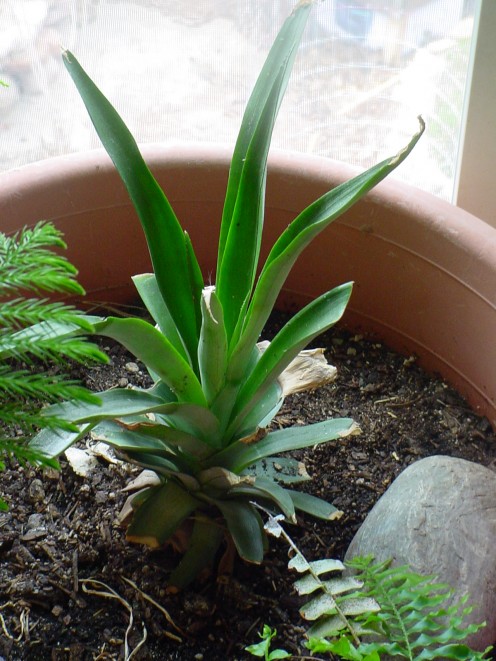
Choose a Sunny window for her permanent location! Southeast is your best choice. Offer some shade in the first few weeks, until you see fresh green shoots coming up through the middle of the crown. This is your cue that everything went well and she has rooted. Now you can place her in the Sun!
Happy Pineapple
© 2017 Kim French

