- HubPages»
- Home and Garden»
- Home Decorating»
- Interior Design & Decor
Templates for Wallpapering and Electrifying Your Dollhouse-Part 1


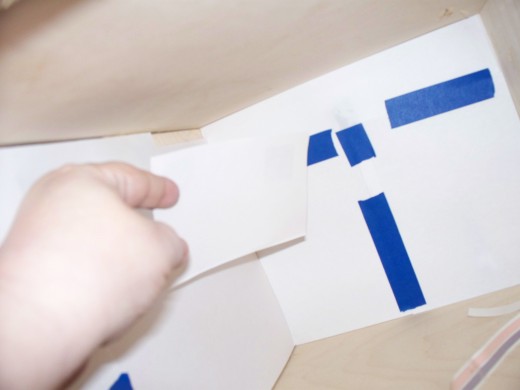
I start my template in the back of the room and use copy paper and blue tape to make the template. I lay the copy paper on it's side and make sure it is flat on the floor and to the right or left wall. If there is a gap on the touching left or right wall do not worry about it. Then fold another sheet of copy paper to fit the uncovered space that is left. Cut the paper on the fold and put the piece you are using in the uncovered space, right in the corner.
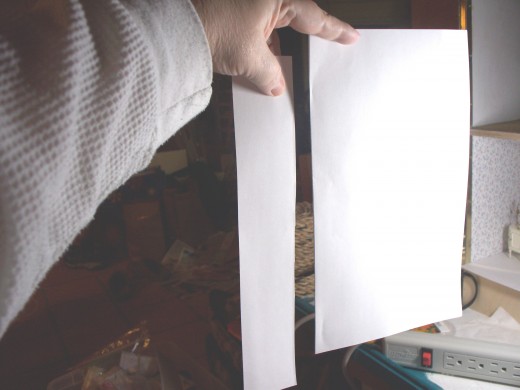
This photo shows how to fold and cut the copy paper into pieces.
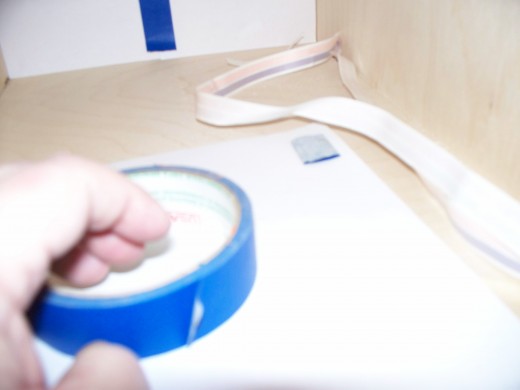
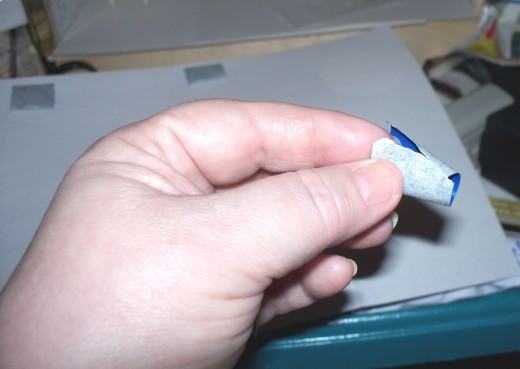
To put the large pieces of copy paper up on any wall, you will need to make little blue tape rings and put them on the top of the paper-making sure there are no gaps in the paper. Make sure the bottom corner of the paper fits in the corner and flush with the floor.
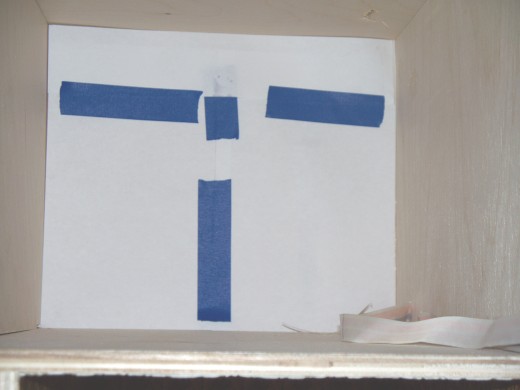
Where the two large pieces meet, put a stip or two of blue tape down the seam to secure. Then, with narrower pieces, cover the top open space, making sure to be flush with the ceiling and the front edge. The Big piece that comes to the front edge need to be flush with the front edge.

Then start putting the copy paper on the left (or right, if you prefer) side. Put the little rolls of blue tape along the top of the big edge and attach to wall. Then cut a full piece to fit the uncovered part of the wall, join pieces together with strips of tape. Cut narrow strips of paper for the uncovered top of wall-making sure to join all edges with strips of blue tape.
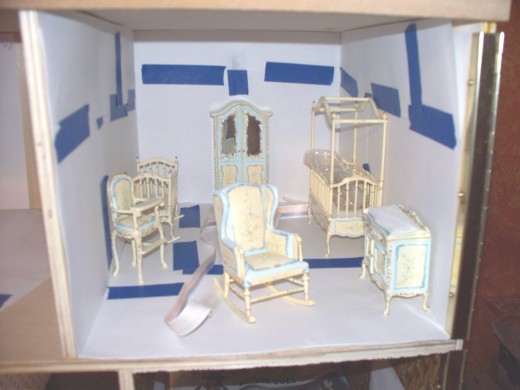
The last picture is the room completely templated. The floor is done like the walls, except the front edge of the copy paper is flush with the edge of the front. Write "floor" and mark the underside "ceiling". Mark front and back.
IMPORTANT: Mark each wall template as to which side it is and front, back, top and bottom.
Template 2 will show how to use the templates to put in tape wiring and cut wall paper to a perfect fit.


