The beauty of worm bin composting: a DIY guide to vermicomposting
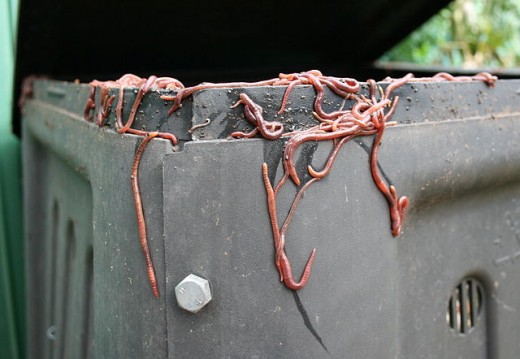
Worm Bin Composting
Worm bin composting; also known as vermiculture if you really want to sound like you know what you’re talking about, is the most effective way to compost. Studies have shown that worms can divert an average of 700lbs of household waste per year. Yard and food waste makes up about 30% of the waste stream in the US but that could be cut to almost one fourth of the amount if composting were used more widely.
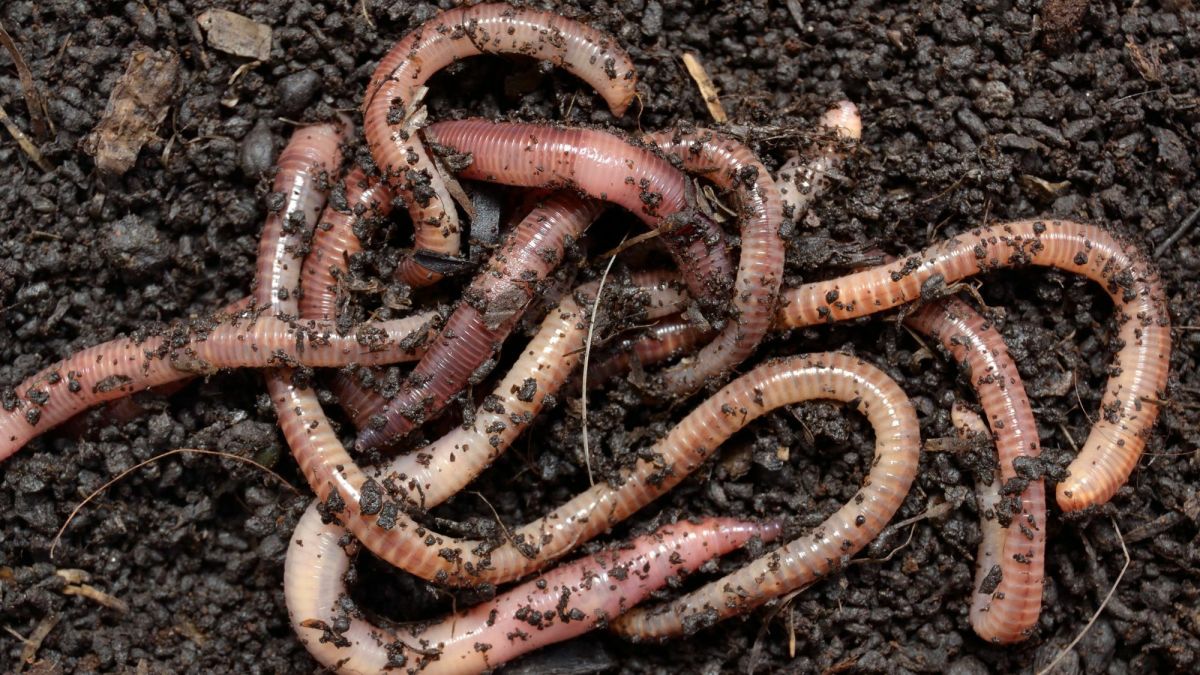
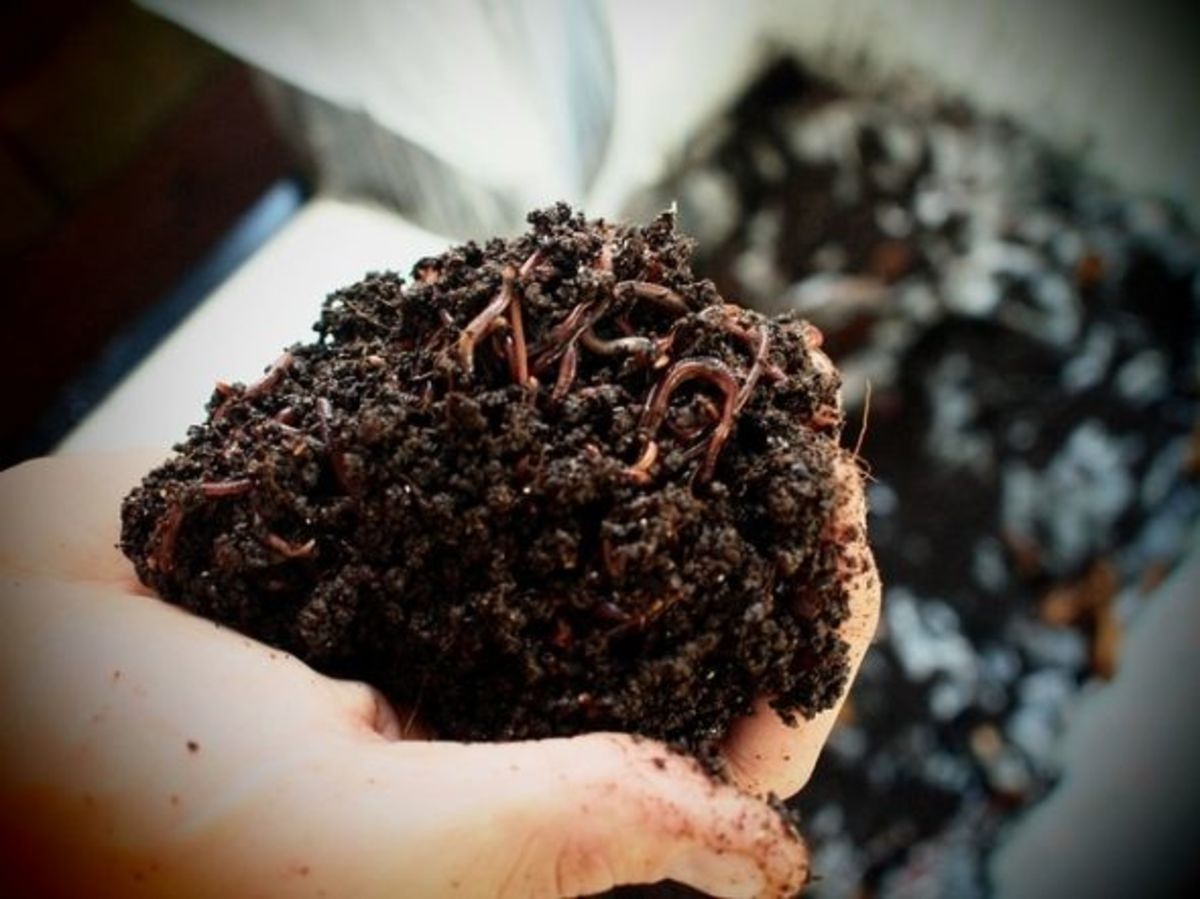
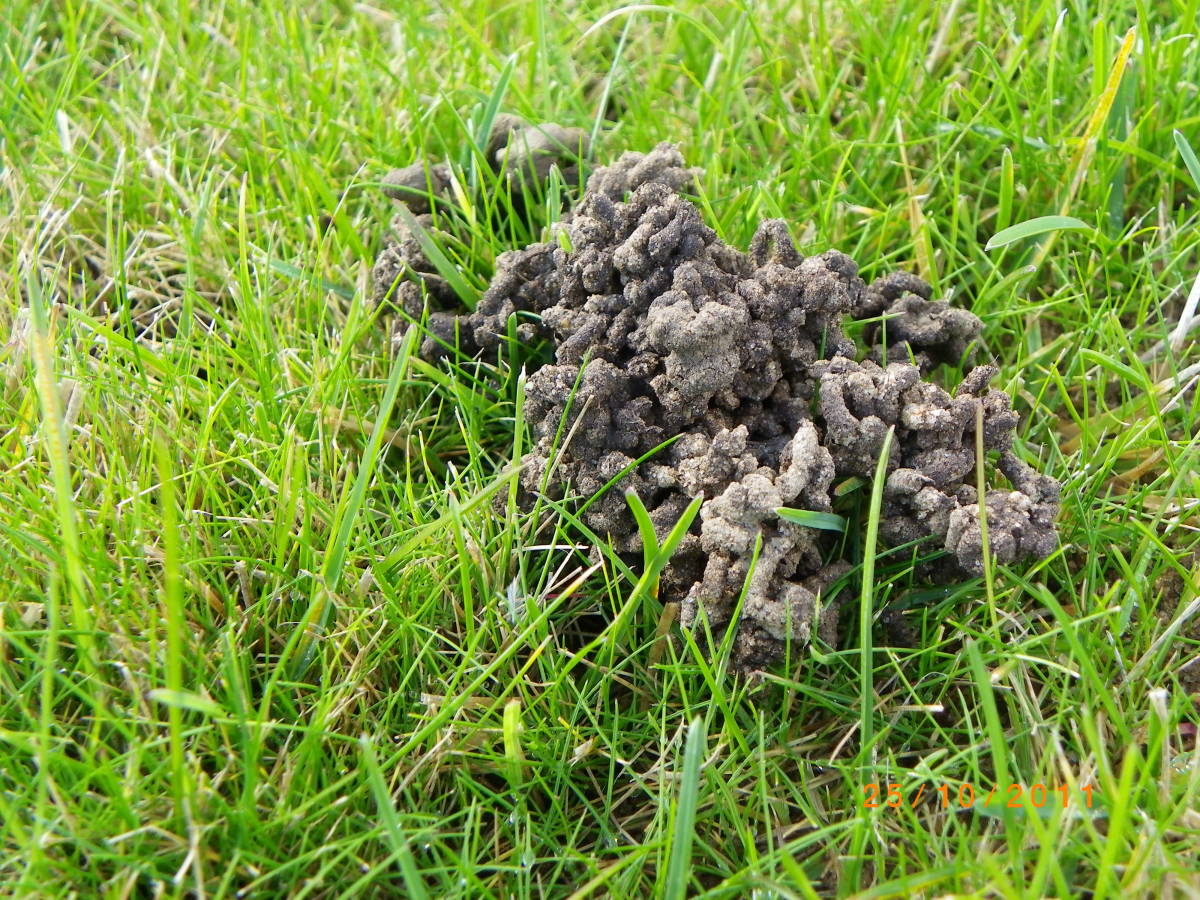
Worm castings or worm turds, are among the best types of fertilizers known to man. The worms, usually red worms, can turn any type of organic matter into dark nutrient rich soil that is perfect for use in your garden.
You will need a bin, some worms and something to use as bedding for the worms.
Well start with the bin:
Getting Started
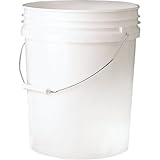
The All Important Bin
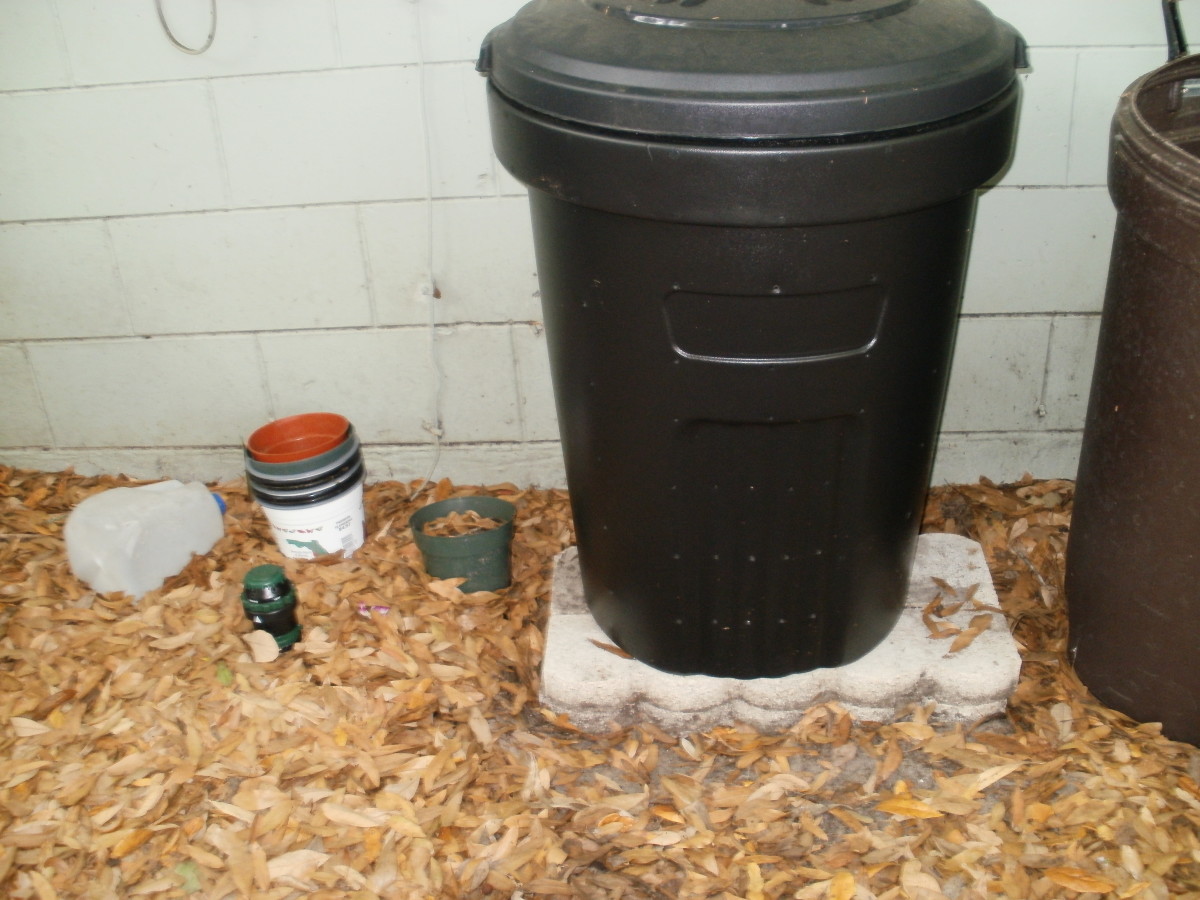
When it comes to selecting a bin, this will really depend on your living situation and how much compost you need. Obviously if you only have a small garden you will not need a huge bin. An 8 to 10 gallon plastic container will work just fine. I have even seen them made from smaller bins such as milk crates of 5 gallon buckets. You can pretty much make a bin out of any kind of material but I have found that plastic and wood make the best containers.
Remember though that if you choose to make you bin out of wood it will eventually start to fall apart from the worm activity and having dirt in it constantly so be prepared to do a bit of maintenance every so often. The most important aspects of a good bin are drainage in the bottom and a tight fitting lid to keep out excess moisture.
Some professional set ups include multiple bins stacked on top of each other with holes in the bottom so that when one has been emptied of food the worms will migrate down leaving a bin full of pure compost. The method is incredibly effective and can be made as tall as you like. I worked on a farm with a girl once who had a system that was stacked almost up to the ceiling of her kitchen! Compost for days!!!!
Its pretty goofy but the information is Golden
Bedding
Once you have the bin built you need to get some bedding for the worms to start out on. Like humans, worms are made up of primarily water and thus need a proper amount of it to survive.
The easiest and most effective beddings I have used have been made with newspaper. Take a section, I like to use the sports section in Seattle because there’s never any good news in it anyway, and rip it up in to long strips. Then, drench the paper in water but no so much that it turns to mushy pulp, just enough to wet it. After that ring it out so its not sopping wet and place it in the bottom of your bin.
I have heard about people making sufficient beddings out of sawdust, hay and even wood chips but that can get a little complicated especially if you are just starting out. This article is about keeping it simple and easily accessible to the average home liver so I will not go into depth about that here but here are some great sites to reference if you are interested.
Next comes something gritty. Like birds, worms don’t have teeth and therefore have a hard time breaking down their food for digestion with out an aid. Birds like to eat little rocks and pebbles for this reason.
For composting, I like to use eggshells for this because I usually have a large supply of them already in the compost. You can also use sawdust, coffee grounds, sand or even cornstarch if its all you’ve got. Pretty much anything rough will work.
A bit more complicated but worth it!
- The Worm Factory: Worm Composting System
This is a little more pricey option but well worth it. Could also be easily made at home with the proper ambition and creativity!
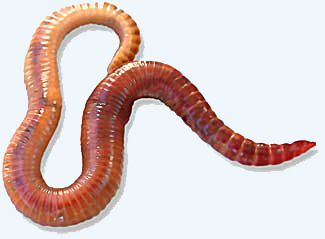
The Worms
A common misconception amateur vermiculturalists is that any type of worm will work, this is not so true. What you really want to have a thriving worm bin are red worms or Eisenia fetida. Its not important at all to composting but I am kind of science ‘enthusiast (nerd) and I find it interesting so I will include it for all my fellow science nerds out there.
Eisenia Fetida:
Class
| Oligocheta
|
Order
| Haplotaxidae
|
Sub-order
| Lumbricina
|
Super Family
| Lumbricoidea
|
Family
| Lumbricidae
|
Species
| Eisenia
|
Subspecies
| Fetida
|
Latin, yeahhh!
A simple Google search will provide you with all the resources you need to purchase worms but it is also possible and relatively easy to collect them yourself. Simply lay a sheet of cardboard on a moist section of grass or dirt and wait a week or two. It I dries out, re-moisten and when you are ready to harvest, lift up the cardboard and take your pick!
Most recommend about a 1:1 ratio of worms to lbs of compost and that’s a great place to start but it can vary depending on many different factors. I hate to say use you common sense because that can be vague but that’s what I am going to say. You know how much waste you produce and how much you add to your bin. After a couple of weeks evaluate your bin and see what’s going on.
Are there too many food scraps still in the bin?
Are the worms dying off from not enough food?
Then adjust your set-up accordingly. If there are too many worms you could make another bin and transfer some to there but if there’s too much food, chances are you will either need to cut down on how often you feed them or add some more worms. You could also try cutting your scraps into smaller pieces as they are eaiser to breakdown. It is recommended you feed them about once every 1-2 weeks but again, that all depends on the size of you bin and how much you feed them every time. As with women, just listening to what your worms are telling you will go a long way J.
What to Compost
What to feed them
| What to Avoid
|
|---|---|
Veggie scraps
| Meat
|
Bread/Grains
| Dairy
|
Coffee grounds
| Oils/Fats
|
Tea Bagb
| Other animal poop
|
Fruit
| In-organic compounds
|
Egg Shells/Cartons
| Styrofoam and tinfoil
|
Make sure to check that the filters your coffee grounds are in are also compostable. I believe most are but double check on your particular brand before dumping.
A handy rule of thumb is if you would put it down your garbage disposal it can probably be put in a worm bin but then again I have seen pretty much everything go down a garbage disposal so don’t rely on that.
Also remember that your worms will multiply about every 90 days so keep an eye on your population and regulate if needed.
When you put the food in the bin make sure not to just dump the food on top. This will make it take longer to decompose and some food will most likely rot or mold before its composted. That will attract flies and rodents, which don’t play a role in this type of composting. Instead dig a little hole in the dirt, about 6 inches is all you need, and place the food in there. Then cover it up and let the worms go to work. Also, try to rotate where you bury the food each time for variety and so the castings are evenly distributed throughout the pile.
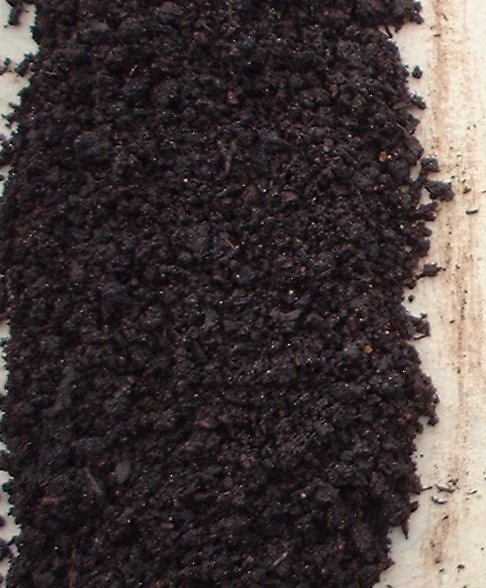
Harvesting
This is the all-important part as it’s the whole reason you are probably composting in the first place. I have seen many different ways of harvesting the castings and they have all been effective. The main goal here is to get as much of the nutrient rich dirt out while removing as few worms as possible.
The bin that I have is a big outside wooden thing. I find it most effective to; about 2 weeks before a planned harvest I will move as much of the pile to one side of the bin as is possible. Then I stop putting new scraps onto the existing pile and place them on the newly cleared side. As the worms use up all the food in the old pile they will start migrating towards their new food. When a majority of them have moved over, I harvest the old side and spread the fertilizer on my garden. It is inevitable that you will lose some worms to the garden but don’t fret, as long as you keep the bin maintained, they will regain all lost soldiers.
If you go for the many-tiered system of composting, the harvesting will include only removing the castings and replacing the bin at the top of that stack.
When done right, you will find that you not only drastically cut down on your waste disposal but you will also reap the benefits in increased plant health and production in the garden.
Worm bins are a great way to get kids interested in gardening and sustainability at a young age. Come on, what kid doesn’t love a bin of creepy crawlies and dirt! This website has a great game to teach kids about the beauty and science behind composting while engaging them as well.
So come on, get up and spread the love, composting is where it’s at!
Great Links for more Composting Info:
- Composting: Creating Black Gold
If you do not already compost then you should. It is the ultimate way to recycle. You can turn your home waste into black gold. Worm composting, compost tea, bin composting, humanure, compost pile, carbon nitrogen ratios, compost microorganisms: read - The Wonderful World of Bin Composting
Bin composting is simple but it can take a minute to get the hang of. Check this out to find out all you need to know about bin composting and to find out what type of composting is right for you. - Carbon nitrogen ratio
The carbon nitrogen ration is incredibly important in composting. Maintaining the carbon nitrogen balance is how you can maximize the productivity of your compost pile so don't be left in the dark, find out what its all about. - Microorganisms in your Compost: The Famous Five
The microorganisms involved in composting are not complicated and can be understood after reading this article. Compost microorganism are responsible for turing ordinary soil into nutrient rich, humus or black gold.

