The how to do it yourself hub or DIY in my life.
Fence Painting
The how to do it yourself hub or DIY in my life.
When I was about 7 years old I had my first exposure to DIY. My Dad was what was called in those days "good with his hands". This is not to be taken out of context and used in a modern Idiom as the connotations would be somewhat different. He was in fact a handy man probably where the word handyman came from.
My Dad
Dad could paint, build, and put up wallpaper with equal aplomb. The job he would do would be very professional and he had a very critical eye. He was always busy painting, repairing and doing wallpaper. I would "help" him by passing various items such as paintbrushes, turps etc. You get the idea. I loved doing this and felt very important. "Mom I am helping Dad" I would say chest puffed out, serious expression on my face.
Scouting and Handymen
At any rate about that same age I became a cub scout. Now cubs had to pass various tests. The first test was to pass the tender pad. The reward for his test was a pocket badge which was accompanied by a neckerchief and a cap. Thereafter in order for a cub scout to get one eye open (a Star on one side of the cap) another test was taken and then the second Eye (another star on the other side of the cap) was given after further proof of proficiency. One was then entitled to pass various badges of merit such as swimming, first aid and handyman's badges. My father's prowess was well known in our community and the scout mistress (the Akela - very attractive woman I might add) asked my father to administer the handyman test. I was at a great advantage having "helped" dad on numerous occasions.
I volunteered to take the test with a group of others. I was the only one to (wait for it) FAIL!
I then asked why everyone else passed and I failed. Dad said, as his son, he expected me to have a higher standard than the rest. "But you know I am good, and I have helped you lots!". He replied "perhaps you need to really help me". Thus our apprenticeship scheme was borne. To this day I wonder whether that was not a scheme for him to get child slave labor.
Painting Apprenticeship
But I learned. By golly I learned. He taught me to paint.
- How to put paint on the brush. Not too much - don't drip. How to apply the paint. Start at the top work your way down.
- Smooth brush strokes.
- Rather two coats sparingly applied than one thick one with run marks.
- He taught me how to "cut In" at the roof or at the sides of walls where different colours were to be applied.
- He taught me to do a test strip when opening a new tin of paint. To check batch and dye numbers on the tin. If a test strip did not match, then a whole wall would need to be redone.
- He taught me to prepare skirting boards and cornices. To sand down those items before putting new varnish down.
- He taught me how to put down newspapers or linen drip maps for large walls.
- He made me clean the brushes after use. Water based paints required washing under a running tap to ensure that the brush was clean and free of paint. Oil based paints required the brushes to be soaked in turpentine and then washed off and dried. We could not afford to replace brushes after each painting session.
My apprenticeship with dad was pretty thorough (and pretty long too). I re-took the test and passed with flying colours. In the mean time dad used to paint apartments, part time (nights and weekends), to supplement his income and I became his permanent assistant over many years.
Wallpapering
He also did wallpapering and taught me the art of putting up wallpaper.
- How to mix the paste - not too thick not too thin, not lumpy
- How to measure the lengths of paper against the wall, always allow about 2 inches extra which you can trim off later.
- Use a clean paste brush
- Fold the paper over and put paste on generously. By folding, the paste ended up on both sides. (Velvet based papers were a different story and more difficult to hang.)
- Hang the sheets from the top unfolding as you go down.
- Use the brush and a damp sponge to smooth out the paper
- Trim the excess from the bottom after it was partially dry.
- Always match the pattern before cutting the next strip
- In order to ensure the wallpaper was straight fold the paper over edge to edge to ensure the paper was horizontal.
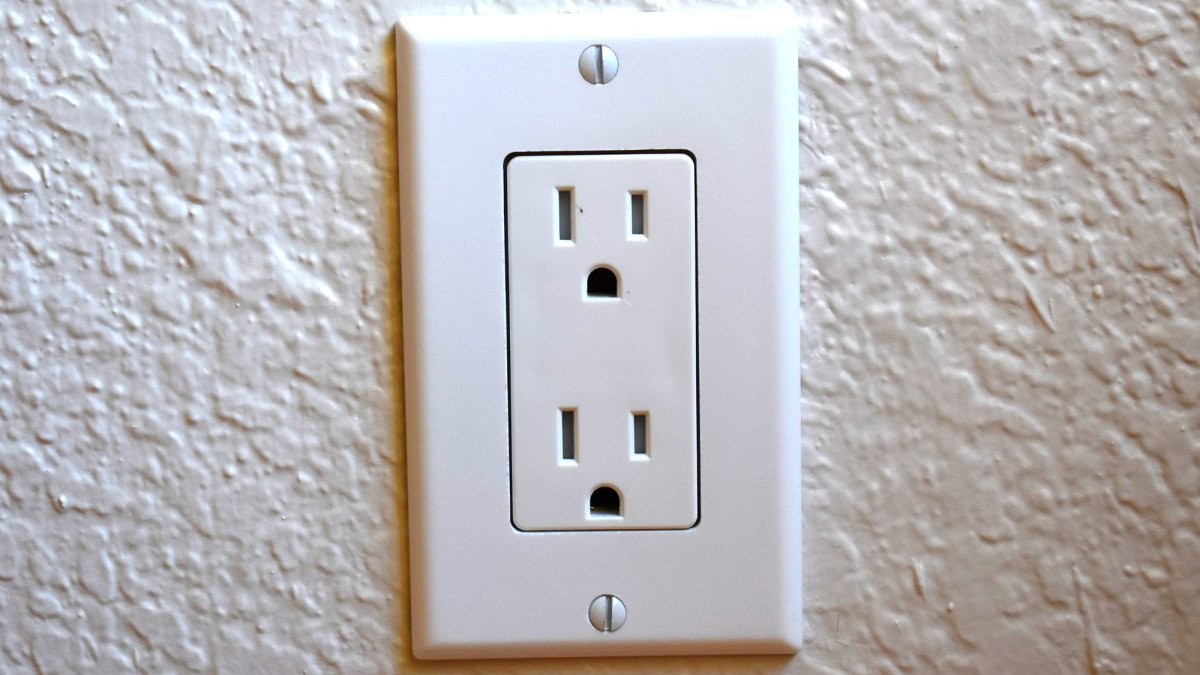
- Do not try to cut out for light switches and plug fittings. Remove the covers first. Ensure the electricity is off (you are working with wet wallpaper and paste.
- When hanging the paper poke out the cover by hand or with a box cutter, ensuring that you don't exceed the area to be covered by the covers.
Over time, I learned a few other tricks but I still manage to hit my thumb with hammer when putting up nails. I cannot count the number of times I have stood on the paint tray or spilled wallpaper glue. Some things can just not be taught.
Wives and DIY
Why is it that wives never believe that you can do DIY? They are always astonished at the result and think that you got lucky. I have painted entire houses inside and out fighting a rearguard action with the ex about my ability to undertake and complete the task.
After a few bad happenings in my life I repaired a farm. I did doors, I repainted. I refitted the kitchen including fitting an eye level oven and retro-fitted kitchen cupboards. Did I ever mention that most house are not square and ovens and cupboards are. It is quite a challenge to fit hem into the allocated spaces short of rebuilding the kitchen. So selective pruning and grafting, leaving a perception of perfect fit is the order of the day. Believe me I am a master at that art.
Another Great Hubmob


