Using Jars To Turn Your Ornaments Into Stunning Home Decorations

Making Glass Jar Ornaments
Here's a quick and easy way to update your home decore and a new way to display your favourite orniments! They no longer need to be up on a dusty shelf! By making these you can use your ornaments as feature pieces all around the home. They are great for your loungeroom, and kitchen, for side tables and coffee tables and are surprisingly simple to make. Even your children will enjoy making these feature pieces with you!
What You'll Need:
Glass Jar With Lid
| Ornament
| Glue
|
|---|---|---|
Glitter (Optional)
| Paintbrush (If using glitter)
| Paint (Optional for jar lid)
|
Getting Started
There's really only three things you'll need to make each Glass Jar feature piece:
- A glass jar with a lid.
- An orniment or figurine.
- Glue (Wood Glue, or Vinyl adhesive)
Optionally, you may also want to decorate your ornament with glitter, so that it will sparkle inside the jar (The kids may want to do this with their figurines, but you probably won't choose to do this with your favourite keepsakes), and paint, if you want to paint over the jar lid.
Let's begin
If the lid of your jar needs painting, do so first, and allow to dry completely. The lid of the jar forms the base of your feature piece.
Also ensure your jar is clean, washed and dried. Remove any label from the jar. This is best done by soaking the jar with the label in warm water until it's saturated, as it will then peel off easier. Glass jars washed in hot water and towel dried also sparkle more.
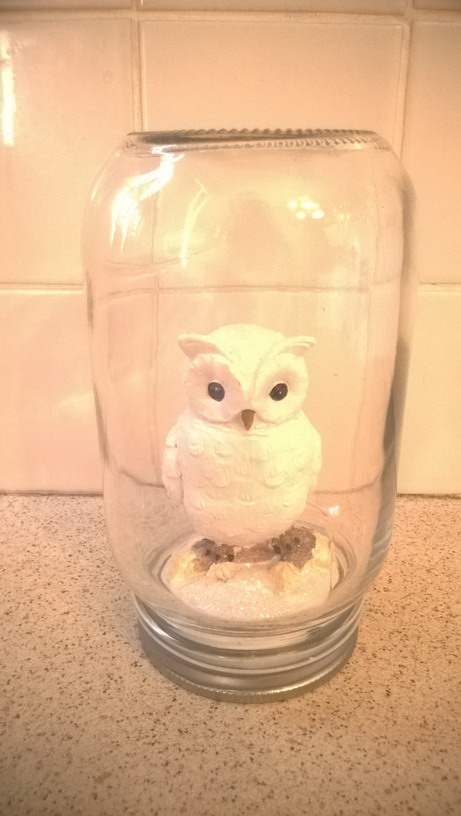
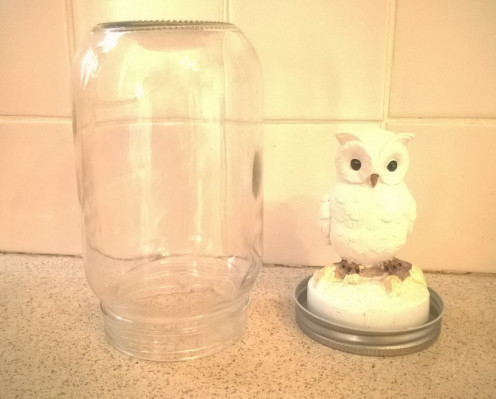
Next choose an ornament which is small enough to stand inside the jar when the lid is screwed on. One ornament per jar. My owl ornament pictured, is a little over half the size of the jar, you can use this as a guide when selecting your ornaments and jar sizes.
Place glue to the inside of your jar lid, where the ornament will sit. You can also glue a little to the underside of the ornament.
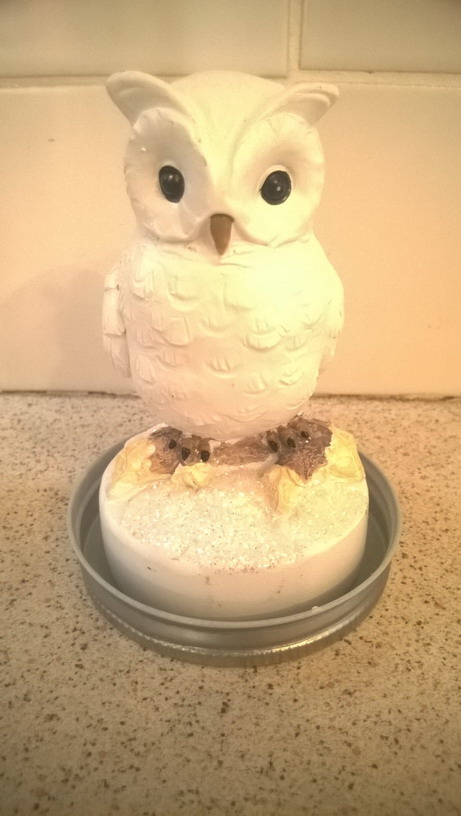
Now stand your ornament on the inside of the jar lid where you've spread the glue. Place it as close to the centre of the jar lid as possible, so your ornament appears to sit in the middle of the jar when you are ready to screw it on.
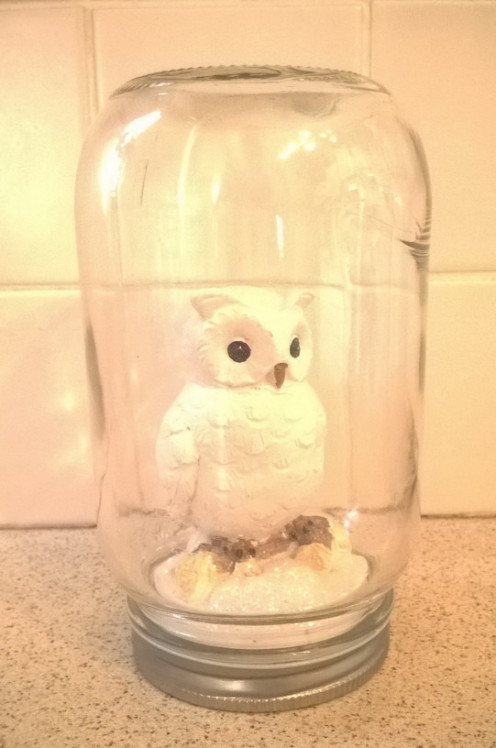
Allow time for the glue to adhere to the ornament before screwing the jar to the lid. Don't turn the jar upright, the ornament sits facing up in the upside down jar.
Before you screw on the jar to the lid, you or your kids may enjoy painting some of the ornament with more glue and adding glitter, as i have done around the feet of my owl ornament pictured on this page. But think twice before adding any glitter to your favourite keepsakes as the glue may be difficult to remove if you wanted to in the future and could cause some damage to painted surfaces).
Time To Decorate
Once you've screwed the lid on your jar, your new home decoration is complete! But why stop at one? You can group several of these feature pieces together as feature points in your home, using similar ornaments and different sized glass jars! They also give a modern twist to the traditional snow globe!
Once you have mastered these beautiful pieces for your home, you'll realise there's so many themes you can make them in. For example:
- Three pink fairy ornaments in jars with glitter added with be a great feature on a shelf in a little girls room.
- Christmas ornaments inside jars with glitter for the snow, for Christmas time as a table decoration.
- Displaying your own favourite collections of ornaments in your bedroom, other than having them all stored in a room on a dusty shelf.
- Coral or seashells in jars in the bathroom.
It's also a fun way to bring ornaments into your kitchen, that would have otherwise be left on a shelf. Because of the use of the jar in making them, they will compliment a kitchen quite well, no matter which ornaments you choose to keep inside them. You could also paint the jar lids to match with the colours of your kitchen!
Get the kids to help!
As these ornaments only take a short time to make, and are quite easy to assemble, why not set up the dining table with glue and an assortment of glass jars, and ask your children to gather some of their favourite ornaments, or even small toys to create their own personal feature piece, which will be a talking point in their room!
Happy Decorating!
More From Author:
- No Bake Cake A Table Decoration You Can Eat!
A stunning no bake dessert and edible table decoration you and the kids can make in 10 minutes! Great for Christmas and Birthday Celebrations - Edible Table Decoration Christmas Fruit Platter
Fun to make with kids, a Christmas table decoration, skewer fruit platter. - How To Make A Frozen Movie Doll Garden For Inside Pl...
Easy to make portable inside doll garden nativity set for kids. For play with figurines from the Disney Movie Frozen. Create Princess Elsa, Princess Anna and their friends their very own play garden!
© 2014 AustralianNappies


